Einleitung
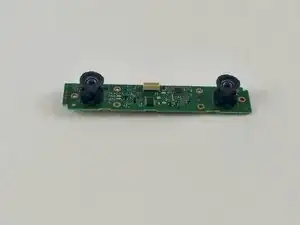
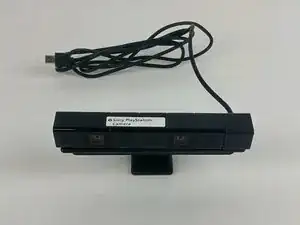
This guide will aide you in performing the replacement of the Sony PlayStation's Camera motherboard/camera assembly. The cameras are epoxied to the motherboard, so if either of the cameras require replacement, the entire assembly will need to be replaced.
The outer case will scratch easily if the device is not handled with care during the opening process. If the aesthetics don't matter to you, this will not be a problem.
Finding the seam to start the case separation can be difficult. Using a flashlight, or very well lit area, can help to find the seam under the right angle. This can be helpful during this step.
Werkzeuge
-
-
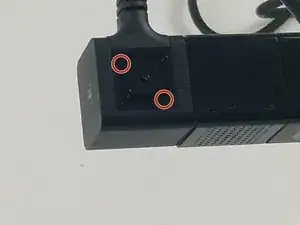
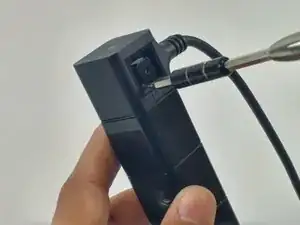
Using a PH000 sized screwdriver, remove the two 6.5mm Phillips #000 screws located under the stand connection point, where the cable enters the case.
-
-
-
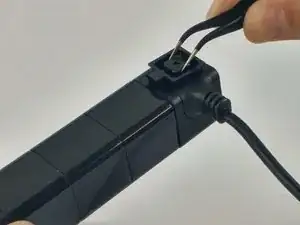
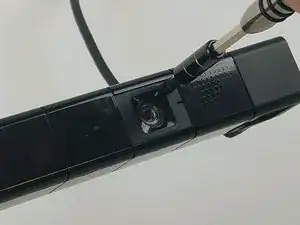
Using the PH0 sized screwdriver, remove two 3.2mm Phillips #0 screws, located under the coverplates.
-
-
-
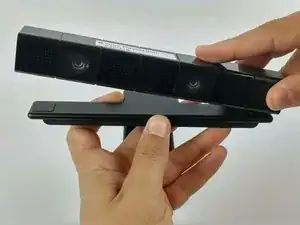
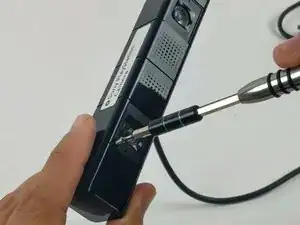
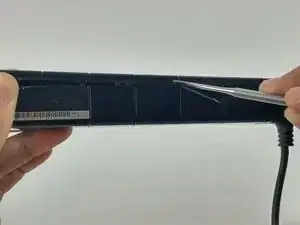
The case joints can be hard to spot. They appear as a very fine line in the plastic. Start with light pressure until the seam parts, allowing the pry tool to work.
-
-
-
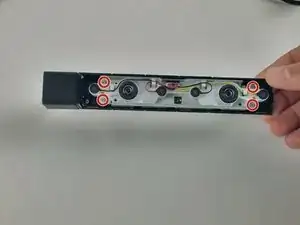
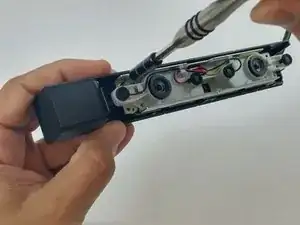
Using the PH0 sized screwdriver, remove the four 4.5mm Phillips #0 screws securing the circuit assembly to the device housing.
-
-
-
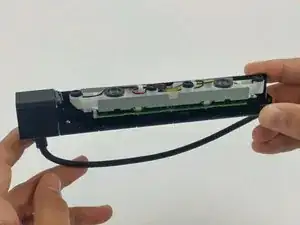
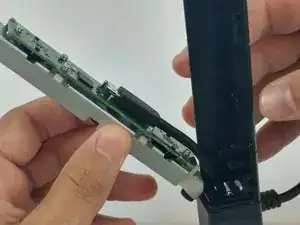
Lift the motherboard and frame from the plastic housing.
-
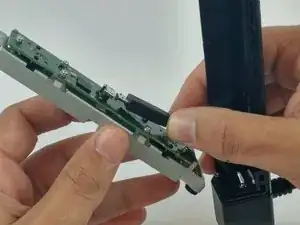
Disconnect the camera cable from the motherboard.
-
-
-
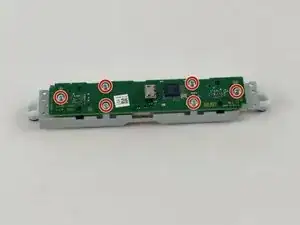
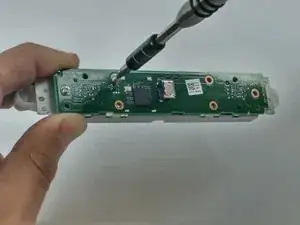
Using the PH0 sized screwdriver, remove the six 4.2mm Phillips #0 screws securing the motherboard to the metal frame.
-
-
-
Using a plastic opening tool, disconnect the microphone array connector from the motherboard.
-
To reassemble your device, follow these instructions in reverse order.
Ein Kommentar
I'm guessing you didn't pin out the cable?
So far I get the following pinout, with one pin with no continuity to I'm assuming my issue is there.
Place both cables so the rounded corners are at the top. The two longer pins on the internal cable will be on the right as you look at it. The PS4 accessory cable end should have the plastic tab carrying the pins at the top as you look at it.
PS4 accessory connector -> Camera internal cable
1 - 7
2 - 1
3 - 2
4 - 3
5 - 4
6 - 5? - broken in my cable or no connection by default
7 - 6
Hope that helps someone.
