Einleitung
This is a prerequisite guide for earpiece deconstruction that requires soldering. It is necessary for most part replacements, but further guides may or may not have to be used depending on what needs to be fixed.
Werkzeuge
-
-
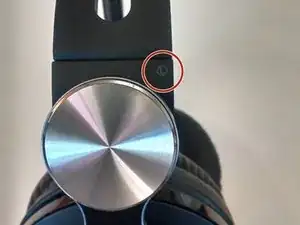
Locate the left side designation on the headband-earpiece junction.
-
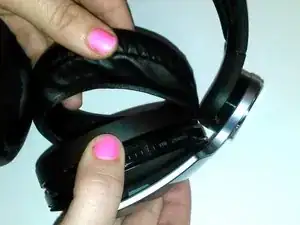
The battery is in the right earpiece.
-
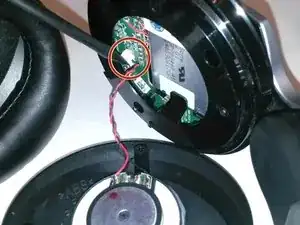
The motherboard is in the left earpiece.
-
-
-
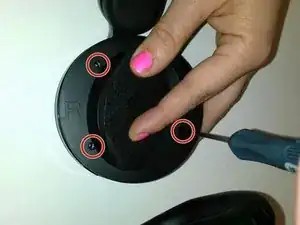
Use the PH00 Screwdriver to remove the three Phillips 6mm screws around the perimeter of the ear cup.
-
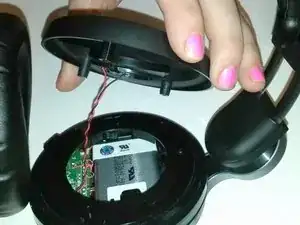
Gently pull the outer ear rim off of the headset assembly.
-
Abschluss
To reassemble your device, follow these instructions in reverse order.
