Einleitung
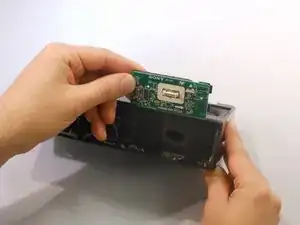
This guide will demonstrate how to remove the sticky button pad.
Werkzeuge
-
-
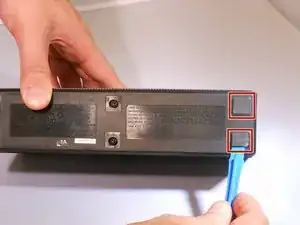
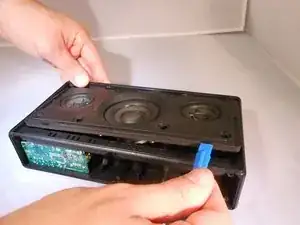
To gain access to the 6 bottom screws remove the following. Remove the adhered 4 corner foam pads on the bottom of the speaker using the blue plastic opening tool to reveal the screws underneath. Remove the adhered 2 center plastic squares.
-
-
-
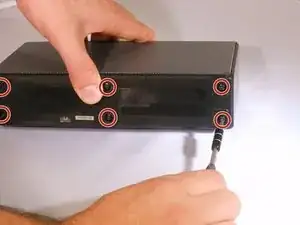
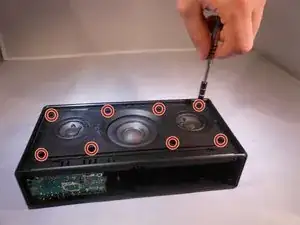
Unscrew the six 6mm screws with a Phillips head #1 screwdriver.
-
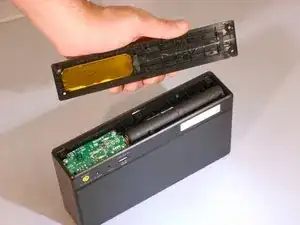
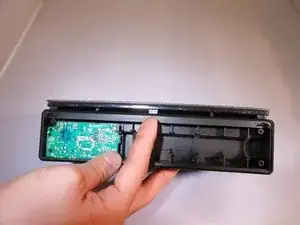
Remove the bottom panel of the speaker.
-
-
-
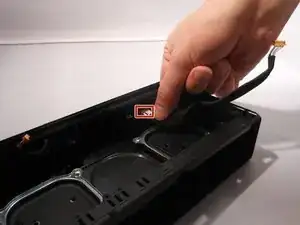
Unplug the battery by gently pinching the plastic end connected to the smaller board and pull away.
-
Remove the battery.
-
-
-
To remove the speaker grill, first push down slightly on the 2 plastic hook tabs to release them, then push the middle plastic screw tab out.
-
-
-
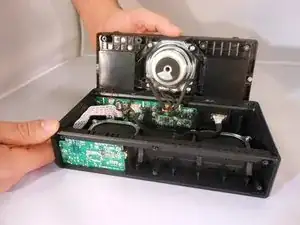
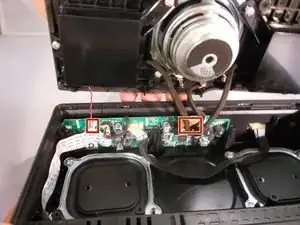
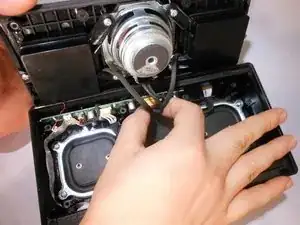
Unplug the 6-pin speaker connector and 2-pin microphone connector from the motherboard by squeezing the sides of the plastic ends.
-
-
-
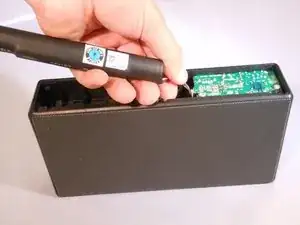
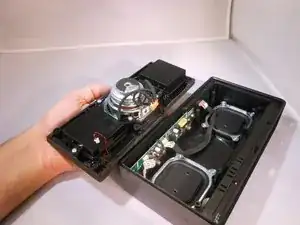
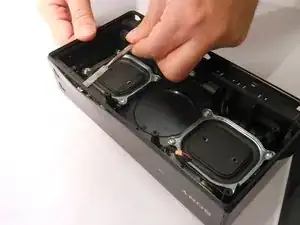
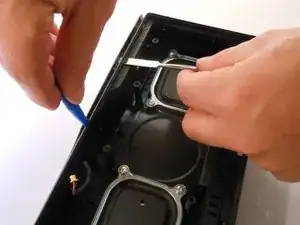
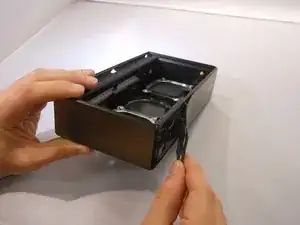
Using both the plastic opening tool and metal spudger gently pry open the cover from the top of the speaker.
-
-
-
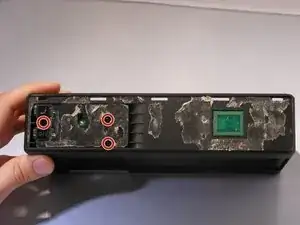
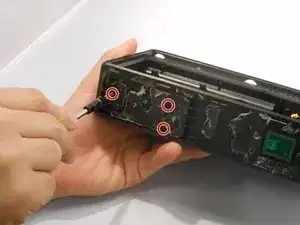
Using the Phillips #00, unscrew the three 3.32mm screws keeping the button board in place.
-
To reassemble your device, follow these instructions in reverse order.

Be consistent with vocabulary. For example, on the first step you used "foam pieces" and "pads" to identify the same thing and it may be confusing for some users.
Yuri Borges -