Einleitung
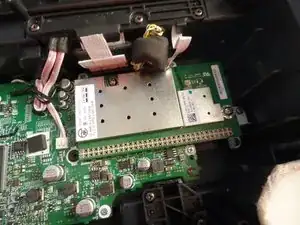
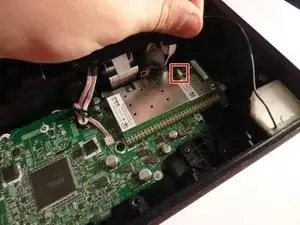
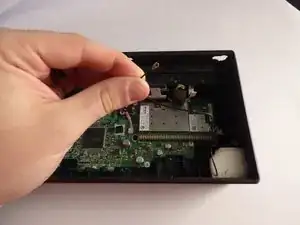
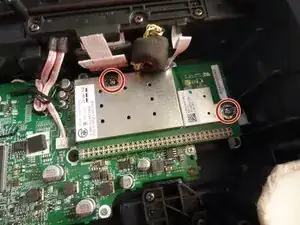
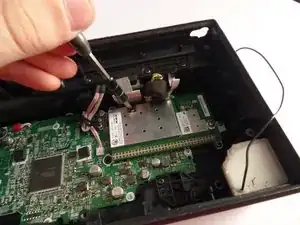
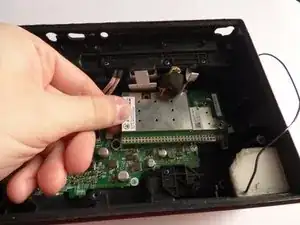
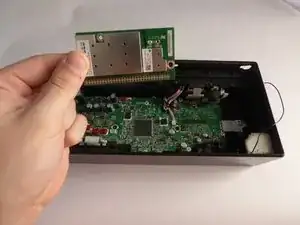
Use this guide to replace the AM/FM chip, and follow it in reverse order to reinstall the new chip.
The AM/FM chip is necessary in order to be able to use the radio feature on your device,
Werkzeuge
Ersatzteile
-
-
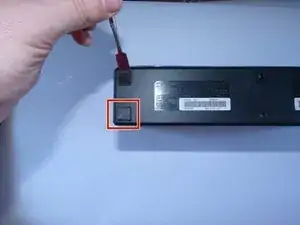
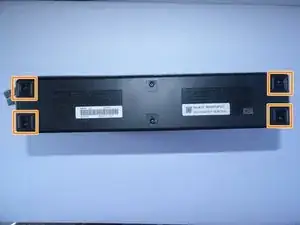
On the bottom of the device, you'll see 4 rubber pieces at the corners. Peel off these rubber pieces.
-
Unscrew the 4 10mm Philips J1 screws beneath them.
-
-
-
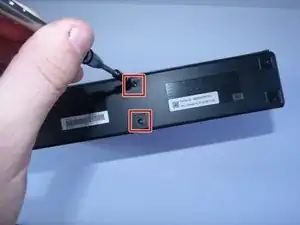
Poke through said stickers and unscrew the 2 10mm Philips J1 screws beneath those.
-
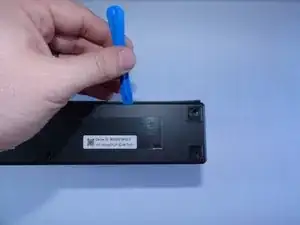
Insert the blue plastic tool into the corner of the bottom faceplate and slide along the edge.
-
-
-
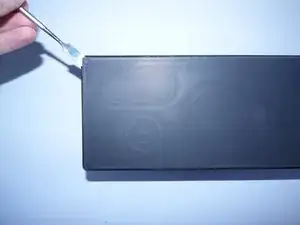
Using a metal spudger, insert it into one of the corners or sides of the units faceplate and lightly pry open.
-
While pried, insert a plastic opening tool and slide along the edges of the unit.
-
Repeat the last step on each side of the unit's faceplate, until the faceplate is off.
-
-
-
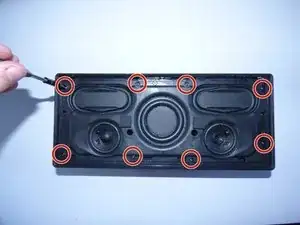
With the faceplate now off, the speakers should be revealed. There should be 8 visible screws around the border of the speakers. Remove the 8 10mm Philips J1 screws.
-
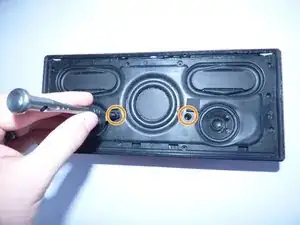
Take the 2 20mm Philips J1 screws out of the middle of the speaker as shown.
-
-
-
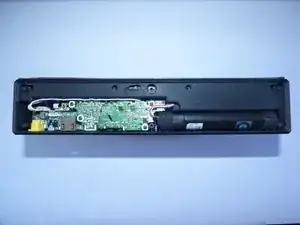
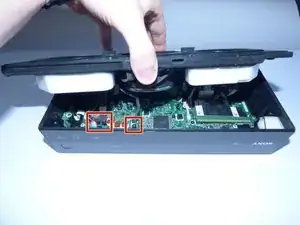
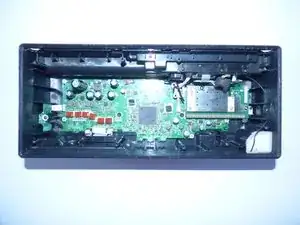
Take the whole speaker out, and disconnect the connectors from the motherboard by lightly pulling on them.
-
Ein Kommentar
AM-FM Chip ?? Bad Translation ?
This Model has no Radio Funktion
This is the WIFI Circuit for Wireless Communication
backi480 -
