Einleitung
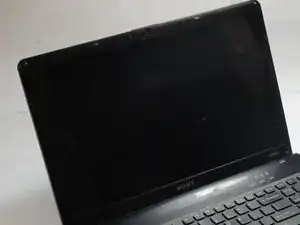
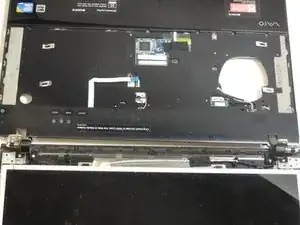
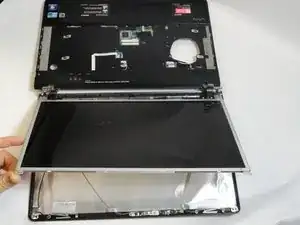
This guide will inform readers on how to safely uninstall the display of the Sony VAIO VPC-EB33FM laptop.
Werkzeuge
Ersatzteile
-
-
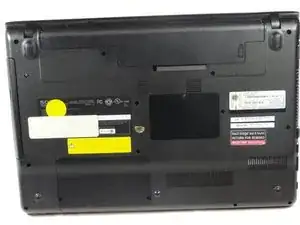
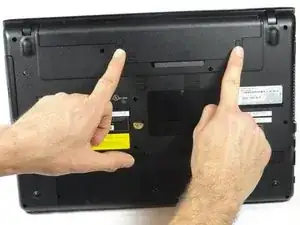
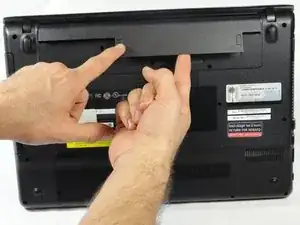
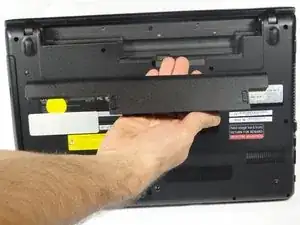
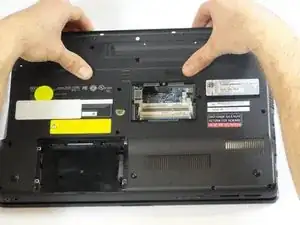
To release the battery, hold both the release button and the unlock button at the same time.
-
-
-
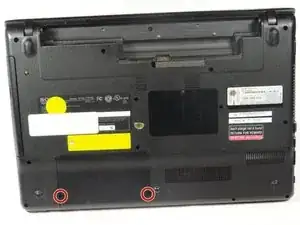
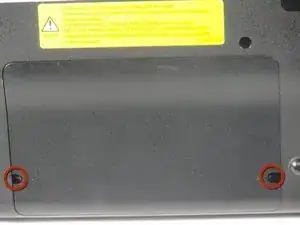
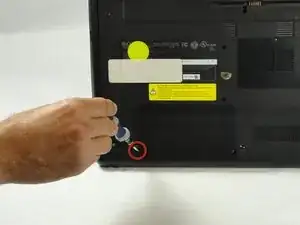
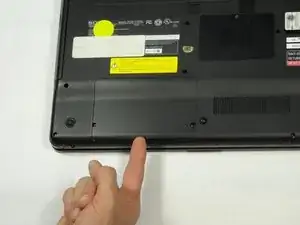
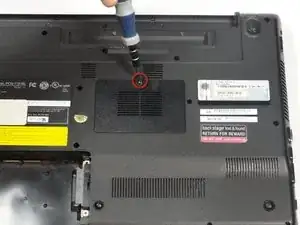
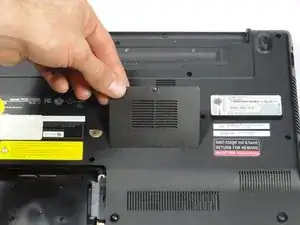
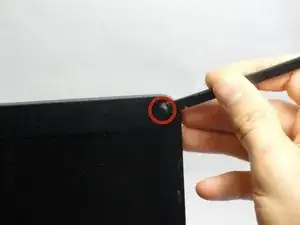
Use a Phillips #00 screwdriver to remove the two 7.8 mm cover screws on the bottom corners of the panel.
-
-
-
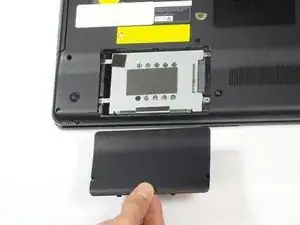
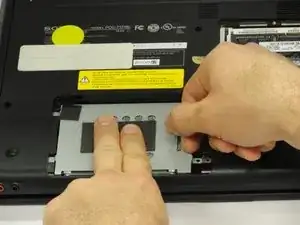
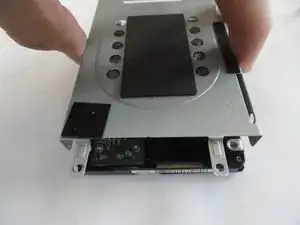
Grab the tab between your thumb and index finger.
-
Hold the hard drive securely in a horizontal position using your other hand.
-
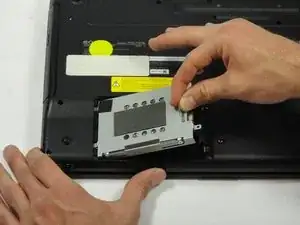
Push the hard drive to the left using the plastic tab to disconnect it from the laptop.
-
-
-
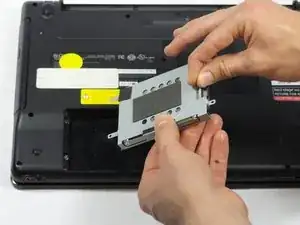
While still holding the plastic tab, lift the right side of the hard drive out at a 45º angle.
-
Pull the hard drive out.
-
-
-
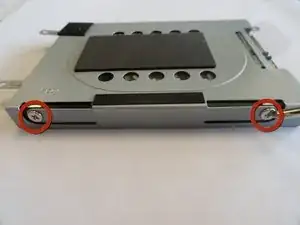
If you need to remove the bracket from the hard drive, follow the next few steps:
-
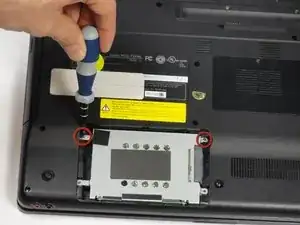
Remove the two 3.7 mm screws from either side of the bracket with a Phillips #00 screwdriver.
-
Lift the bracket off the hard drive.
-
-
-
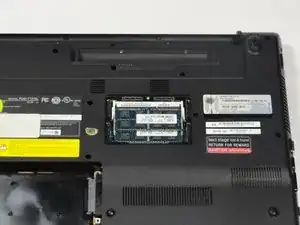
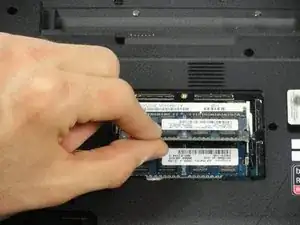
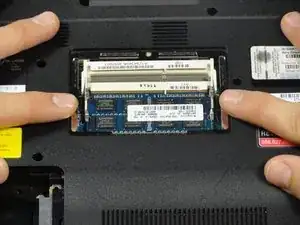
Pull the two retaining arms away from the center of the RAM chip.
-
The RAM will make a "pop" sound and the RAM stick will rise for ease of handling.
-
-
-
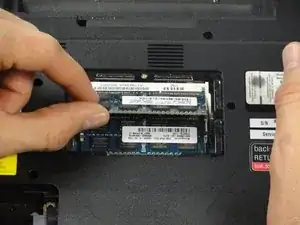
Pull the RAM stick out of its socket.
-
To remove the second stick of RAM, repeat steps six and seven.
-
When installing RAM, make sure sticks are firmly in place or the computer will not register them.
-
-
-
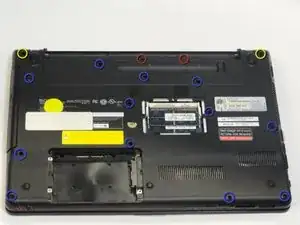
Using a Phillips #00 screwdriver remove the following screws securing the back cover :
-
Two 3.8-mm screws
-
Two 8.9-mm screws
-
Twelve 7.75-mm screws
-
-
-
Using both hands separate the back cover by lifting from the back and working around the perimeter to release tabs.
-
-
-
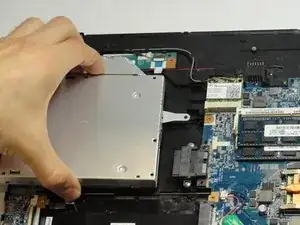
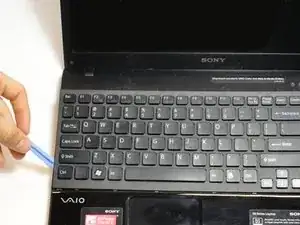
Once the optical drive is removed, locate the keyboard ejection button and press down on it until you hear a snap.
-
-
-
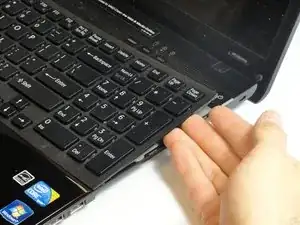
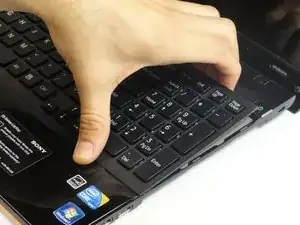
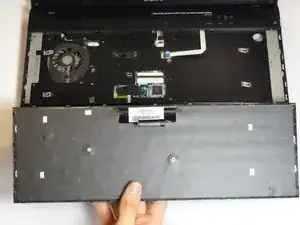
Turn the laptop onto its frontside and unfold the laptop so the keyboard is fully visible.
-
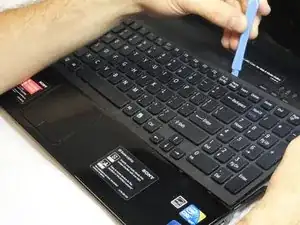
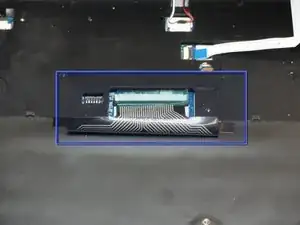
Locate the area where the section of the keyboard was ejected.
-
-
-
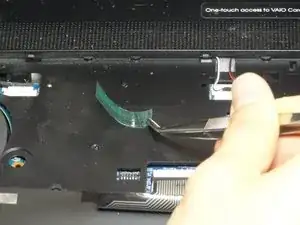
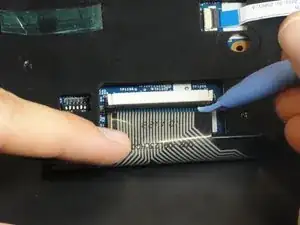
Turn the keyboard on its face and locate the green tape and the ribbon attachment.
-
Using the metal tweezer, remove only the green sticker.
-
Place the sticker at any location as long as you remember to use it for installing the keyboard.
-
-
-
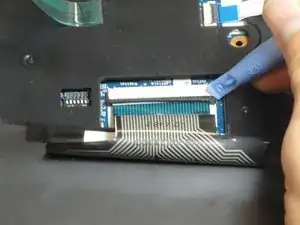
Locate the black retaining arms.
-
Using the plastic opening tool, pull the retaining arms out.
-
-
-
Lift the retaining arms with the plastic opening tool at an angle so that the ribbon attachment can be pulled out.
-
-
-
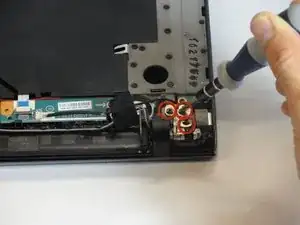
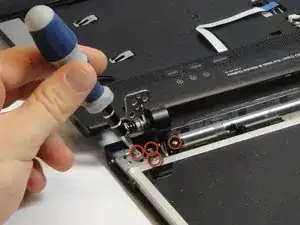
Use a Phillips #1 screwdriver to remove the three 8.88-mm screws attached to the metal hinge at the corner of the laptop.
-
Repeat for the three screws on the opposite corner.
-
-
-
Use a Phillips #00 screwdriver to remove the four 5.75-mm screws under the plastic covers.
-
-
-
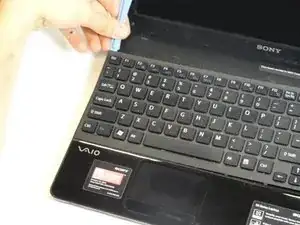
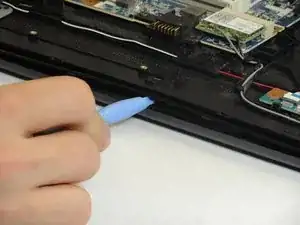
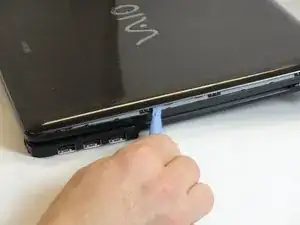
Use the plastic opening tool to separate the plastic front cover by wedging the tool along the seam.
-
Flip the laptop to the other side. If the front cover is still attached continue using the plastic opening tool to separate.
-
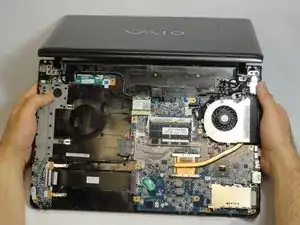
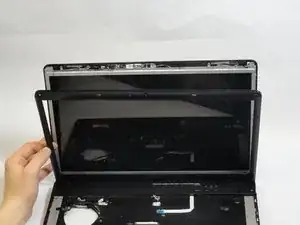
Carefully lift up the display. Completely detach the front plastic cover.
-
-
-
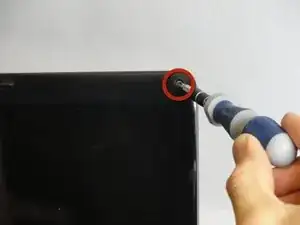
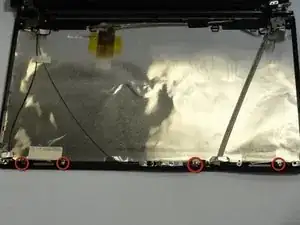
Use a Phillips #00 screwdriver to remove the four 5.65-mm screws on each bottom corner of the display.
-
-
-
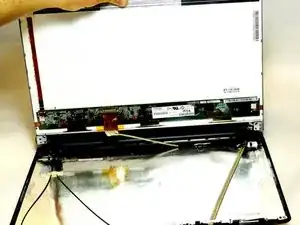
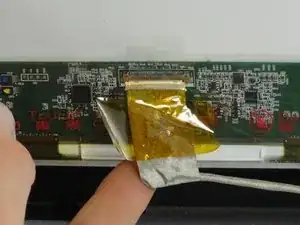
Gently lift and pull the LCD screen up. The back of the screen has a connection attached by yellow tape.
-
Holding the silver flap underneath the yellow tape, pull up and disconnect the wire.
-
Place the LCD screen aside.
-
-
-
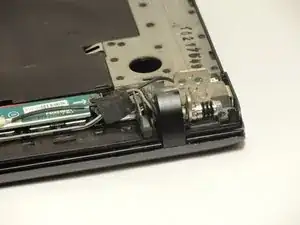
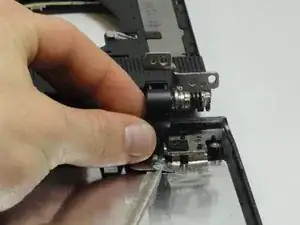
Grab a hold of the black plastic hinge and pull out completely.
-
Repeat for the other side.
-
-
-
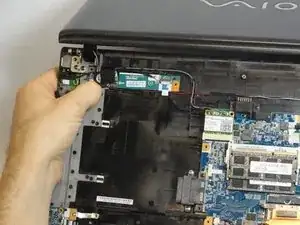
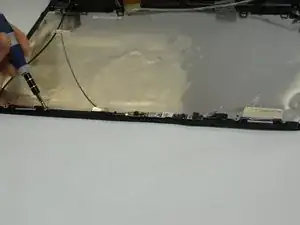
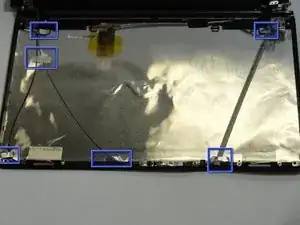
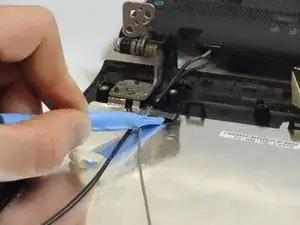
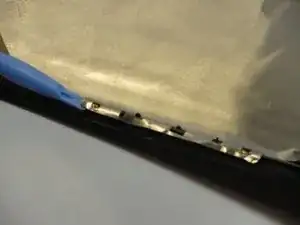
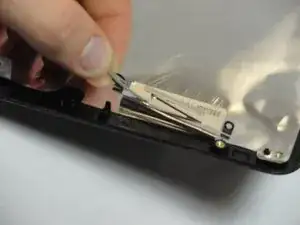
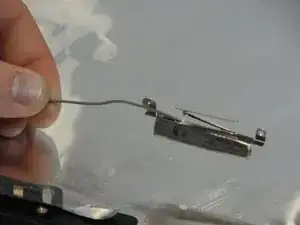
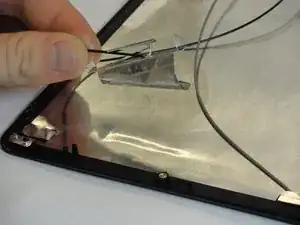
Use the plastic opening tool to gently fold back all metal flaps at the beginnings and ends of wires.
-
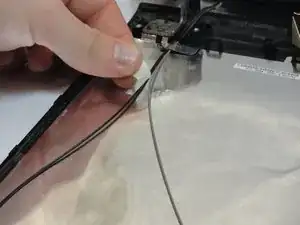
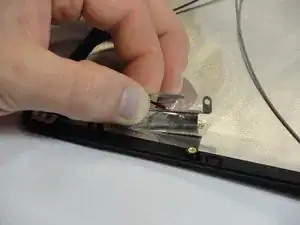
Remove the tape holding a thin black and gray wire in place.
-
-
-
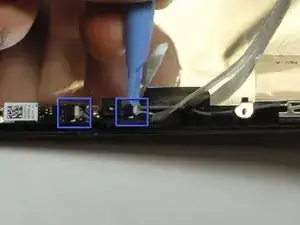
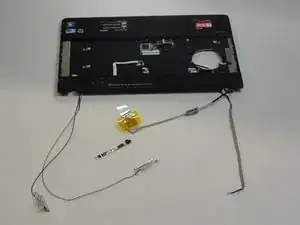
Use a plastic opening tool to loosen and remove the two connections at the top end of the wire with a thick silver covering.
-
-
-
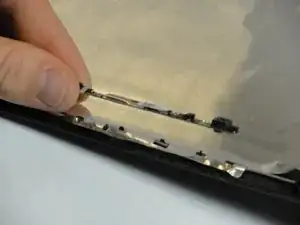
Carefully pull the webcam and to remove it.
-
Fold back the metal flap under the webcam with the plastic opening tool.
-
To reassemble your device, follow these instructions in reverse order.
