Einleitung
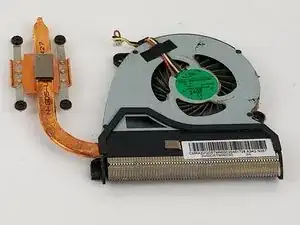
This is an easy to follow, step by step guide to help aid in the replacement of a fan for the Sony Vaio Fit SVF14A190X. The fan helps keep your device at cool operating temperatures to prevent overheating.
Werkzeuge
-
-
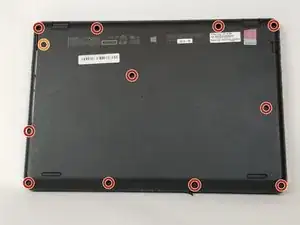
Use the Phillips head screw driver to remove the eleven 6 mm screws.
-
Use the Phillips head screw driver to remove the one 4 mm screw securing the CD drive.
-
-
-
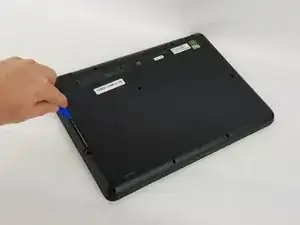
Insert the plastic opening tool into the slit of the CD drive.
-
Then pull it outwards.
-
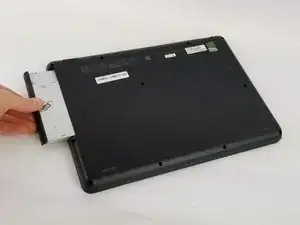
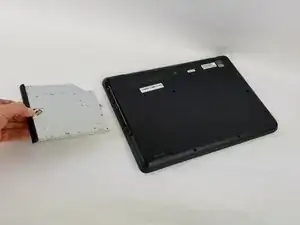
Grab the CD drive with your hand.
-
Take the CD drive all the way out.
-
-
-
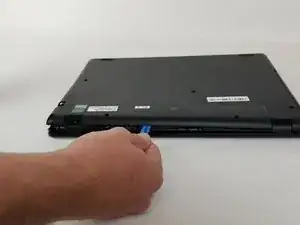
Insert the plastic opening tool into the slit between the back cover and the rest of the computer.
-
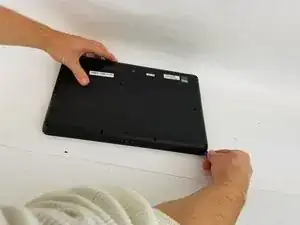
Move the plastic opening tool around all sides of the device.
-
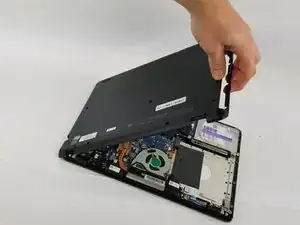
Peel off the back cover.
-
-
-
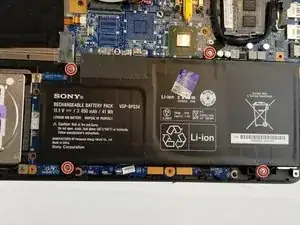
Use the Phillips head screw driver to remove the four 7 mm screws.
-
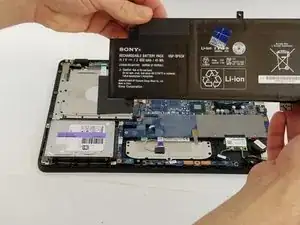
Lift the battery out with your hand.
-
-
-
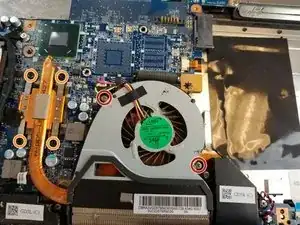
Use the Phillips head screw driver to remove the two 5 mm screws on the fan.
-
Loosen the four screws with the Phillips head screw driver on the copper cooling component. These screws will not come all of the way out.
-
-
-
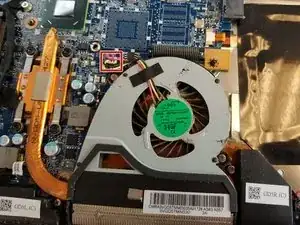
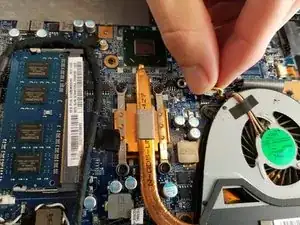
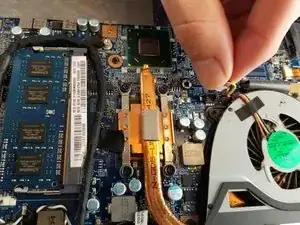
Gently grab the base of the fan wire connection.
-
Pull the base of the wire connection from the motherboard to disconnect the wires.
-
-
-
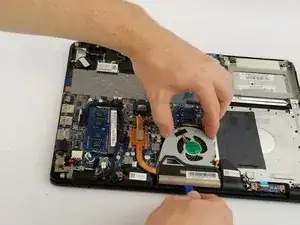
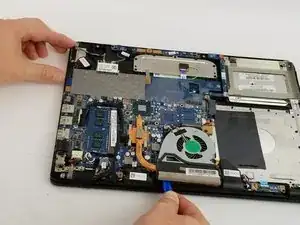
Once the prior two steps have been completed, obtain the plastic opening tool.
-
Gently place the plastic opening tool underneath the fan and separate the fan from the device by sliding the tool along the bottom of the fan.
-
Once separated, you can now lift the fan out by hand.
-
To reassemble your device, follow these instructions in reverse order.
Ein Kommentar
Nice
This my problem In my PC
