Einleitung
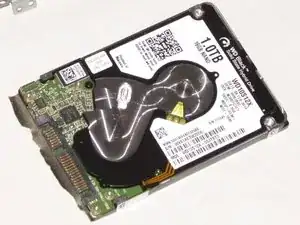
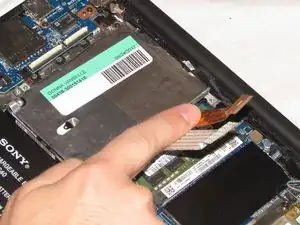
This guide will show you how to identify and properly remove the hard drive for the Sony Vaio Fit SVF15N26CXB. Use the project mat to keep the screws organized.
Werkzeuge
-
-
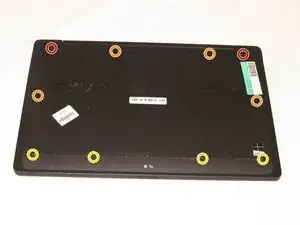
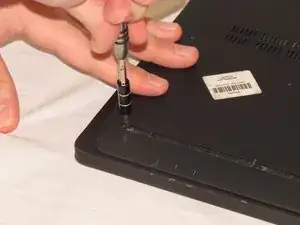
Remove the following ten screws from the bottom case of the laptop:
-
Two 6.5mm Phillips #00 Phillips screws.
-
Four 8.95mm Phillips #00 screws.
-
Four 6.25mm Phillips #00 screws.
-
-
-
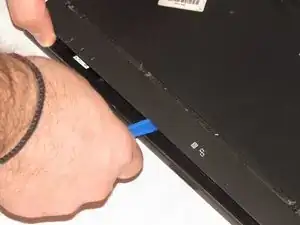
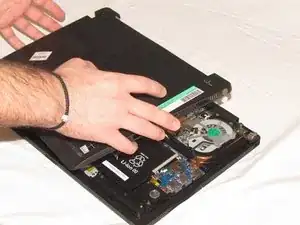
Use a plastic opening tool to separate the bottom cover from the laptop.
-
Lift the lower cover and pull away from the laptop.
-
-
-
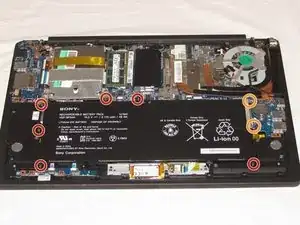
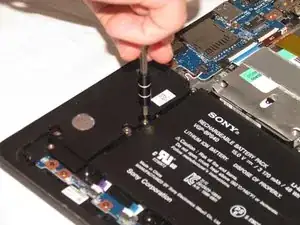
Remove the eight Phillips #00 screws from the battery:
-
Six 4.65mm screws.
-
Two 4.65mm screws.
-
-
-
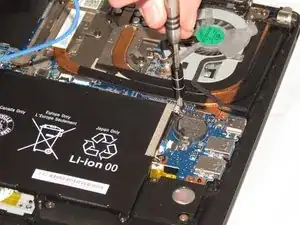
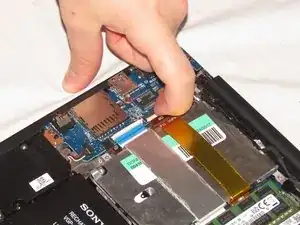
Use a spudger to flip up the black latch on the ZIF connectors.
-
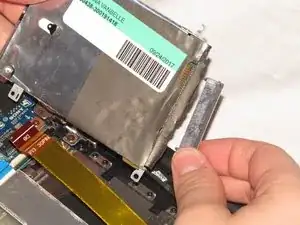
Pull the ribbon cables out of the ZIF connectors and fold them over the hard drive.
-
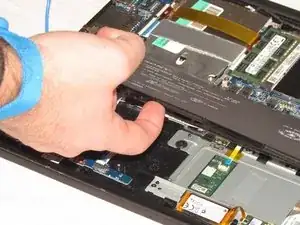
Disconnect the hard drive and remove.
-
-
-
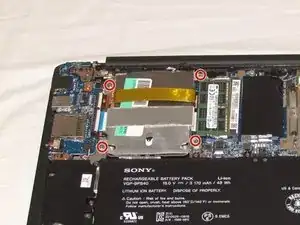
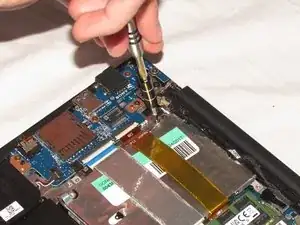
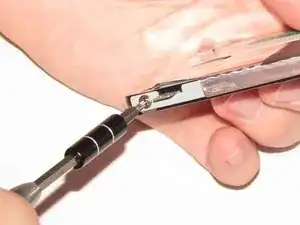
Remove the four 3.70mm Phillips #00 screws from the hard drive mounting case.
-
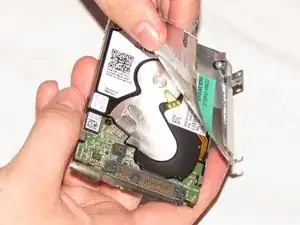
Carefully peel foil tray off of hard drive.
-
To reassemble your device, follow these instructions in reverse order.
