Einleitung

  1. TsriId1fNZeCJJC4
    TsriId1fNZeCJJC4
    MxWHslYPTnQnRhZa
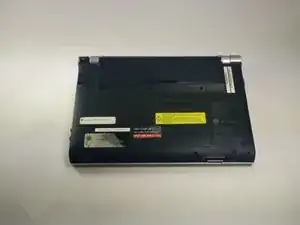
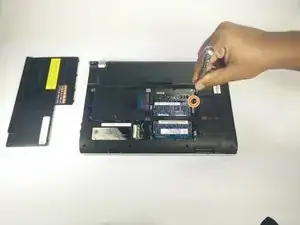
    • Start with device closed, powered off, and upside down.

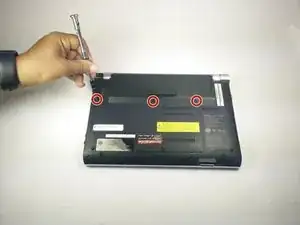
    • Locate 3 screws on the bottom plate and unscrew

    • These screws do not detach from the bottom plate.

  2. IwOsT4OEYsvdEhi6
    IwOsT4OEYsvdEhi6
    yWPUtxc3Bxj2bW6B
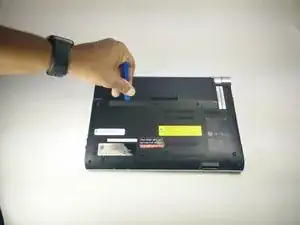
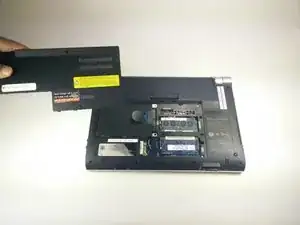
    • Use a plastic opening tool to pry up on the plate and remove from device.

  3. dBbUy1NBHCbPYlsO
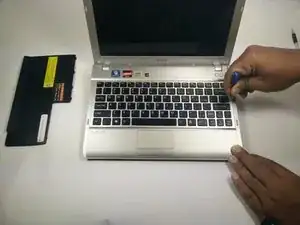
    • Locate screw labeled "KB" and remove.

  4. mHNxuwwfYnMEfTfW
    mHNxuwwfYnMEfTfW
    KvRj5LBFiGcehtSi
    R6eRqV6DXKBNNEDR
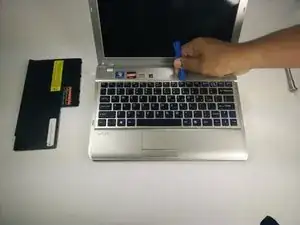
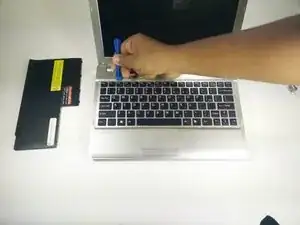
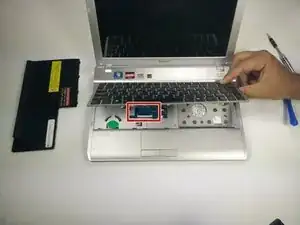
    • Use a plastic opening tool tool to pry around the edge of the keyboard.

  5. BXgg2YyvIywmdhaL
    BXgg2YyvIywmdhaL
    VudZPGOuAysecpnV
    qUL3GC3gCXpHYjqI
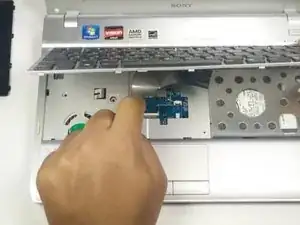
    • Once detached, tilt the keyboard forward, exposing a blue ribbon cable.

    • Place finger on black tab and pull back. Then, give a gentle tug on the ribbon cable and it will detach.

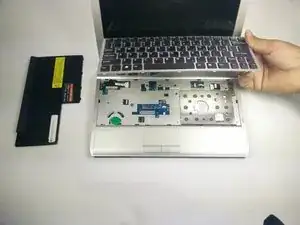
    • Once the ribbon cable has been detached, lift the keyboard away from the device.

  6. QICw32IQB23mGtZQ
    QICw32IQB23mGtZQ
    3LLsPrVhlYhUAEM1
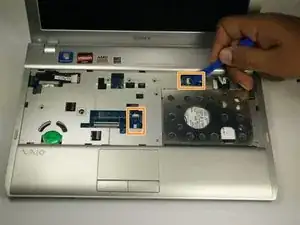
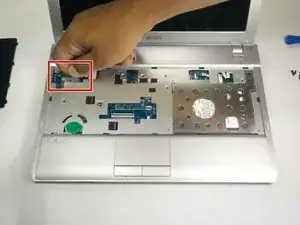
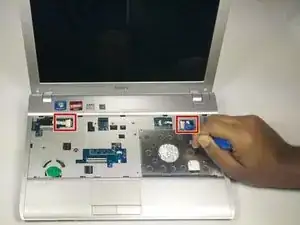
    • Use the plastic opening tool to pull back the ribbon cables attached to the motherboard

    • Use the plastic opening tool to pop up the black tabs and pull the remaining ribbon cables.

  7. tGEbTvG4nWwQKKCG
    tGEbTvG4nWwQKKCG
    LMNtbvpiS2ZPmLwg
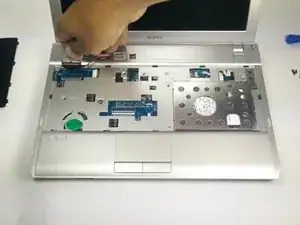
    • Locate the LCD ribbon cable

    • Pull up and away from device to detach the LCD ribbon cable.

  8. oVvXhQCYDEjRsyV6
    oVvXhQCYDEjRsyV6
    4YsRNdboaeOBshUE
    DNPSVNlYQ1Ec16hy
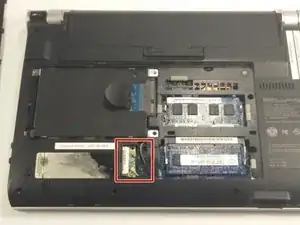
    • Close and flip over laptop.

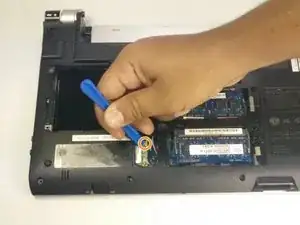
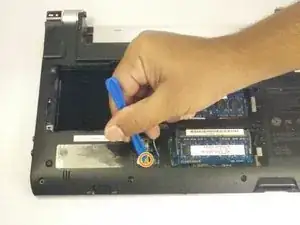
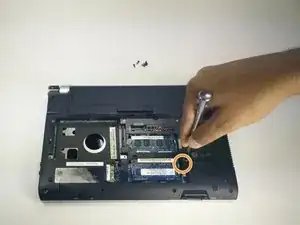
    • Locate the WiFi network card.

    • Use the plastic opening tool to pry up the two connectors.

  9. Na654ObOTmA4J2Ci
    Na654ObOTmA4J2Ci
    SfAM4Y6IYw5IsBjX
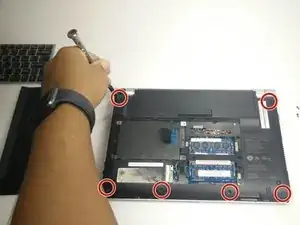
    • Locate the 6 screws on the bottom and remove.

    • Remove the final screw in the center to release the motherboard from the case.

Abschluss

To reassemble your device, follow these instructions in reverse order.
Tyler

Mitglied seit: 24/08/16

45 Reputation

0 Kommentare