Einleitung

If the laptop is experiencing issues when connecting to the internet without any software or internet service provider fixes working, then use this guide to replace the defective network card.

  1. wolKae6VVkfEWRSX
    wolKae6VVkfEWRSX
    Nd3fsGjHEvVaGxv1
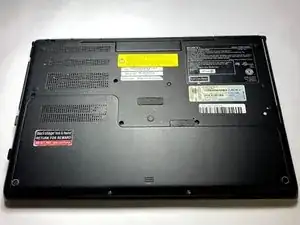
    • Flip the laptop over to begin the process.

    • Make sure the laptop is turned off and unplugged from the power cable.

  2. ZgXpKhHNNpaTIuut
    ZgXpKhHNNpaTIuut
    Y3QLRQrXdEdpnX4g
    ZVAVFIRkHMncLmVH
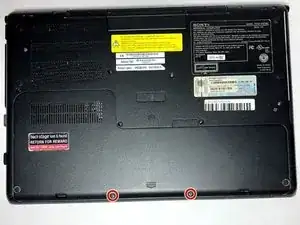
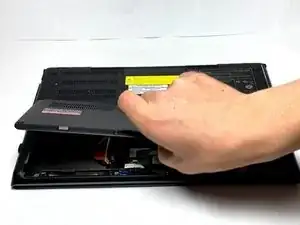
    • Remove the two 7mm Phillips #1 screws holding the battery cover.

  3. IJY3BMSfHPjZjhpl
    IJY3BMSfHPjZjhpl
    XoVKfKkUdRGTLrDc
    bHXWANlOduLUDpvO
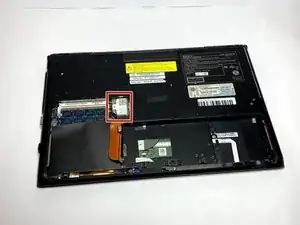
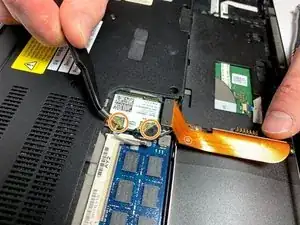
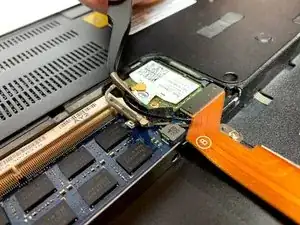
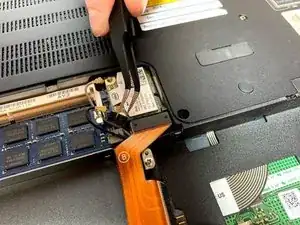
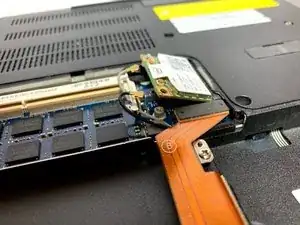
    • Locate the networking card above the hard drive and next to the RAM.

    • Carefully pop out the two connection cables from the networking card.

  4. y2cBEroXafOx4uSx
    y2cBEroXafOx4uSx
    16aE3xPeCDVOdHNU
    j2EPAGISVBSSnnyJ
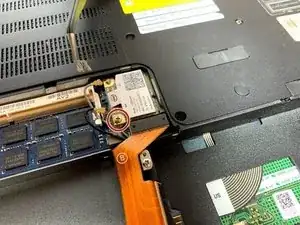
    • Remove the black tape to uncover the screw underneath.

    • Remove the 3mm Phillips head screw.

    • When loosening the screw, the network card will automatically lift itself to a diagonal position. This is normal.

  5. NOMDwSDAIBUpEIrR
    NOMDwSDAIBUpEIrR
    Y1FxAaKYQVtmdPdb
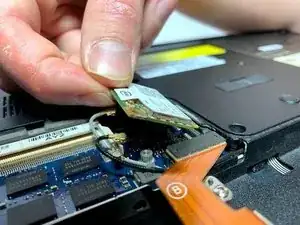
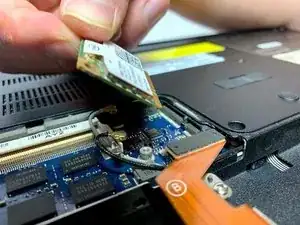
    • Pull the network card straight out in the direction it is resting in.

    • Reinsert the new network card diagonally and into the same position as the previous one.

    • To screw the new network card back into place, you will need to push the network card back down onto the motherboard.

Abschluss

To reassemble your device, follow these instructions in reverse order.

Elmar Charoensaengsanga

Mitglied seit: 15/03/18

363 Reputation

0 Kommentare