Einleitung
If your laptop is not powering on or is not holding a charge, a faulty battery could be the issue. Before starting this guide, it may be helpful to have a secure place to put the screws after they have been removed.
Werkzeuge
-
-
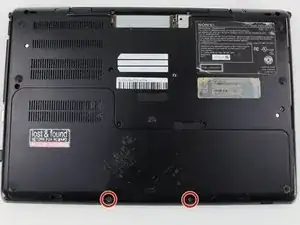
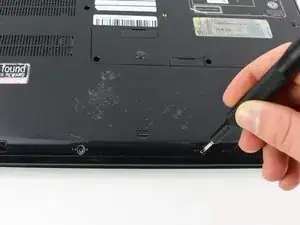
Remove the two 3mm Phillips #0 screws on the bottom of the computer that secure the plastic backing.
-
-
-
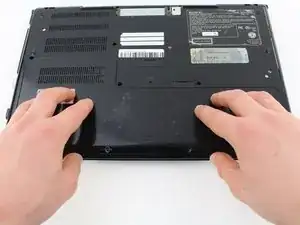
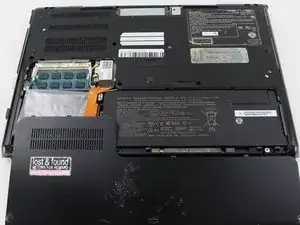
Pull the bottom plate towards yourself until it unhinges fully.
-
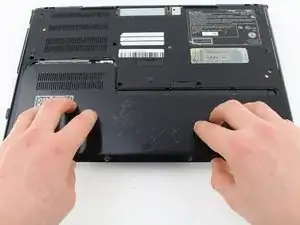
Once the plate is free from the backing remove it completely.
-
-
-
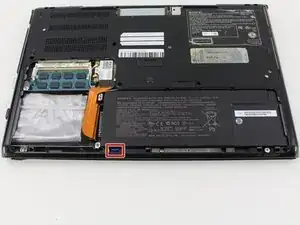
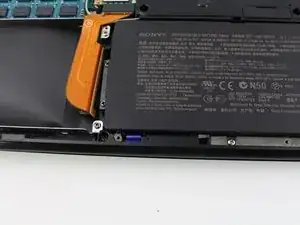
Pull the blue tab towards yourself until you hear a click.
-
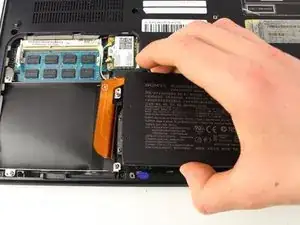
Once the blue tab is released, pull up on the battery.
-
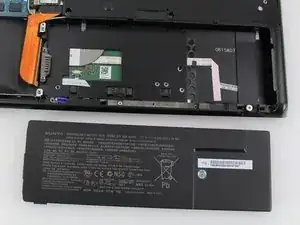
Once the battery can move freely, take it out completely.
-
Abschluss
To reassemble your device, follow these instructions in reverse order.
