Einleitung
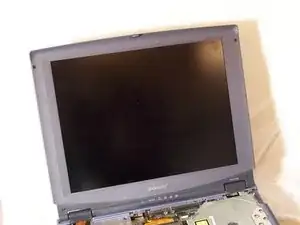
If the display is damaged and does not function properly, you should remove it and get it repaired or replaced.
CAUTION: Static electricity in your body can ruin you computer. Use an anti-static wristband.
Werkzeuge
-
-
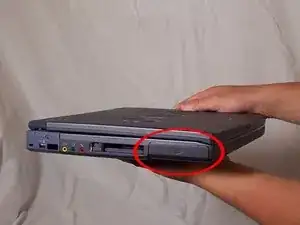
Pull the plastic cover down (indicated by the arrow on the cover) and then swing it upwards to reveal the battery compartment.
-
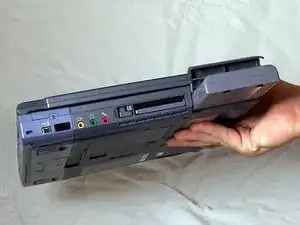
The battery can now be removed by pulling it.
-
-
-
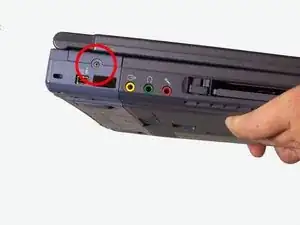
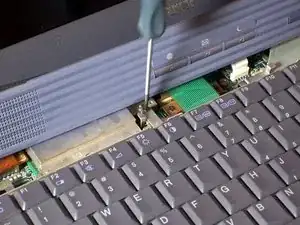
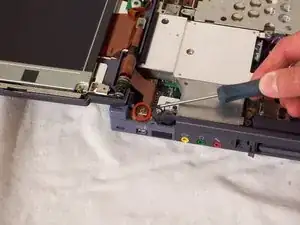
Use your Philips #00 screwdriver to unscrew the small screw counterclockwise. This screw is for the audio/visual jacks on the left side of the laptop.
-
-
-
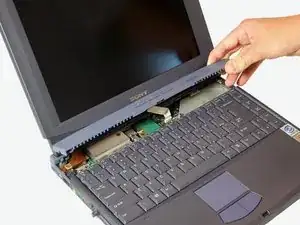
This will unlock the cover between the keyboard and screen. Gently slide it to the right and lift up.
-
-
-
Lift up the cover and lean it against the display so it is out of the way for the rest of the process.
-
Remove the small screw above the F6 key on the keyboard. Place screw in container to ensure it wont be lost.
-
-
-
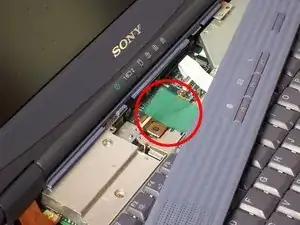
Find the green ribbon as indicated in the picture by the red circle. This is what connects the keyboard to the motherboard.
-
-
-
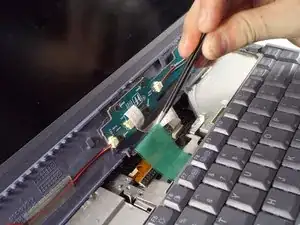
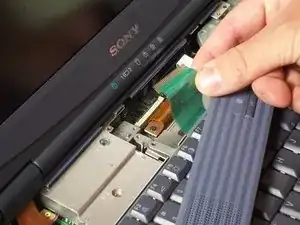
To unplug the ribbon cable, use a pair of tweezers to lift up the white bar near the connection to the motherboard. Only lift up the ribbon lightly to release ribbon from the motherboard.
-
-
-
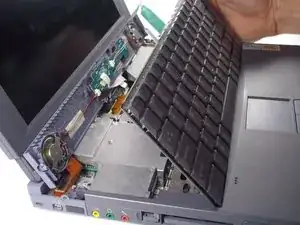
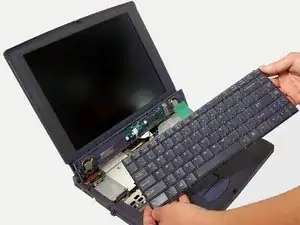
Your keyboard is now safety detached. Necessary repairs or replacements can be made from here.
-
-
-
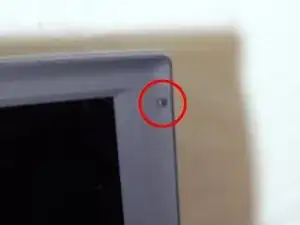
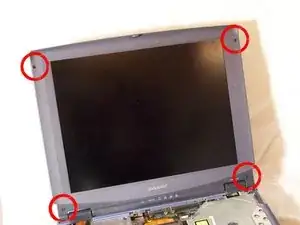
Use tweezers to remove the rubber covers on the four screws at the corners near the display.
-
-
-
Unscrew the four screws that attach the front bezel panel with the display assembly. The front bezel panel is the plastic frame around the display.
-
-
-
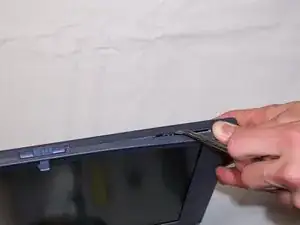
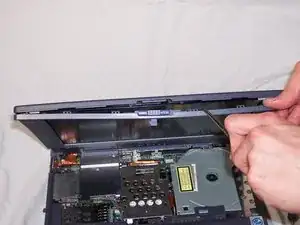
Using a spudger or another flat-headed tool, start to pry away the front bezel panel from the display assembly. While putting pressure on the front bezel, place the spudger on the seam connecting the front and rear bezel, and the clip attaching the two panels should start to come apart.
-
-
-
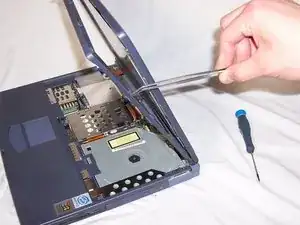
There are a total of 14 clips holding the two bezel panels together. Be careful when unclipping all of them, they break easily. After all the clips are off, the bezel will just pop right off the display panel.
-
-
-
Find and unscrew the four gold philips-head screws that attach the display to the rear bezel of the display assembly. Do not immediately remove the display, there are cables attaching it to the rear bezel.
-
-
-
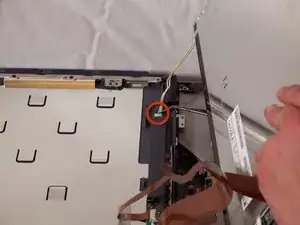
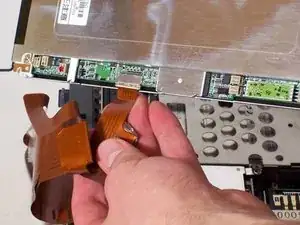
Locate the ribbon cable slot and the two-pin backlight cable. Simply pull both of the cables out of their sockets, using light to moderate force.
-
To reassemble your device, follow these instructions in reverse order.
