Einleitung
Werkzeuge
-
-
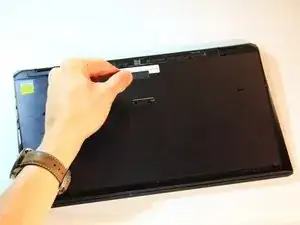
Remove cover for the extended battery connector. Use your finger nail or a plastic opening tool to remove it.
-
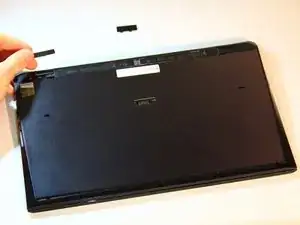
Remove the two rubber feet at the back of the computer, these can be removed in the same way.
-
-
-
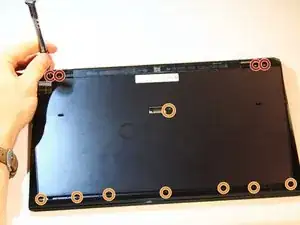
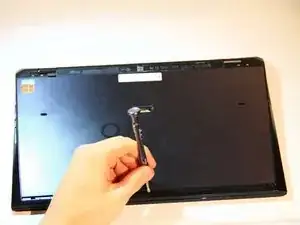
Remove the four 5.6mm Philips #00 screws located at the top of the computer.
-
Remove the eight 3.6mm Philips #00 screws on the base of the computer.
-
-
-
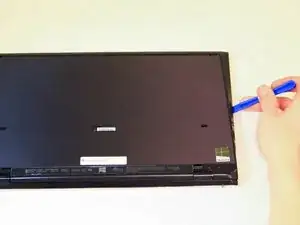
Using a plastic opening tool, pry the plastic casing away from the base of the computer, the remaining clips around the edges can be released using your hands.
-
-
-
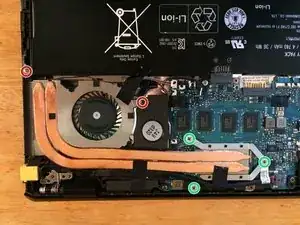
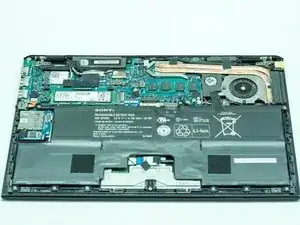
Remove the two screws indicated in the red circles. Loosen the three captive screws indicated in the green circles.
-
-
-
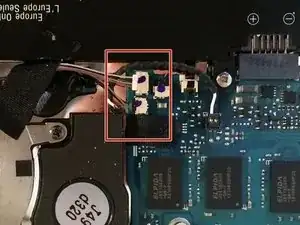
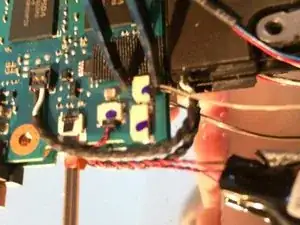
Watch out for these two ridiculously fine wires. Carefully disconnect these with a pair of tweezers. Don't pull on the wires to remove these.
-
-
-
Undo three bits of black tape holding down various wires connected to the fan and heatsink. Lift up the corner of the battery next to the outside of the case. Lift the corner of the fan so it's above the corner of the battery (or you can just remove the battery altogether; that might be easier).
-
Carefully wiggle the heatsink out from under the taped wires. Remove the whole unit from the computer.
-
-
-
If you have ordered a completely new fan and heatsink, go directly to step 8.
-
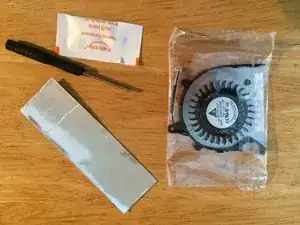
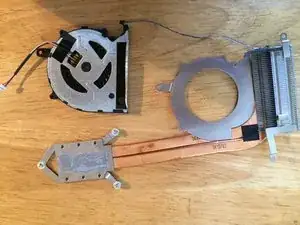
The fan I ordered came without a heat sink, and contained the parts shown: fan body, thermal paste, screwdriver and a bit of foil tape.
-
-
-
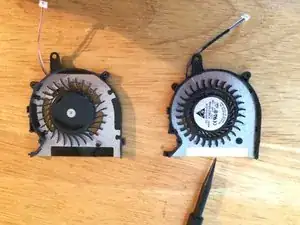
In my case the new fan (right) had a bit of white adhesive tape here - not good - that's going to collect every bit of dirt that goes through this fan!
-
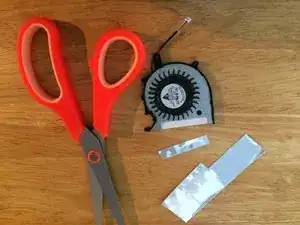
So I snipped off some of the foil tape, and covered up the adhesive side of the white tape. Problem solved.
-
-
-
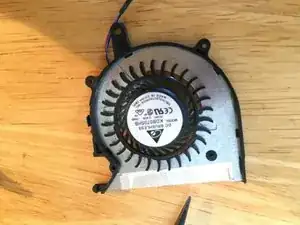
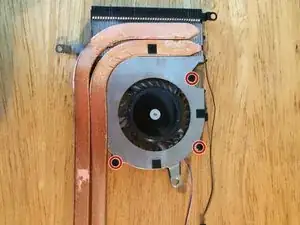
Affix the new fan housing to the assembly using the 3 screws from the old fan (marked with red circles).
-
-
-
Thoroughly clean off the old thermal paste from the CPU and the heat sink. Apply a small amount of paste to the processor in the two spots that contact the heat sink.
-
-
-
Reverse the procedure you used to remove the fan and heat sink. The thermal and power cables only go in one way. To avoid breaking these wires, I used tweezers to insert these connectors.
-
-
-
Tighten the screws to affix the heat sink to CPU, and install the two screws that connect the fan to the case.
-
Put the case back together, power up and test. (I started a half dozen apps and within a half a minute the fan started up). I wasn't completely happy with the new fan, as it isn't completely silent but it was waaaay better than the old one.
-
To reassemble your device, follow these instructions in reverse order.
Ein Kommentar
Hi, exactly what I need ! Any advice where to buy the fan ? I’m in France
And I also need rubber feet and the little plastic cover for the second battery if you know where to find it.
I found few websites for the fan but I’m not sure of the quality. The price move from 10$ to 60$… And for the accessories, nothing.
Romain -
