Einleitung
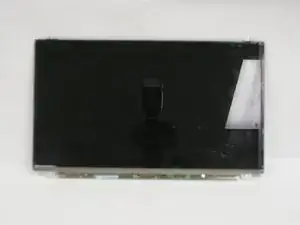
If your laptop display is damaged or does not work at all, you can use this guide to replace the LCD Screen. This process is simple, and only requires a #0 Phillips screwdriver, plastic opening tool, and magnetic project mat to keep track of the screws for each step. Be sure to handle the LCD Screen and all wires with care, as they are delicate parts.
Werkzeuge
-
-
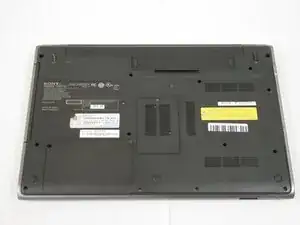
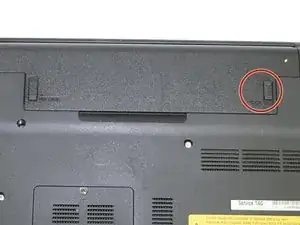
Slide the "lock" tab upward to unlock the battery before removal.
-
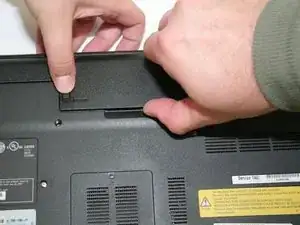
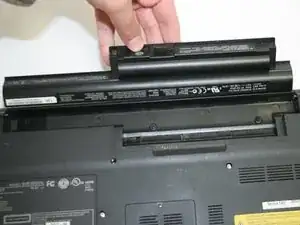
While pushing the "release" tab upward, lift the battery and pull outward to remove it from the laptop.
-
-
-
Turn the computer back over and open the lid.
-
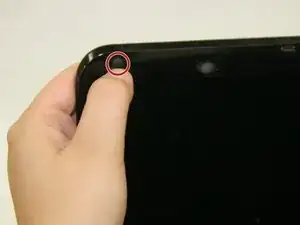
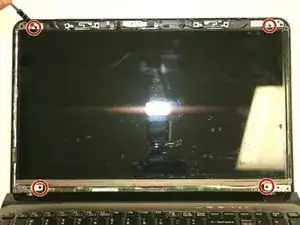
Remove the four rubber screw covers at each corner of the screen to expose the bezel screws
-
-
-
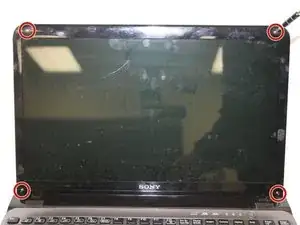
Use a #0 Phillips screwdriver to remove the four 4.0 mm screen bezel screws in each corner.
-
-
-
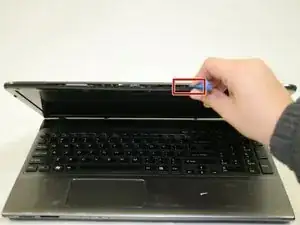
Insert a plastic opening tool between the bezel and laptop lid. Work it around the edge to loosen the bezel.
-
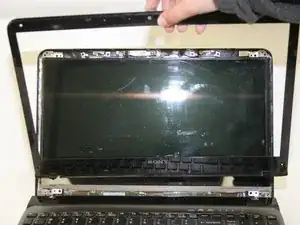
Lift the bezel outward to remove it and expose the screen.
-
-
-
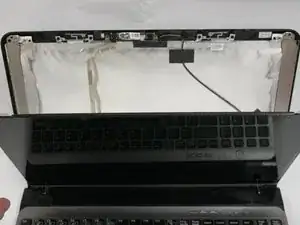
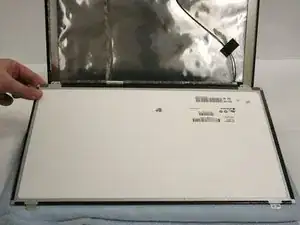
Pull the screen toward you and away from the lid until a silver cable behind the screen is visible.
-
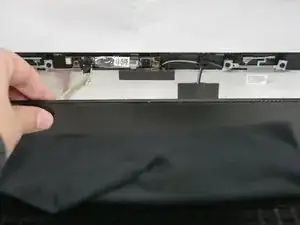
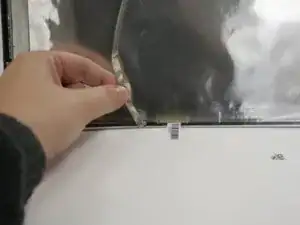
Remove the silver cable from the back of the screen. It is glued at the top and the bottom.
-
-
-
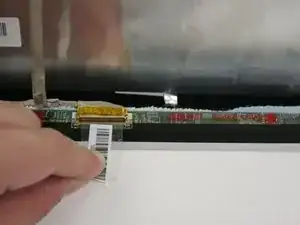
Lift the barcode label on the back of the screen upward to loosen the screen cable connector.
-
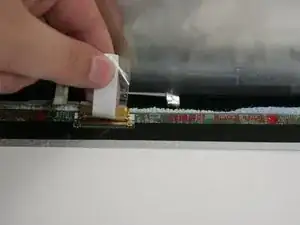
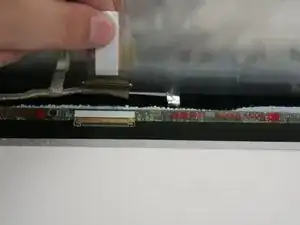
Once the connector is visible, remove it from the pins on the back of the screen.
-
To reassemble your device, follow these instructions in reverse order.
