Einleitung

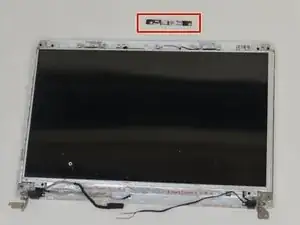
The camera is the component that captures images for the laptop to process. The camera faces the user and is usually used for video communication. This guide shows the steps to remove the motherboard for repair or replacement.

  1. 4BAvY21DXIYhbpZp
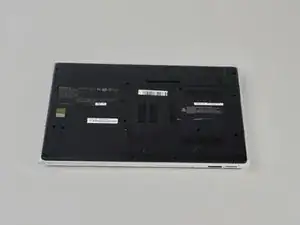
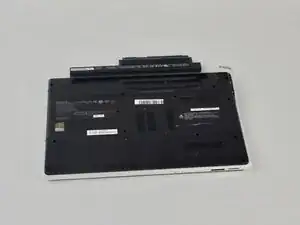
    • Turn the laptop over so its underside is facing upwards and visible.

  2. 1IYh5fEVphulRoHD
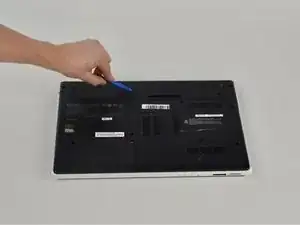
    • Standing so that the barcode and warning labels are upright and legible, push the left tab up and away from yourself.

  3. KpNwH2ROLUfHYKcJ
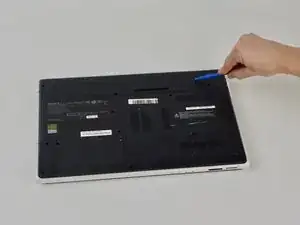
    • Standing so that the barcode and warning labels are upright and legible, push the right tab up and away from yourself.

  4. jEErFnailisjvPO2
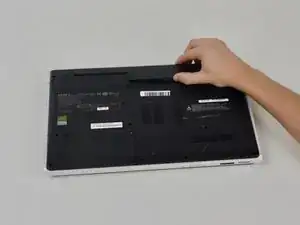
    • Locate the small gap where the battery and the laptop shell meet. Lift from the gap and rotate the battery up and away from yourself.

  5. Ljvxh5qYGL43CKDJ
    • Pull battery away from laptop.

  6. DokyTcoAXrj4rdv4
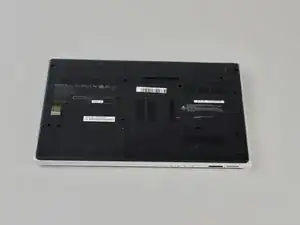
    • Flip laptop over so the bottom is facing upwards.

    • Remove bottom of laptop.

  7. OrMxosfcCNl6YUYY
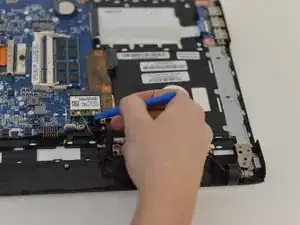
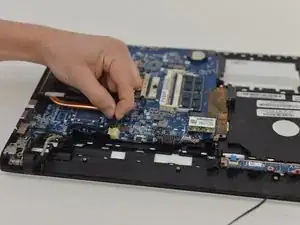
    • Remove antenna wires attached to the WiFi card using a plastic opening tool.

  8. Gl3RVjpaTgCnE1F1
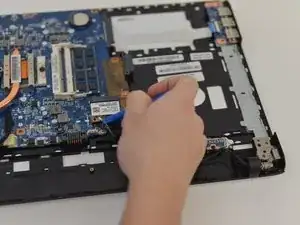
    • Remove the other antenna wire.

  9. eQsoWtf6eDwsLtWw
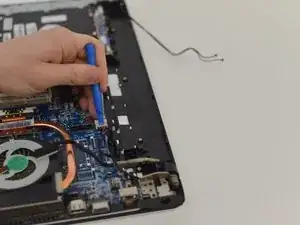
    • Remove the display cable by pulling upwards.

  10. gICjEL1dQ2ewKlBy
    • Remove the power display cable with a plastic opening tool by pushing outwards.

  11. pPRUsmOS53XaLUV4
    pPRUsmOS53XaLUV4
    63c2F1sYDIbq5cVb
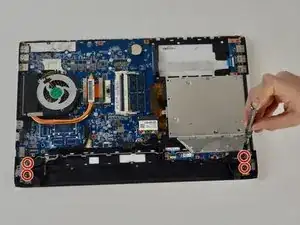
    • Remove 4 hinge screws with a Phillips #0 screwdriver.

  12. Xgh3WCJuFdoDXqDU
    Xgh3WCJuFdoDXqDU
    XfIl3OLFBUFHbUMT
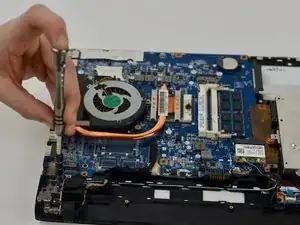
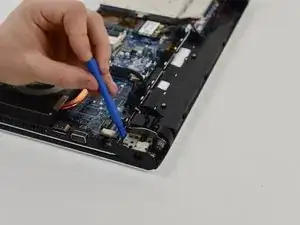
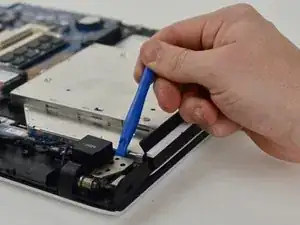
    • Lift upward on the hinges with a plastic opening tool to release them.

  13. OEvSSVGgUKXKoNT6
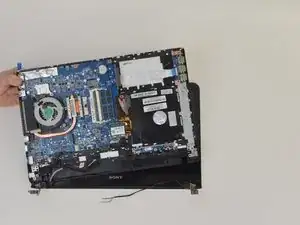
    • Separate the bottom of the laptop from the monitor.

  14. pD4PdaXF46oLBhAJ
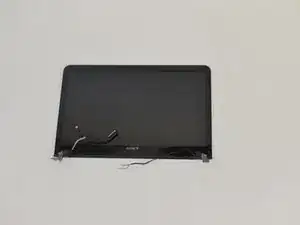
    • Completely detach screen from the laptop.

  15. bPIGkKSqwxZIONLW
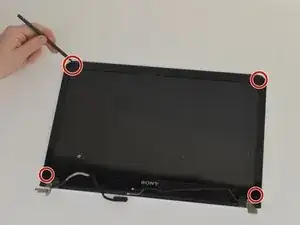
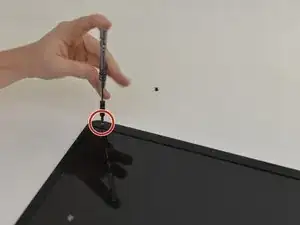
    • Remove the rubber nipples to expose the screws using the pointed side of the spudger.

  16. Pt6QTTCiVbJgBWjJ
    • Remove each of the screws revealed from the step below with a P00 screwdriver.

  17. gB1ZcB62TDdw6eHH
    gB1ZcB62TDdw6eHH
    euqCGSPwHYAvERxY
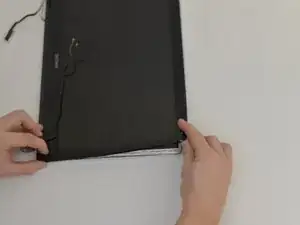
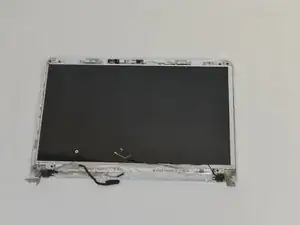
    • Pop open display housing and follow the plastic to remove the screen.

  18. lTWlqqVOOQIXPmpO
    lTWlqqVOOQIXPmpO
    ZH3vxnCtLH6MYNrm
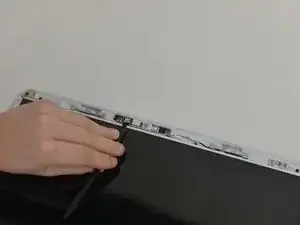
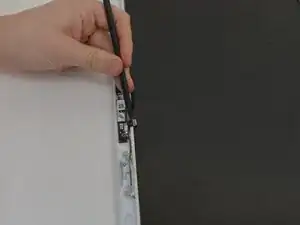
    • Remove the camera cable with the spudger.

  19. HApADkklyvIOmHRn
    • Remove screws on both sides using a P000 screwdriver.

  20. qmtBHXBrTUk2BNV3
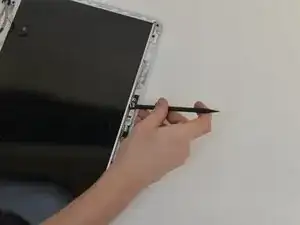
    • Pop out the board using a spudger.

  21. 6hXxPVMDLcJ1ilE3
    • The board is now removed.

Abschluss

To reassemble your device, follow these instructions in reverse order.
Azka Khanani

Mitglied seit: 17/10/18

313 Reputation

0 Kommentare