Einleitung

This guide helps users to remove the back panel, which is required to access the other pieces of the laptop and is the first step to any part replacement.

  1. VIUVoWN2VNwtGQM6
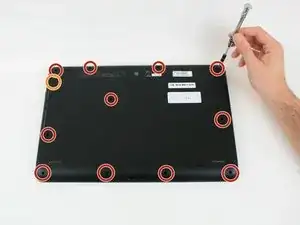
    • Unscrew the eleven 6 mm screws from the back panel on the bottom of laptop with the Phillips #0 screwdriver.

    • Unscrew the one 4 mm screw from the back panel on the bottom of laptop with the Phillips #0 screwdriver.

    • 6 mm screws marked in red, 4 mm marked in orange

  2. YWU2tnmXXTXxML5u
    YWU2tnmXXTXxML5u
    oQLpeK626raRiwgI
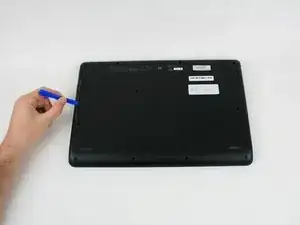
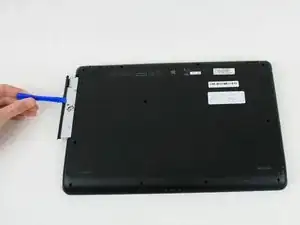
    • Using a plastic opening tool, pull the optical drive out of the computer by the seam.

    • In reassembly, slide the optical drive back in after reapplying cover.

    Debajo de la unidad óptica quedan tres tornillos que ajustan la cubierta en esa zona.

    nictalope -

  3. B5pufo3OmjGraspC
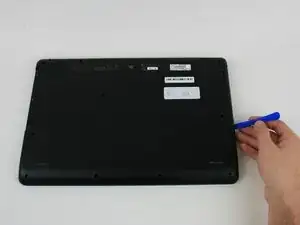
    • Run the opening tool along the bottom cover seam.

  4. UqpmYQSXGjrkYFpR
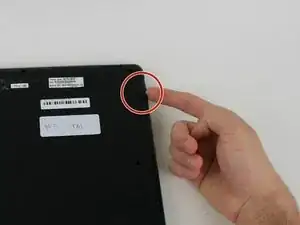
    • Lift the clip marked in red in order to release the back cover.

    • Lift the back cover.

Abschluss

To reassemble your device, follow these instructions in reverse order.
Quinn Walter

Mitglied seit: 04/10/18

311 Reputation

0 Kommentare