Einleitung
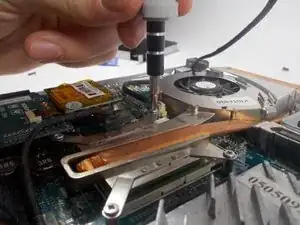
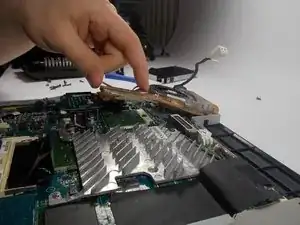
The cooling fan is essential for cooling the laptop’s internal components and is imperative for maintaining the performance and health of the laptop. A faulty or broken fan may result in overheating, leading to performance issues and permanent damage to the hard drive and other components. When cleaning the fan isn’t sufficient to solve the overheating problem, replacing the fan may be the only feasible alternative. This guide will show the user how to replace the fan in a Sony Vaio VGN-FS640 laptop.
Werkzeuge
Ersatzteile
-
-
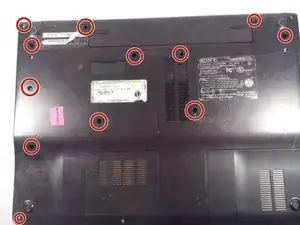
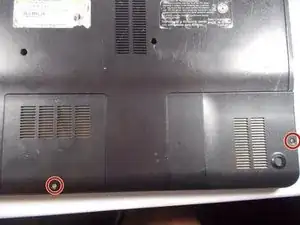
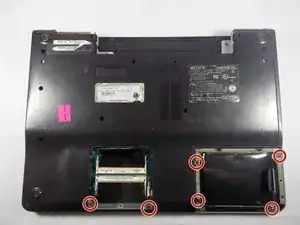
Remove the highlighted screws from the panels in the bottom right-hand corner of the laptop using the Phillips #0 Screwdriver.
-
-
-
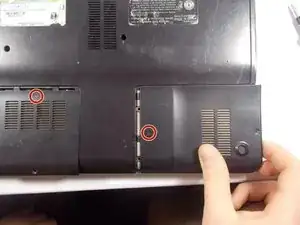
Remove the two panels in the bottom right-hand corner by sliding in the direction of the arrows imprinted on the panels.
-
-
-
Remove the highlighted screws underneath the removed panels using the Phillips #0 Screwdriver.
-
-
-
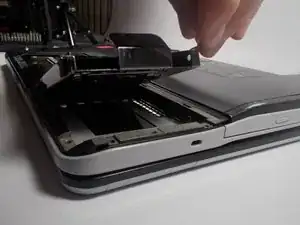
Carefully remove the hard drive from the panel in the bottom right-hand corner of the laptop.
-
-
-
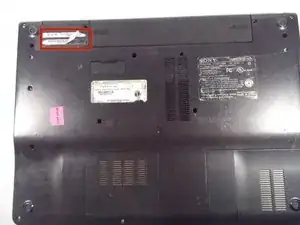
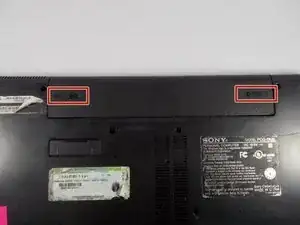
Locate the battery, located on the top side of the laptop to the right of the Service Tag .
-
Remove the battery by pressing inwards on the tabs on either side of the battery.
-
-
-
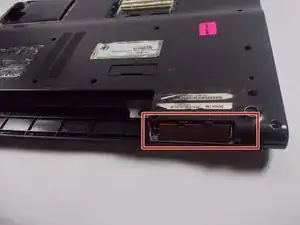
Remove cover in the top left side of the laptop next to the battery by pulling it outwards.
-
-
-
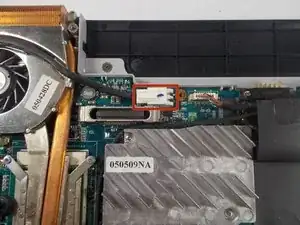
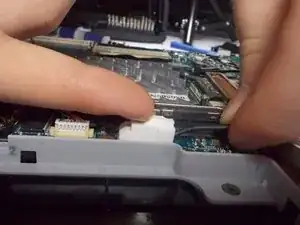
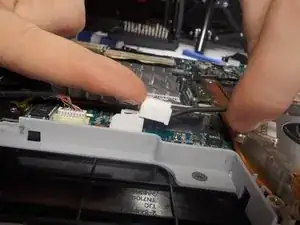
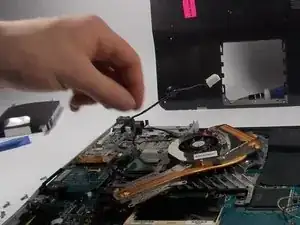
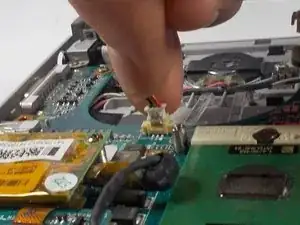
Gently remove the connector for the wire running over the fan by lifting the tab on top up with your fingernail and sliding it out.
-
-
-
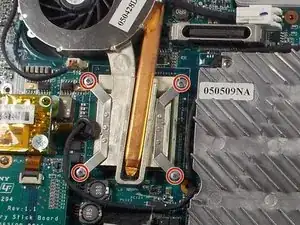
Gently disconnect the remaining wire connecting the fan to the circuit board.
-
Remove the fan from the laptop.
-
To reassemble your device, follow these instructions in reverse order.

