Einleitung
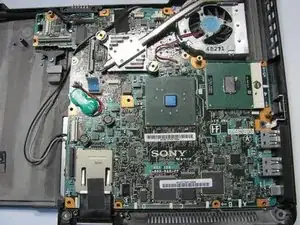
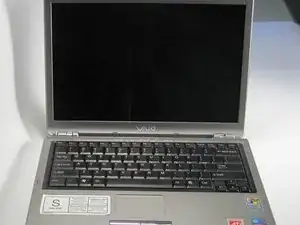
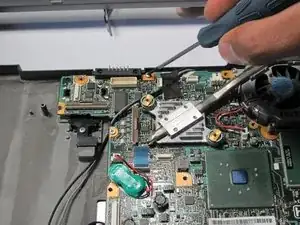
How to remove the motherboard from the Sony Vaio VGN-S260 laptop.
Werkzeuge
-
-
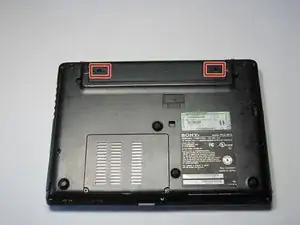
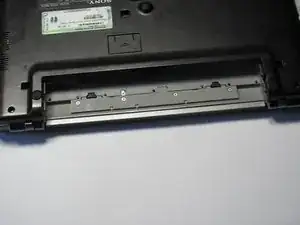
Flip the laptop over so the Vaio logo is facing down.
-
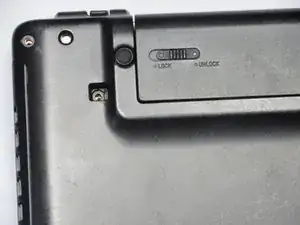
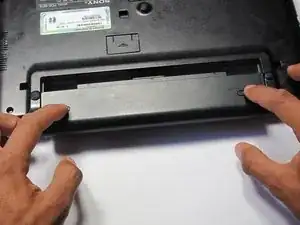
Locate the battery at the top and Find the release and unlock slides on the battery.
-
Slide the unlock tab to the unlock position.
-
Slide the release tab in the direction of the arrow, i.e. towards the unlock tab.
-
-
-
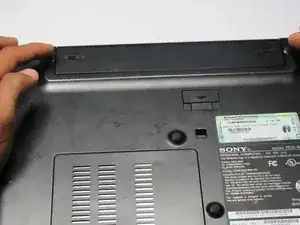
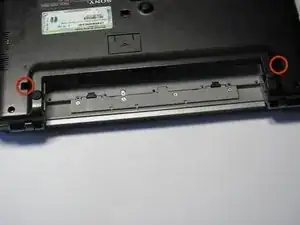
Flip the computer over so the Vaio logo is facedown.
-
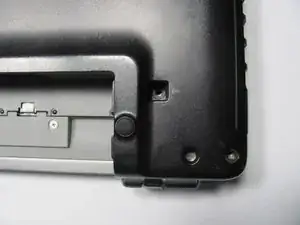
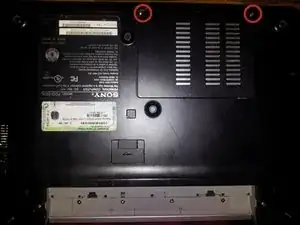
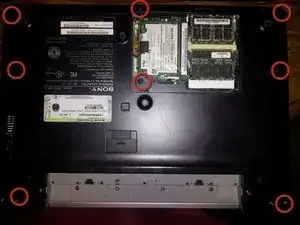
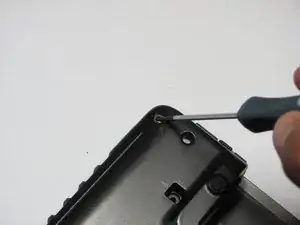
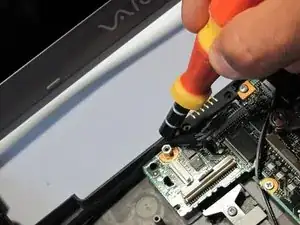
Unscrew the 2 screws next to the battery.
-
-
-
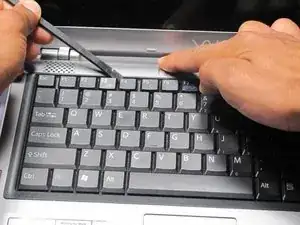
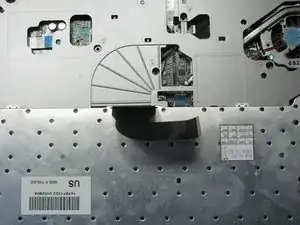
Press down on the outer gray shell around the keyboard.
-
Use the spudger to gently lift keyboard.
-
-
-
Flip the laptop over so the Vaio logo is face up.
-
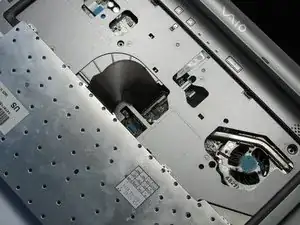
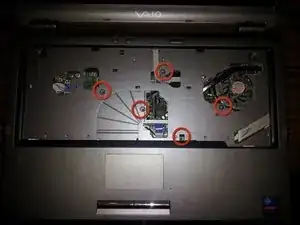
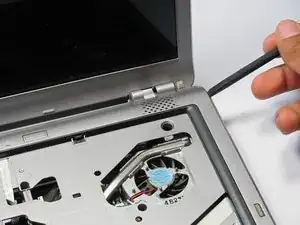
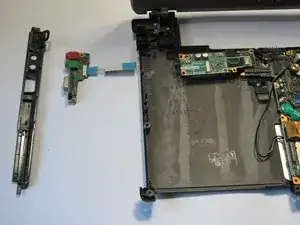
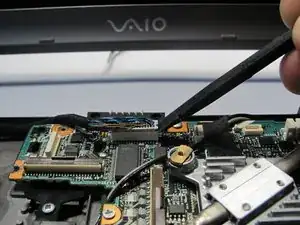
Use the spudger to pop up the upper casing.
-
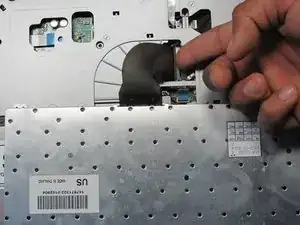
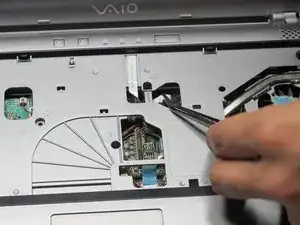
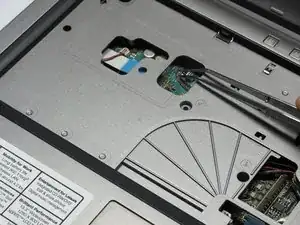
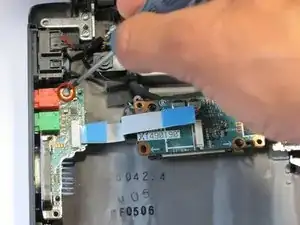
Remove the wires that are attaching the upper casing to the motherboard.
-
-
-
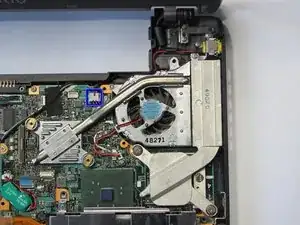
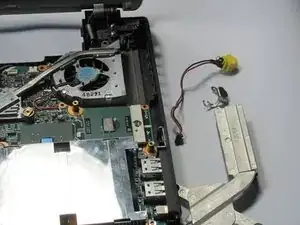
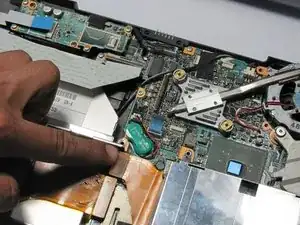
Locate the yellow power adapter.
-
Follow its wire to white logic board connector.
-
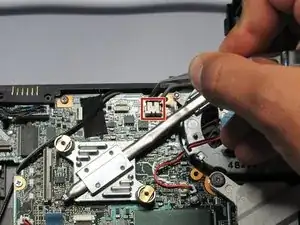
Pull out the wire from white logic board connector.
-
-
-
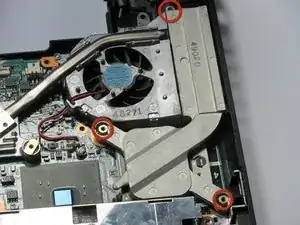
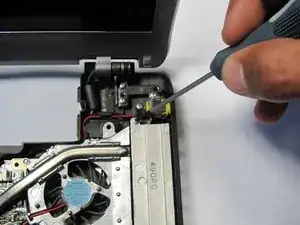
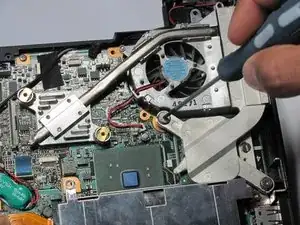
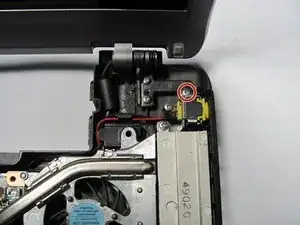
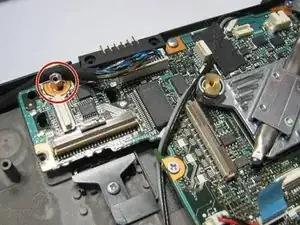
Remove the screw next to the yellow power adapter.
-
Lift out power adapter and fan filter.
-
-
-
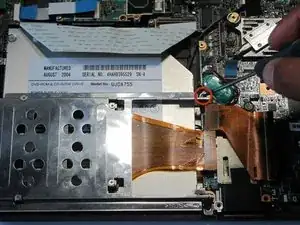
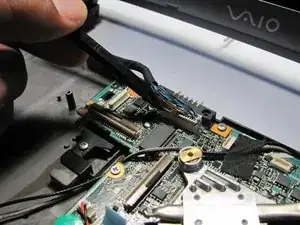
Locate ribbon connecting optical drive case to logic board.
-
Pop off the ribbon.
-
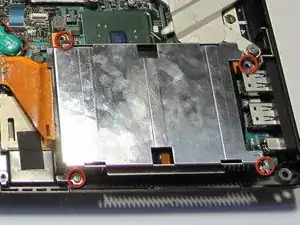
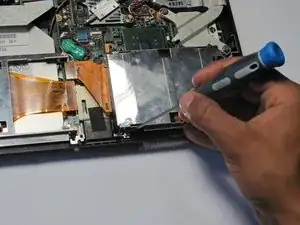
Remove the metal PC-Card cage.
-
-
-
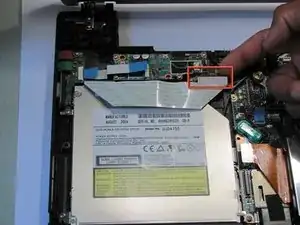
Locate brown locking tab above optical drive.
-
Lift up on brown locking tab until ribbon is loose.
-
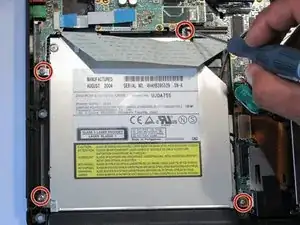
Gently slide out and remove the optical drive from the computer.
-
-
-
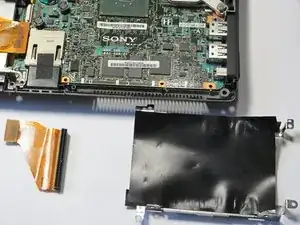
Find orange ribbon that is connected to the hard drive.
-
Find the holder of the ribbon and pop the ribbon off from it.
-
-
-
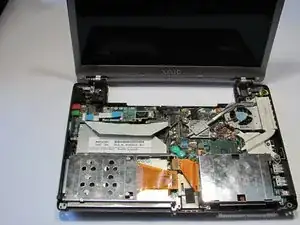
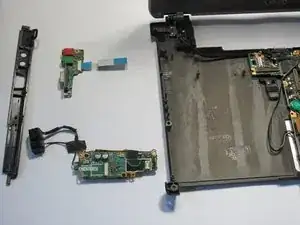
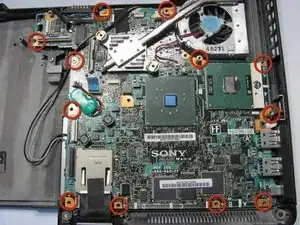
Gently lift the motherboard from the laptop.
-
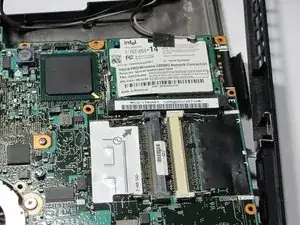
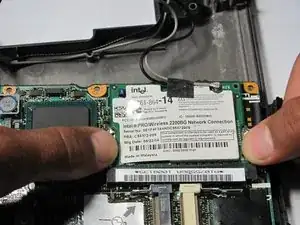
Remove the chip by popping the tabs on the side.
-
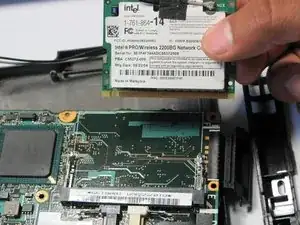
Slide out the network card.
-
You are now free to take the motherboard away from the base.
-
To reassemble your device, follow these instructions in reverse order.
