Einleitung

How to take out the speakers of your Sony Vaio VGN-S260

  1. AMGPYrQeOIEyMWLy
    AMGPYrQeOIEyMWLy
    lWfMZPnKXbSrDtBe
    6RWAhEICt4o1GXOa
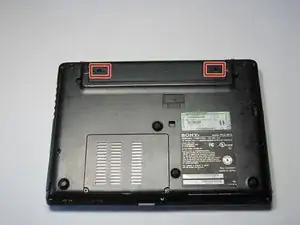
    • Flip the laptop over so the Vaio logo is facing down.

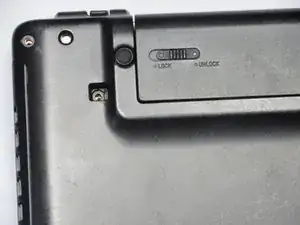
    • Locate the battery at the top and Find the release and unlock slides on the battery.

    • Slide the unlock tab to the unlock position.

    • Slide the release tab in the direction of the arrow, i.e. towards the unlock tab.

  2. UxVpQcqCDhiwRdVS
    UxVpQcqCDhiwRdVS
    EENvsrkNMbyhJjSt
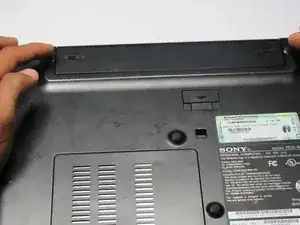
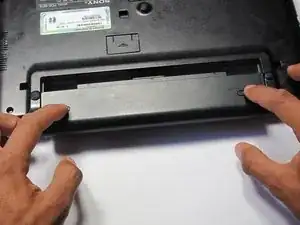
    • With the tabs still in the unlock position, slide the battery away from the main case.

  3. s4jLnNNhVflEGEsv
    s4jLnNNhVflEGEsv
    144Sm1RRKfHeAsAv
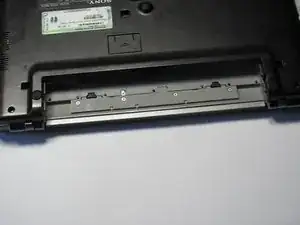
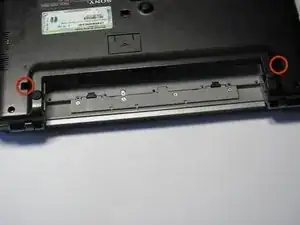
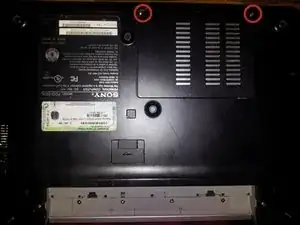
    • Flip the computer over so the Vaio logo is facedown.

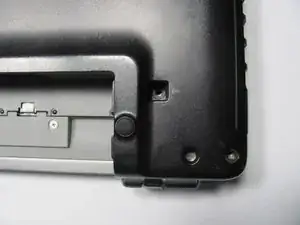
    • Unscrew the 2 screws next to the battery.

  4. SIOmX15FSGhdHVFR
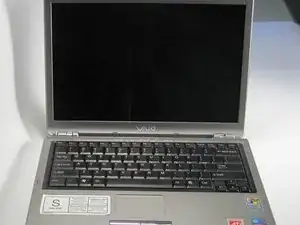
    • Flip the computer over again so the Vaio logo is face up.

    • Open the lid.

  5. dl5V2jQnZkf2cgwL
    dl5V2jQnZkf2cgwL
    oiGLiGDohVPGdsKK
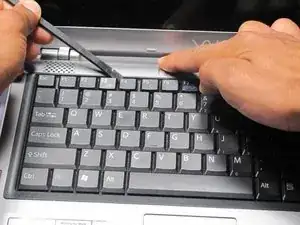
    • Press down on the outer gray shell around the keyboard.

    • Use the spudger to gently lift keyboard.

    • Do not pull up the keyboard too far as it is attached to a ribbon underneath.

    There are 2 spring-held latches, one above the F4 and one above the F12. Push a latch up into the frame of the keyboard, then lift the keyboard gently in that area so the latch doesn't spring back. Then push the other latch and the keyboard will be released.

    Yishai Sered -

  6. aLkQAZWVgEuHJDwh
    aLkQAZWVgEuHJDwh
    MKcusjrUmZUKIZVA
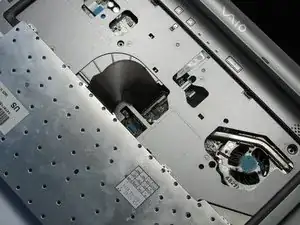
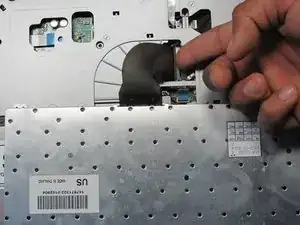
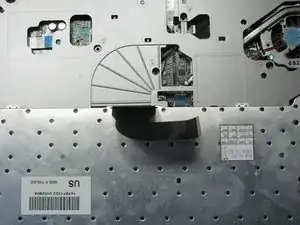
    • Lift up lever underneath the ribbon to detach the keyboard.

  7. lv4W2iJlSs4JiNdy
    • Remove memory/wireless compartment cover.

  8. niOJPURiQoDNTGgF
    niOJPURiQoDNTGgF
    DN6kNXK4hqFUMQAF
    ZI565sLWlIDE6QEF
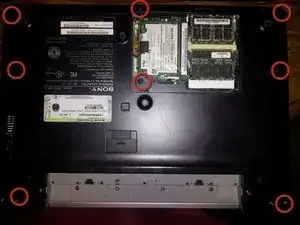
    • Flip so the Vaio Logo is face down.

    • Locate and remove a total of 8 screws on the bottom.

    There are 2 more screws on the bottom, one in the middle of the front next to the flash stick socket, and one under the memory door.

    Yishai Sered -

  9. RhVbwkfwcCDbmP6U
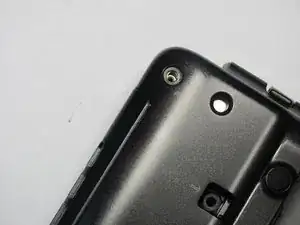
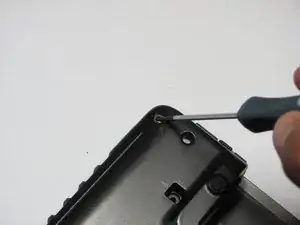
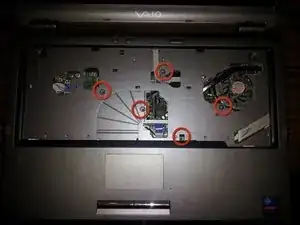
    • Find and remove 5 screws (they all have arrows next to them) from cover.

  10. QmWABaEnqqelMBNm
    QmWABaEnqqelMBNm
    CBDikjHDsBaTfRVN
    URHmM5Dsj46YtySt
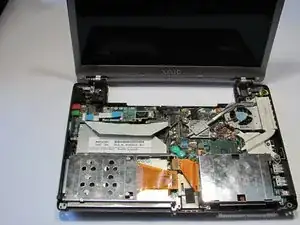
    • Flip the laptop over so the Vaio logo is face up.

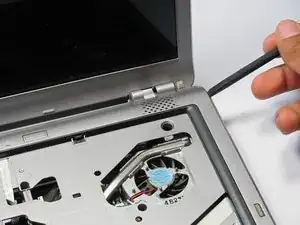
    • Use the spudger to pop up the upper casing.

    • Do not lift too much as the upper casing is attached to wires underneath.

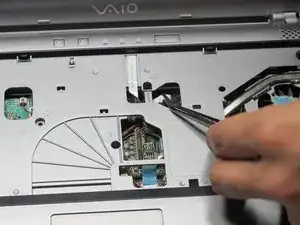
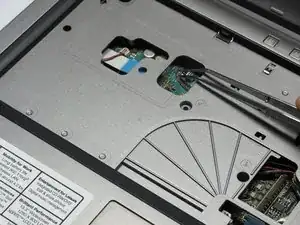
    • Remove the wires that are attaching the upper casing to the motherboard.

    There are also 5 screws from the top of the uppercasing.

    Yishai Sered -

    The are 4 cables to remove: flat cable for the power and S buttons at top center; flat cable for the touchpad at bottom center; and 2 twisted pairs for the speakers.

    The speaker cable socket is very delicate. If all you are getting at is the CPU or the hard drive, it may be enough to disconnect the flat cables and gently rotate the uppercasing shifting it left to allow access to the right-hand side with the CPU fan and the hard drive.

    Yishai Sered -

    The top panel has cutouts that allow the cables to be disconnected before the top of the case is removed. The two flat cables are not clamped and can be pulled vertically out of their connectors. The delicate speaker cables are connected to the motherboard with plugs which can be gently levered up out of their sockets.

    roberttrevellyan -

  11. PduMKUQ3XlFaOrw4
    • Remove the upper casing.

  12. uSRjWZ4f5fUWMqBj
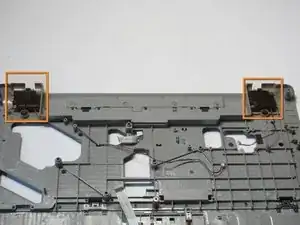
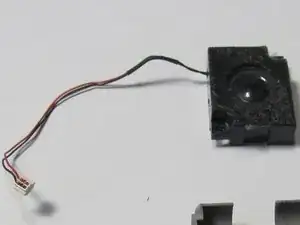
    • After removing the Uppercasing, flip it over and locate the two black speakers

  13. 6fcVXUL1GrqdDBq3
    6fcVXUL1GrqdDBq3
    spNYA2dSJ3efnhls
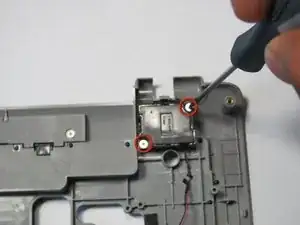
    • Remove the screws on the speakers

    • Each speaker will have two screws

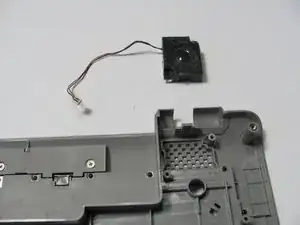
    • Remove the speakers

Abschluss

To reassemble your device, follow these instructions in reverse order.
Jeffrey Bryan

Mitglied seit: 20/04/10

570 Reputation

0 Kommentare