Einleitung
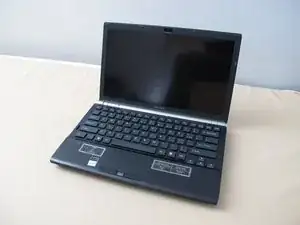
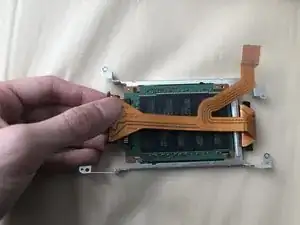
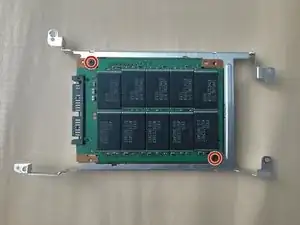
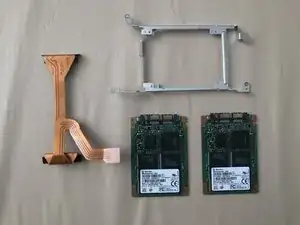
This is a guide to replace the SSD for a Sony Vaio VGN-Z48GD. This repair might be needed if you wish to upgrade your SSD, swap SSD with a another SSD, or when the SSD does not function properly. This repair would resolve the problems of storage to low or when the SSD does not store data anymore. There is no prior knowledge needed and there is nothing unusual about this repair.
Werkzeuge
Ersatzteile
-
-
Flip the device over so that the battery is facing away from you.
-
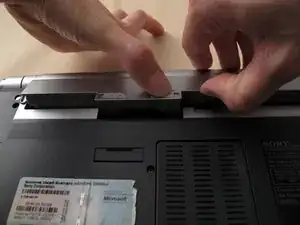
Unlock the battery by using your finger to push the "Lock" latch to the right.
-
-
-
Place your finger on the "Release" latch.
-
Slide the latch to the right and hold it.
-
Use your other hand to lift the battery from the groove.
-
Remove the battery.
-
-
-
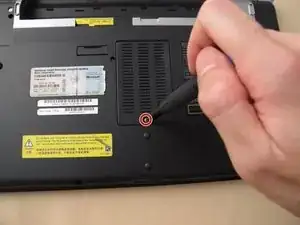
Remove a 5 mm Phillips #000 screw from the RAM cover located in the centre of the device.
-
Remove the RAM cover.
-
-
-
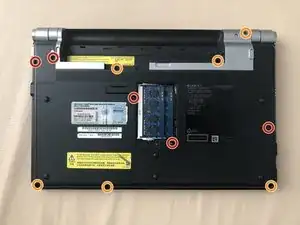
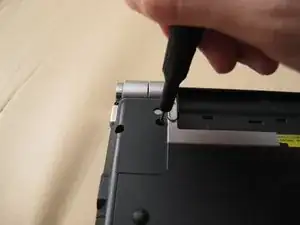
Remove the following eleven screws:
-
Five 13 mm Phillips #000 screws
-
Six 5 mm Phillips #000 screws
-
-
-
Flip the device and open the lid so that the keyboard is facing upwards.
-
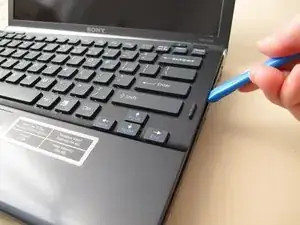
Use an opening tool to lift the keyboard assembly slightly.
-
-
-
Use an opening tool to pry the keyboard assembly connector up from its socket on the motherboard.
-
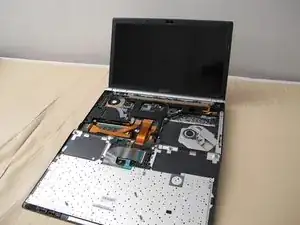
Remove the keyboard assembly.
-
-
-
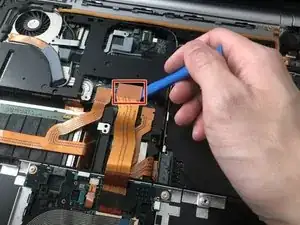
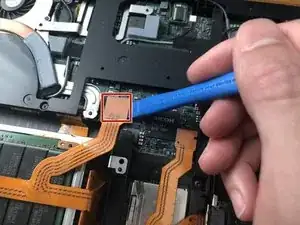
Use an opening tool to pry the uSATA ribbon cable connector up from its socket on the motherboard.
-
-
-
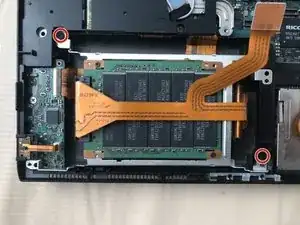
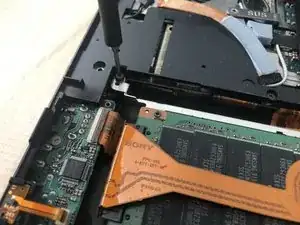
Remove two 13 mm screws from the SSD bracket using a Phillips #000 screwdriver.
-
Remove the SSD bracket.
-
-
-
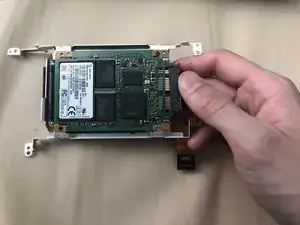
Flip the SSD bracket.
-
Use your hand to disconnect the uSATA connector on the left.
-
Remove the uSATA ribbon cable.
-
To reassemble your device, follow these instructions in reverse order.
