Einleitung
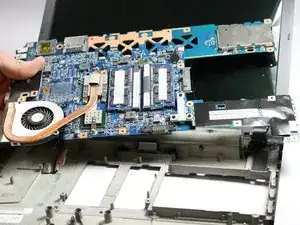
If your laptop isn’t charging, or its overheating you may need to replace the motherboard. This guide will show you how to remove and replace the motherboard. The tools required are: an iFixit opening tool, a PH0 cross tip screwdriver, and needle nose pliers.
Werkzeuge
Ersatzteile
-
-
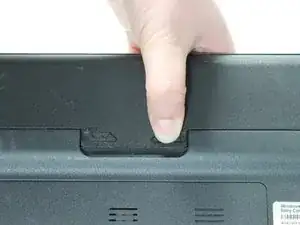
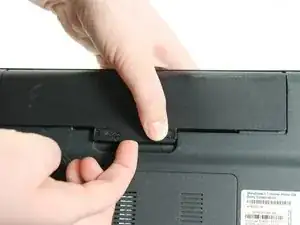
While holding the “Release” switch, lift the lip of the battery.
-
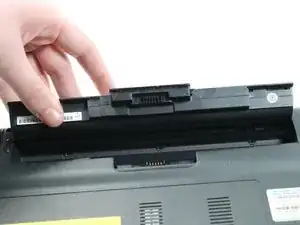
Lift the battery up and out of the laptop.
-
-
-
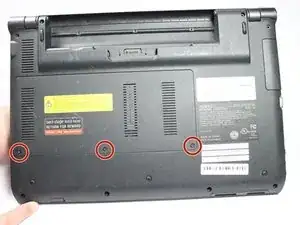
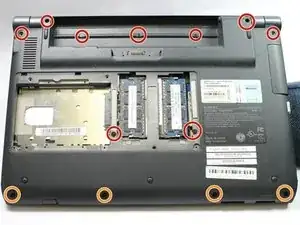
Using a #0PH screwdriver, unscrew the three 4.80mm screws on the back of the device.
-
The screws are held into the panel by washers, they will not fall out once unscrewed.
-
-
-
Remove all nine 5.63mm screws with the #0PH screwdriver.
-
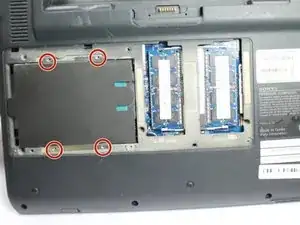
Remove the four 8.62mm screws with the #0PH screwdriver.
-
-
-
Flip your Vaio so that the keyboard is facing up.
-
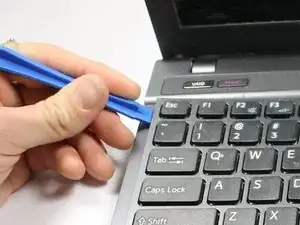
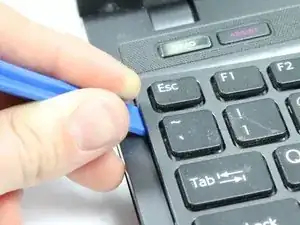
Use the iFixit Opening Tool to lift the keyboard from the frame, starting at the ESC key corner.
-
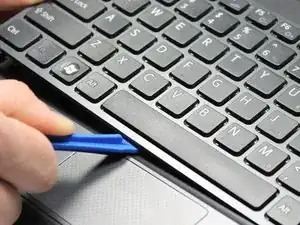
Gently slide the iFixit Opening Tool along the edge of the keyboard.
-
-
-
The cable is located under the keyboard, just above the touchpad.
-
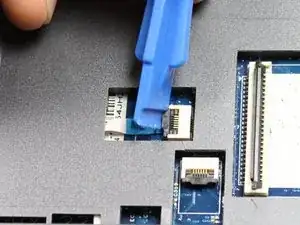
Use the iFixit Opening Tool to flip the clip up in order to release the cable.
-
Detach the cable from the frame.
-
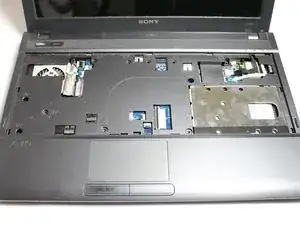
Remove the keyboard from the frame.
-
-
-
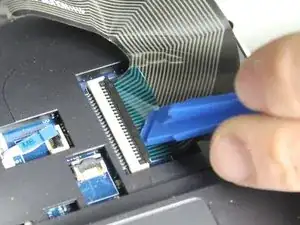
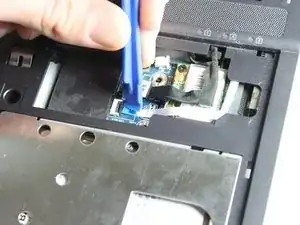
Use the iFixit Opening Tool to lift the edge of the clip from the cable.
-
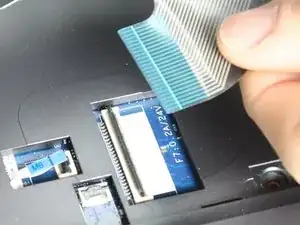
Gently pull the cable away from the clip.
-
Repeat the first two steps on the second clip shown in the picture.
-
-
-
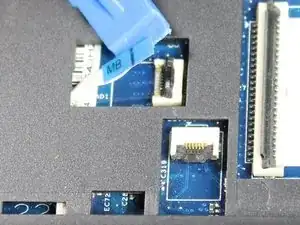
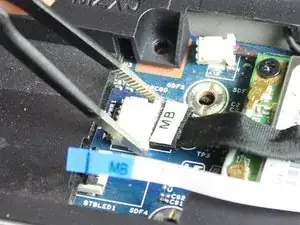
Use the iFixit Opening Tool to detach the cable from the motherboard.
-
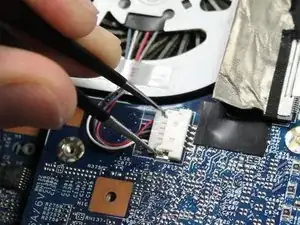
Use the small needle nose pliers to pull the cable from the motherboard.
-
-
-
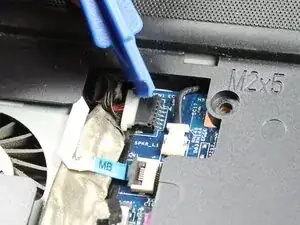
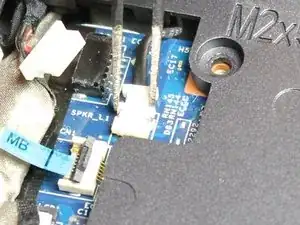
Use the iFixit Opening Tool to flip the clip up in order to release the first cable.
-
Use the small needle nose pliers to pull the second cable from where it is attached.
-
Use the small needle nose pliers to detach the third cable from motherboard.
-
-
-
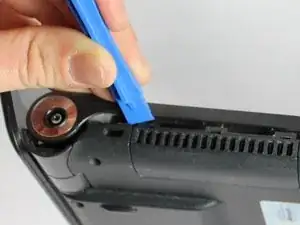
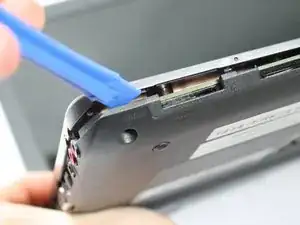
Use the iFixit Opening Tool to lift the back of the Vaio from the frame.
-
Slide the iFixit Opening Tool around the edges of the frame.
-
-
-
Use the small needle nose pliers to pull the cable connector from the motherboard.
-
Push the flap to the side so you can access the screw beneath.
-
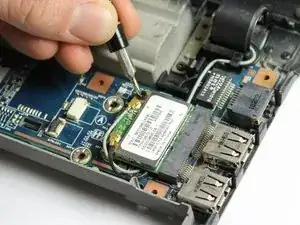
Use the #0PH screwdriver on the one 5.63mm screw.
-
-
-
Unscrew the 5.63mm screw tethering the motherboard to the laptop with a #0PH screwdriver.
-
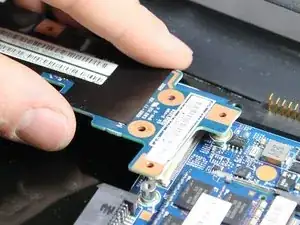
Remove the piece from the motherboard.
-
-
-
Flip the motherboard upside down to access the other side.
-
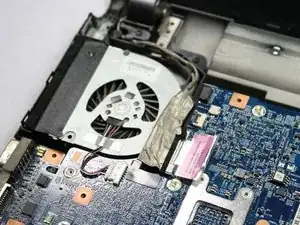
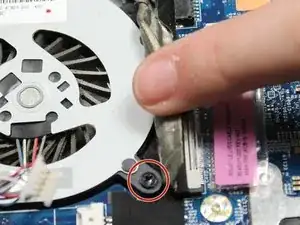
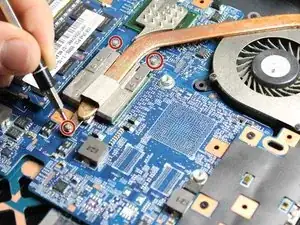
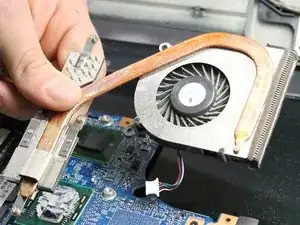
Use a #0PH screwdriver to remove the three 3.61mm screws holding the fan to the motherboard.
-
Remove the fan from the motherboard.
-
To reassemble your device, follow these instructions in reverse order.

