Einleitung
This guide will show steps on how to remove the back case, remove the old DC jack, install the new one, and then put it all back together again.
Werkzeuge
Ersatzteile
-
-
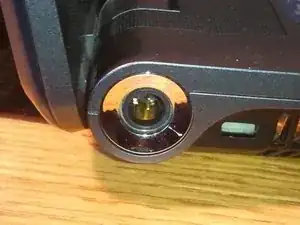
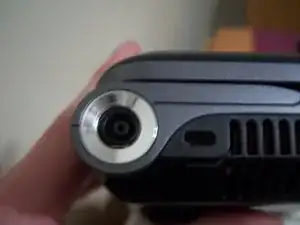
Does your charging port look like this, with two pins one on top of the other.
-
It should have a plastic post in the middle with those pins contained inside.
-
Odds are if you carry your laptop around a lot you've bumped the plug and it broke that post out and your plug suddenly got all loose and wobbly.
-
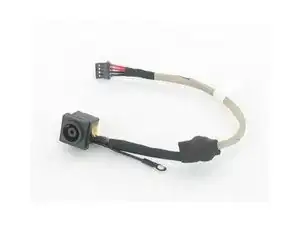
The first step is to buy the replacement DC jack.
-
Then check out the remaining steps to replace that worn out DC jack with your new one.
-
-
-
First power down the computer completely.
-
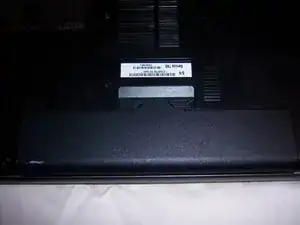
Next remove the battery by pushing in on the two sliding locks and pulling out.
-
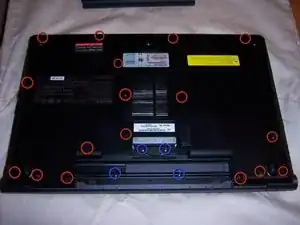
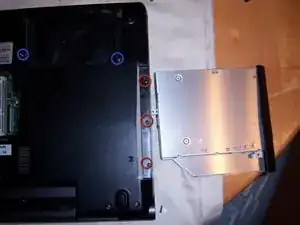
There are 21 Philips head screws, including the four that were underneath the battery, as shown in the photo.
-
Remove the screws. Beware: Most are the same size, but a few may be different, depending on the exact model. On mine, there was a larger screw nearest the ethernet port, and two small screws nearest the middle of the battery compartment. Note the position of any differently sized ones.
-
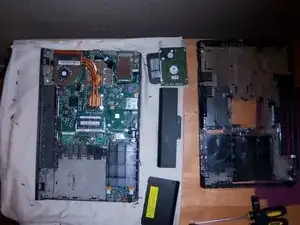
Remove the plates covering the hard drive bay and the memory slots, and set them aside.
-
Pull out on the optical drive to remove it. Set it aside. Now remove the three small screws that were underneath the optical drive edge.
-
Remove the two screws that retain the hard drive caddy. To disengage it, slide the hard drive towards the edge where the optical drive was, and lift to remove it. Then set it aside.
-
-
-
Now all screws should be removed.
-
Carefully lift up on the side that the disk drive came out of and push on the two snaps that are near the front of the hard drive bay.
-
It should pull up easily. If it doesn't check for missed screws.
-
Now push it gently sideways towards the other side and it should pop off of the eSata, HDMI, and VGA ports.
-
Now the back should be fully off.
-
-
-
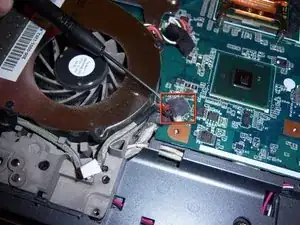
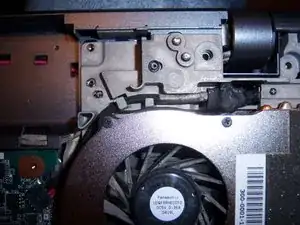
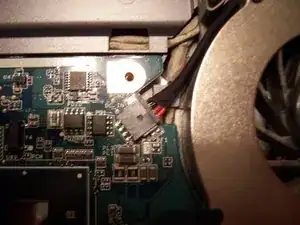
Now you should see a cord running around the outside of the fan with two red wires and two black wires, this is the dc jack wires.
-
Unplug this connector, gently.
-
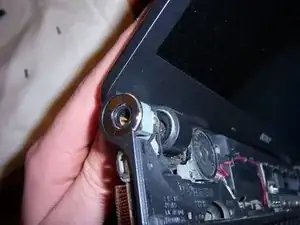
Now flip the computer over and pop off the panel containing the speaker grille. There are multiple clips along its length. I just stuck my fingernail under its left edge next to the dc jack's chrome trim and pried it up gently and worked my way across until it completely popped off.
-
Remember these are small plastic clips so go slowly and cautiously.
-
Now you should see the other side of that dc jack wire coming up through a hole and going to (where else) the dc jack.
-
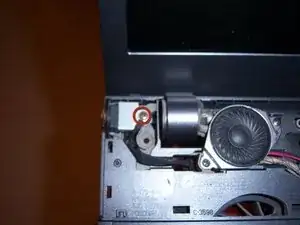
Remove the one screw on top and pull the metal cover off.
-
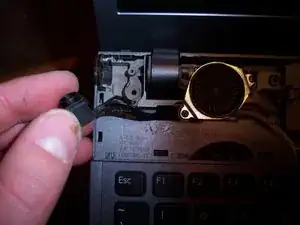
This part is tricky. Pull back on the jack and up at the same time so it pulls out of the hole. It takes a little work just be careful not to break the nice shiny chrome trim. Using needle nose pliers around the plastic body of the jack may help.
-
-
-
Now that the old wobbly jack is out, pull the rest of the wires through the hole in the frame.
-
Then feed the wires of the new jack through that same hole.
-
On my replacement, there was a ferrite bead halfway along the wire, wrapped in shrinkable tube insulation, which together was too large to feed through the case. I had to carefully snip away the tube, feed through the wires, and slip on a fresh piece of 10mm shrink tube from the other side.
-
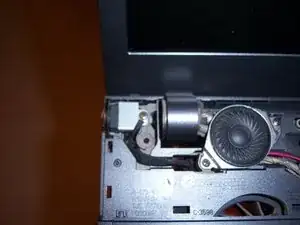
The new jack should go in easier than the old one came out. Make sure it is aligned the same as the old one with the wires going away from the screen, and snap it in.
-
Then put that metal cover back over it and place the short wire with the ring terminal on top of that, then re-install the screw through that connector and tighten it down.
-
Beware: On my replacement jack, the metal cover was so tight to the positive wire (nearest the top of the jack) that it shorted out after reassembly (the green light on the power brick cut out as soon as I plugged it in).
-
I used needle nose pliers to open out the right angle of the metal cover, away from the wire, and added a small piece of insulating tape under it to prevent shorting.
-
-
-
Now carefully snap the speaker grille back into place and flip the laptop over onto its back and take the wires from the dc jack and route them the same way the old one was.
-
Then reconnect the plug with two red wires and two black wires and push it all the way in.
-
Now take the back cover and slip it over the eSata port, HDMI, and VGA, and snap it back down.
-
Now re-install a screw in each corner loosely and make sure all the edges are down and the switches work. If everything looks good finish putting everything back together in the reverse way we took it apart.
-
Tip: do the three screws on the edge of the optical drive housing first, then insert both drives. Only do the two arrowed screws on the hard drive, as the cover plate goes through the other two.
-
Now turn on the laptop and make sure everything works then plug in the charger cord and feel that nice tight snap and a gratifying orange charge light on the front. Then pat yourself on the back, you are done!
-
To reassemble your device, follow these instructions in reverse order.
6 Kommentare
where can I buy the power jack for this particular laptop? please help..
Thabo -
Heres one I found on amazon, ebay also has them. http://www.amazon.com/Harness-VPC-F12-VP...
I just used this guide for a VPCF127FX, and it's very similar. The biggest difference is that there are a few more screws holding it together (23 in total).
I got that cable from Amazon and decided to look for an alternative. I'm hoping to find one that has the wires in the correct place so that I don't need to worry about it shorting out. It's amazing to me how many replacement parts are 98% there except for some little thing that's different, that I don't notice till I am knee deep into the repair, and stops me dead in the water.
jkamis -
This one looks like the original:
http://www.amazon.com/PCG-81115L-PCG-811...
lets hope that's the one they actually send...
jkamis -
