Einleitung

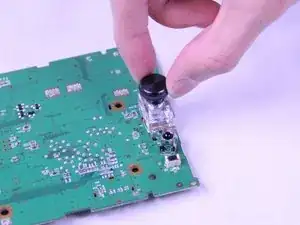
By replacing your Volume Knob, you will certainly turn up/down the volume of your music much smoother. Since this is the most usable button of the device, it will defiantly have a lower performance on the long run.

  1. xsmMKycf52xfUZOH
    xsmMKycf52xfUZOH
    dFGauf4WlttbqBPF
    CUFGa2VZkGe2TW5Q
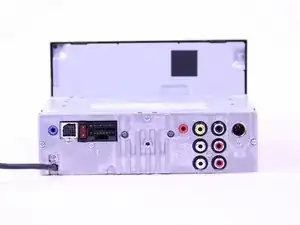
    • Place the device on a flat surface, upside down, so the bottom of the screen would be facing upwards.

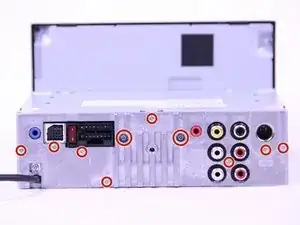
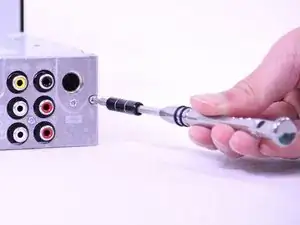
    • Remove the ten 3.5mm Phillips #0 screws from the back plate.

  2. B2GFcRl3GaI5a3Yk
    B2GFcRl3GaI5a3Yk
    bL2CJSZAlKgp4Rxb
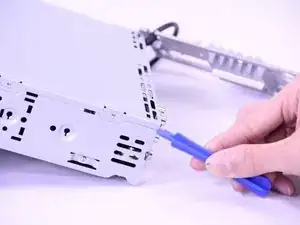
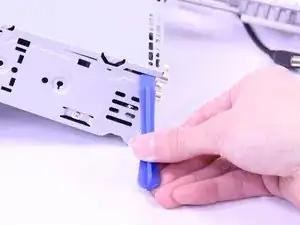
    • Use a plastic opening tool to remove the back plate.

    • Don't remove completely as there will still be cables connected.

  3. 5RPDNuHstMwktSKN
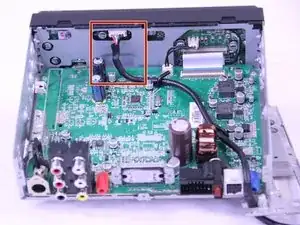
    • Disconnect the USB cable from the display board.

  4. qaPKP6hHdmZvxAdK
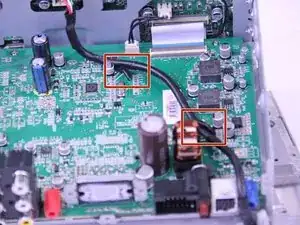
    • Adjust the rubber holders that are keeping the USB cable still on the motherboard, so you can remove the cable entirely from the inner compartment.

    • The rubber holders are extremely sensitive to any applied force. Therefore, be careful while turning them around.

  5. r4JkgkMCpNMhhKS2
    r4JkgkMCpNMhhKS2
    AdvJpMRSHQSQhURQ
    ZrPvVqJlJM5wgwC1
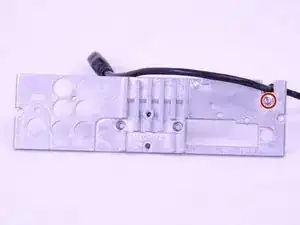
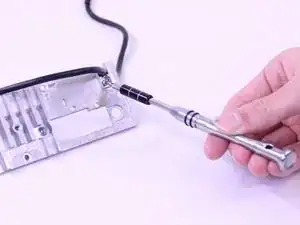
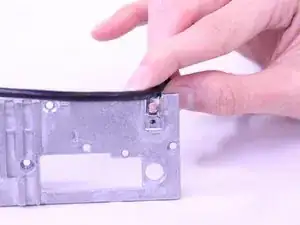
    • Remove the 3.5mm Phillip #0 screw that secures the USB cable to the back panel.

    • Pull the USB cable off of the back plate.

    Our radio is not interfacing with my phone it says USB connection problem before I tear it all apart what else could it be thank you

    Don Bartolotta -

  6. uYsOJ5qGYQqGHBKh
    uYsOJ5qGYQqGHBKh
    GCsQFgZJuEUlY1fL
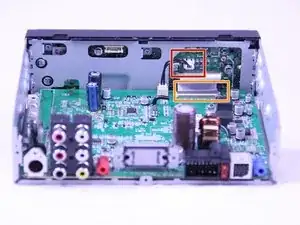
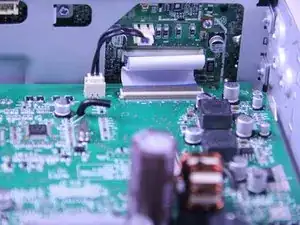
    • Disconnect the display power cable from the motherboard.

    • Use a spudger to flip up the retaining flap on the display ribbon cable ZIF socket.

  7. XxvsfqcPdKU1OPdB
    XxvsfqcPdKU1OPdB
    ad2LxjmRScpmXQdu
    UFTNKRsnOogdDDLm
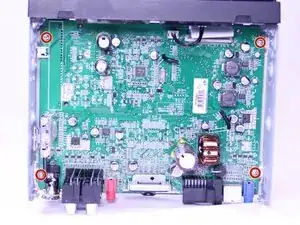
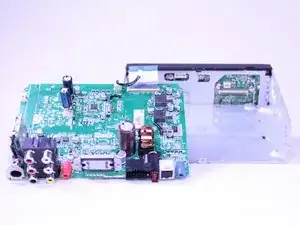
    • Unscrew the four 3.5mm Phillips #0 screws from the motherboard.

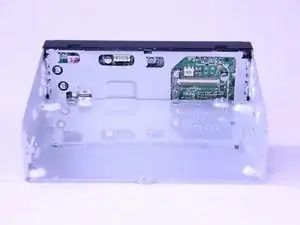
    • Use a spudger to gently lift the motherboard up and out of the radio.

  8. tYYtqC1iPJCqNisg
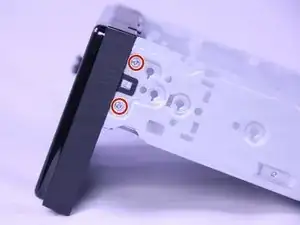
    • Remove the four 3.5mm Phillips #0 screws from the sides of the display.

  9. TZUW1KsCpDn3A6Z2
    TZUW1KsCpDn3A6Z2
    YZXaLC6Bma3PC3lY
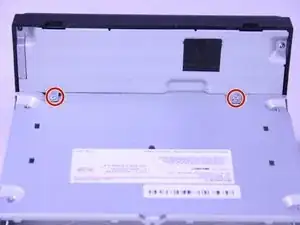
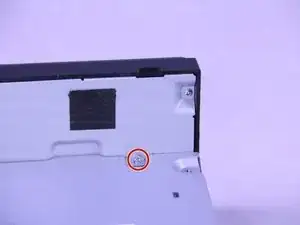
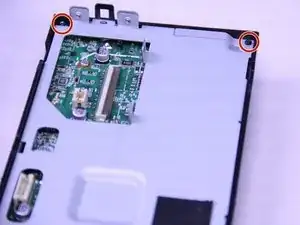
    • Remove two 3.5mm Phillips #0 screws from the back of the head unit.

  10. xgS1RNYrRjaANBJc
    xgS1RNYrRjaANBJc
    XYQ56DhC4hIBfhP1
    AEZyCEW5h3UFZmb1
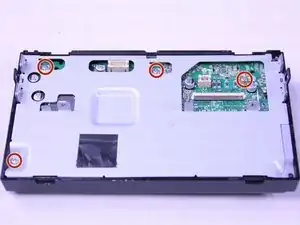
    • Remove the four 3.5mm Phillips #0 screws from the display board.

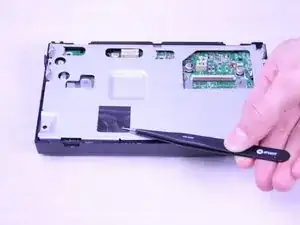
    • Remove the black tape using a precise tweezer.

    • Remove the 3.5mm Phillips #0 screw from underneath the tape.

  11. yp1HJnaWXjrjkPGP
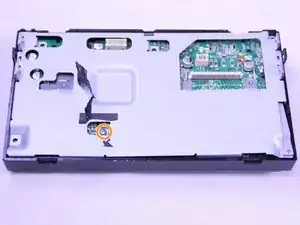
    • Remove the two 2mm Phillips #0 screws from the back plate.

    • Remove the back plate.

  12. EY5PAXCCpKIWrGwu
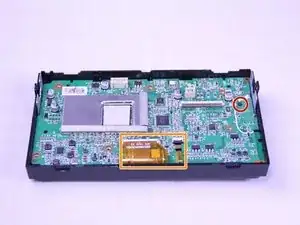
    • Remove the single 2mm Phillips #0 screw from the motherboard.

    • Use a spudger to flip up the retaining flap on the display ribbon cable ZIF socket.

  13. uTMpCbX426QBfa3R
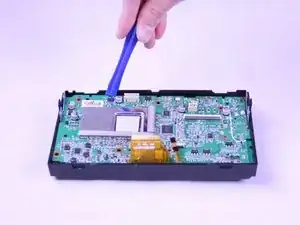
    • Use a plastic opening tool to remove the display board from the radio.

  14. NJ1SVVTRrJg1FcDT
    NJ1SVVTRrJg1FcDT
    vg4OVKOGUZIeumRw
    OUZvpTZmRZJRSaoE
    • Remove the silver knob cover by pulling upwards on it.

    • Remove the plastic face plate.

    • Pull off the black knob.

Abschluss

To reassemble your device, follow these instructions in reverse order.
Abdulaziz Redha

Mitglied seit: 23/02/18

741 Reputation

0 Kommentare