Einleitung

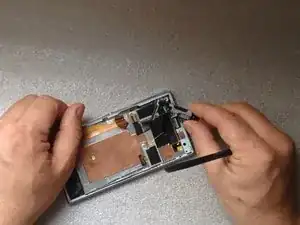
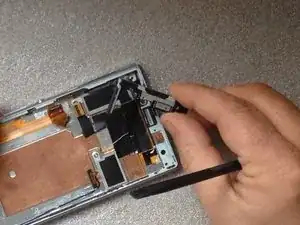
How to disassemble the phone and change the Earpiece.


Please SUBSCRIBE to my channel ツ

  1. Qdpf1YwNnMf5SuSL
    Qdpf1YwNnMf5SuSL
    OrnWMLZSciKaBLEn
    WXyx5lgGvkHPysnc
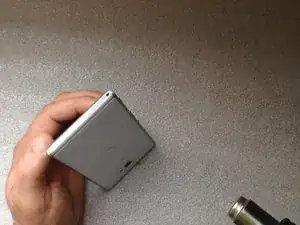
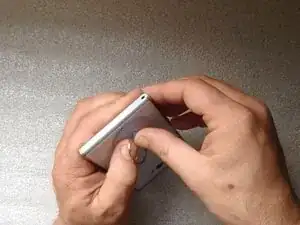
    • Warm the Back Cover. You can use a hairdryer.

    • Be careful, the Cover is plastic.

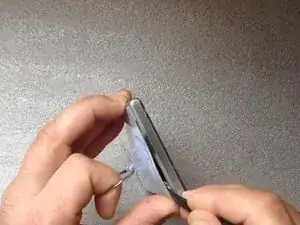
    • Use a small suction cup and plastic tools for separating the Rear panel.

    • Before installing the new cover, you must clean the phone from the old adhesive tape and install a new one if your spare part has come without double sided adhesive tape.

    One battery

    One camra lance back

    Prince Kushwah -

  2. QMRHwJlAJOtPuGSC
    QMRHwJlAJOtPuGSC
    eREb4pTdVOqxFfeV
    xyoALSuMNjCmliOB
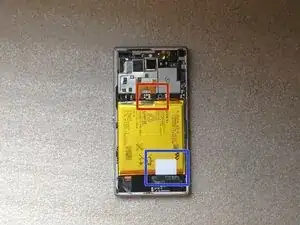
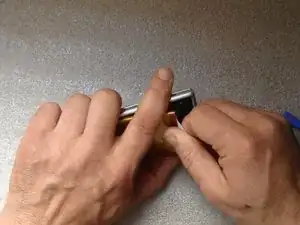
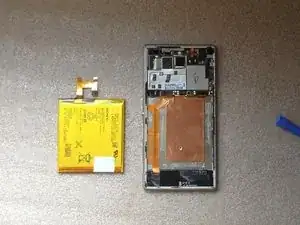
    • Disconnect the Battery Cable.

    • The battery is stuck to the phone fame. Use the white tape to remove it.

    • Li-Polymer Battery, 2230 mAh

    • Part number: LIS1551ERPC

    • Please SUBSCRIBE to my channel ツ

    если первая разборка, отклеивается очень сложно и я бы советовал нагреть модуль до 70-76, на сепараторе. тогда аккумулятор отклеится легче. =)

    Владимир Гусев -

    I see the regular M2 has a large identification sticker. On the M2 Aqua (or at least the one I have) the sticker is shorter, so it’s pretty easy to short out the battery flex contacts against the metal shield located just above the battery connector on the motherboard. Once shorted, the battery seems to go into some sort of “protection mode” and the phone wont boot unless you plug it into a charger first.

    Luis Alejandro Araúz -

  3. c12YEYlvGyCVVUyX
    c12YEYlvGyCVVUyX
    Q45DXiSVrHv6333X
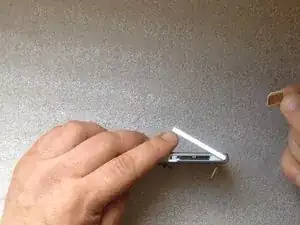
    • Remove the SIM and the memory cards.

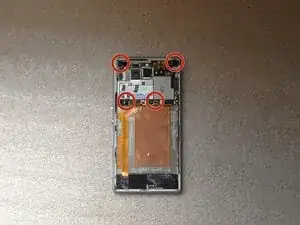
    • Remove x4 T5 Torx Corner screws & x2 T5 Torx Screws on the Board

  4. qRAaHrkWZKFeLJEj
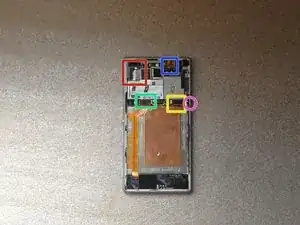
    • Disconnect one by one:

    • Touchscreen flex cable

    • Proximity sensor flex cable

    • Power on, Volume buttons cable

    • SIM & Micro SD flex cable

    • Coaxial antenna cable

  5. CGuVRbPeS3ATWFaA
    CGuVRbPeS3ATWFaA
    BJd6oNxhgbRNqqRw
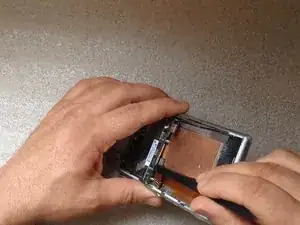
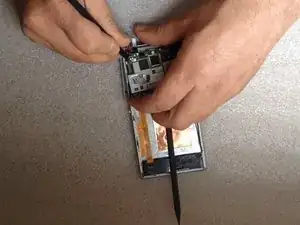
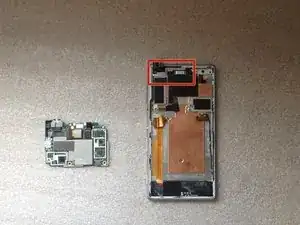
    • Disconnect the LCD Display flex cable. The connector is on the other side of the board, under the Power/Volume buttons flex cable connector.

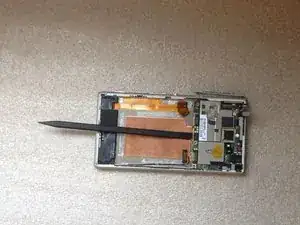
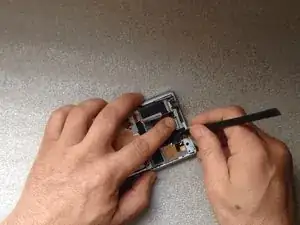
    • Put one plastic spudger between the Logic board and the Main frame.

  6. IhZQyMylWy6UJqam
    IhZQyMylWy6UJqam
    KEPkUibLQkyW4GHH
    cQh6pJVFRpwqV1DE
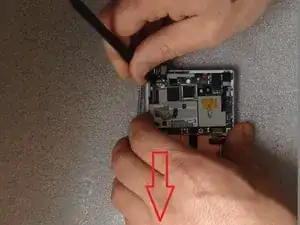
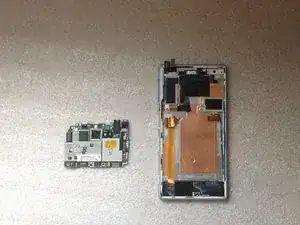
    • Step one: move aside less the left side of the board - down.

    • Step two: the left side of the Logic board must go out of the main frame.

    • For this manipulation use only plastic tools.

    • Please SUBSCRIBE to my channel ツ

  7. RJxMFIDJVLouVnUk
    RJxMFIDJVLouVnUk
    3pGGAANDiLTLANtK
    IyKXQkOBBWGpTOfA
Abschluss

To reassemble your device, follow these instructions in reverse order.
ZFix

Mitglied seit: 09/12/13

188213 Reputation

0 Kommentare