Einleitung

It is one of the easier components to reach and replace. I will teach you how to remove it if it needs to be replaced.

  1. RXVNRmYMfPVMO2Ob
    RXVNRmYMfPVMO2Ob
    K3AoqvyQtBiaNyR3
    GX2C3DVFWKHswCyT
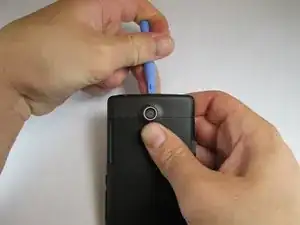
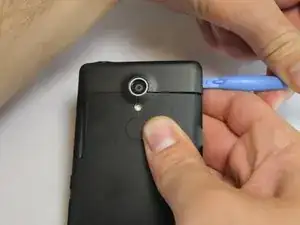
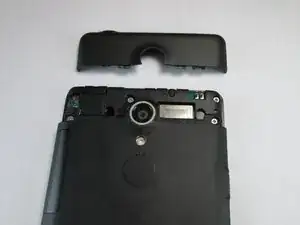
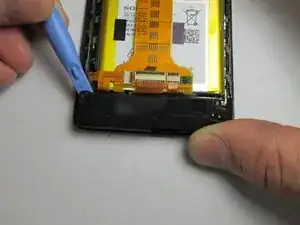
    • Use the plastic opening tool to pry the top plastic section off.

  2. GFD1wQvYBwALncCu
    GFD1wQvYBwALncCu
    h6KYYtQnos5hoEFu
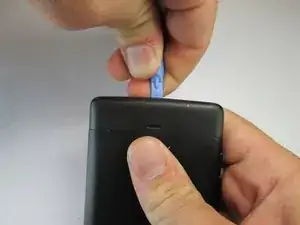
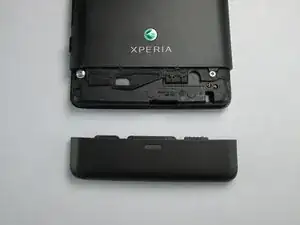
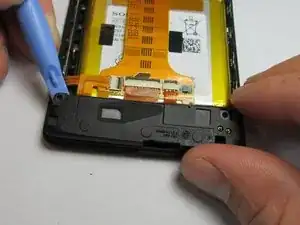
    • Use the plastic opening tool to pry the bottom plastic section off.

  3. v1BwHhmyOcNbapJ1
    v1BwHhmyOcNbapJ1
    ffMWUOZ26WdBnweI
    qgZfDBO1DREBryqc
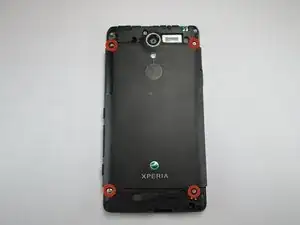
    • Remove the four 5mm screws.

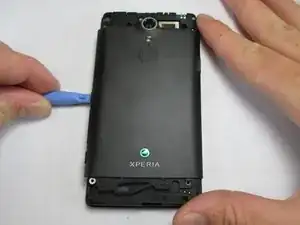
    • Use the plastic opening tool to pry off the back.

  4. iIEsmYNOHyVJG3uH
    iIEsmYNOHyVJG3uH
    QPBjGoK3C3IcBM62
    lb2ehcnoZAMEqUFC
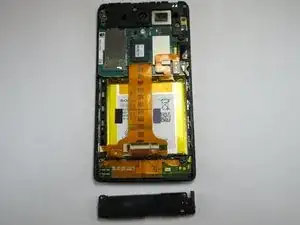
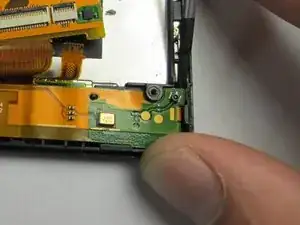
    • Use the plastic opening tool to remove the loud speaker module.

  5. XXdbPhBlYJPf4dFr
    XXdbPhBlYJPf4dFr
    SUIiYNP3NmHxYUFa
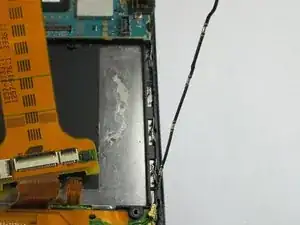
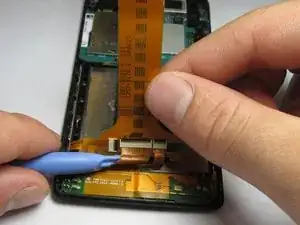
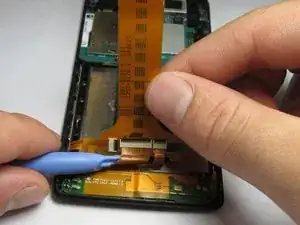
    • Use the plastic opening tool to unlatch the cord's ends off the motherboard and loud speaker module. The cord can be located on the right side of the phone.

  6. 6XviqoG1GMOOOlD2
    6XviqoG1GMOOOlD2
    yGujTc1DLXB4WLMN
    2RcESJxxfg4UBFNr
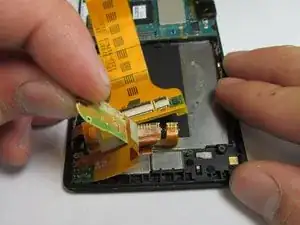
    • Unhook the 2 connections between the harness and phone shell.

    • Using the plastic opening tool, pry the harness up and remove it.

    • There is an adhesive on the bottom half of the battery harness.

  7. mqi4gJo5HckiSB2K
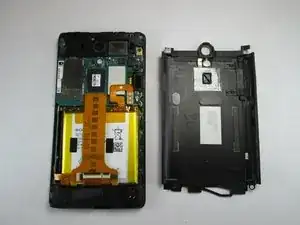
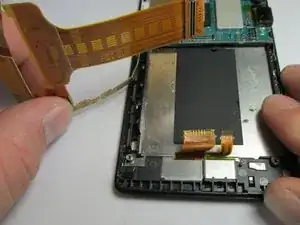
    • The final step is taking the entire harness off of the phone.

Abschluss

To reassemble your device, follow these instructions in reverse order.
Adam Giniger

Mitglied seit: 22/09/14

1303 Reputation

0 Kommentare