Einleitung

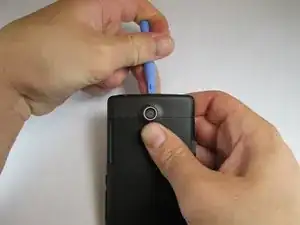
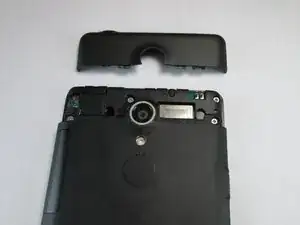
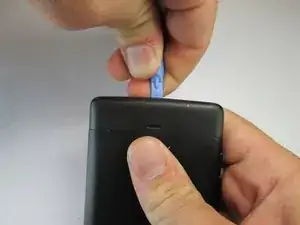
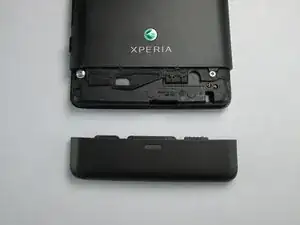
Removing this part is hard for the first time because the manufacturer used adhesive to keep it in place.

  1. RXVNRmYMfPVMO2Ob
    RXVNRmYMfPVMO2Ob
    K3AoqvyQtBiaNyR3
    GX2C3DVFWKHswCyT
    • Use the plastic opening tool to pry the top plastic section off.

  2. GFD1wQvYBwALncCu
    GFD1wQvYBwALncCu
    h6KYYtQnos5hoEFu
    • Use the plastic opening tool to pry the bottom plastic section off.

  3. v1BwHhmyOcNbapJ1
    v1BwHhmyOcNbapJ1
    ffMWUOZ26WdBnweI
    qgZfDBO1DREBryqc
    • Remove the four 5mm screws.

    • Use the plastic opening tool to pry off the back.

  4. rFEAK2bJiXYknUWO
    rFEAK2bJiXYknUWO
    LwsqMMv4S4MQ4VSF
    DFrxg1LJ2SMqXV2a
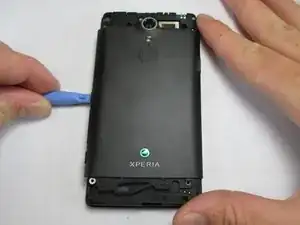
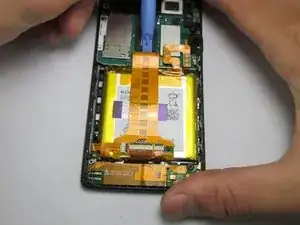
    • Use the plastic opening tool to detach the ribbon running across the battery.

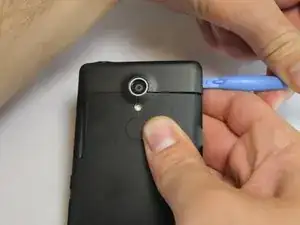
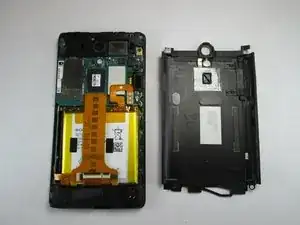
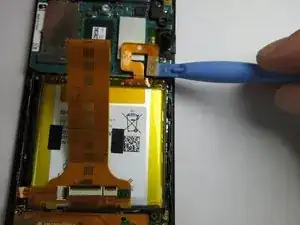
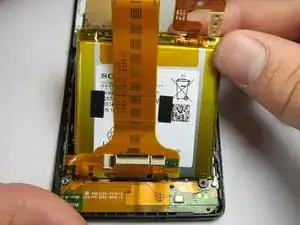
    • Use the plastic opening tool to detach the ribbon connecting the battery to the motherboard.

Abschluss

To reassemble your device, follow these instructions in reverse order.

Adam Giniger

Mitglied seit: 22/09/14

1303 Reputation

Ein Kommentar

Is it necessary to back up the phone before replacing the battery, or will the settings be preserved?

r3woods -