Einleitung

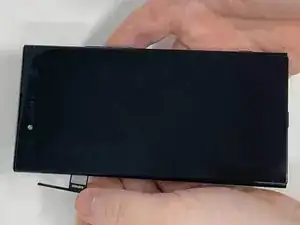
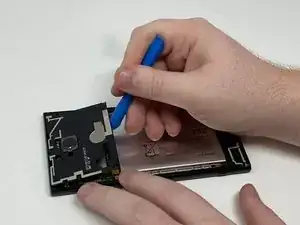
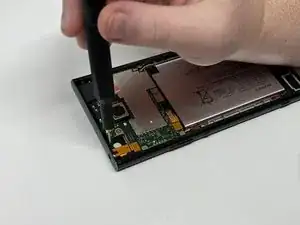
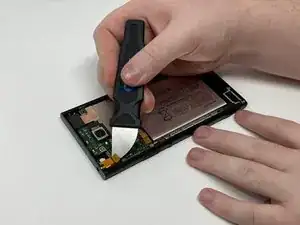
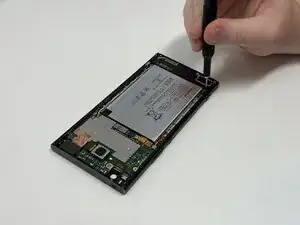
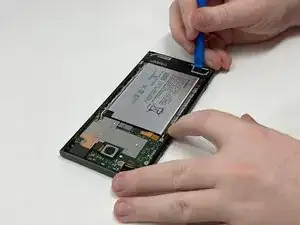
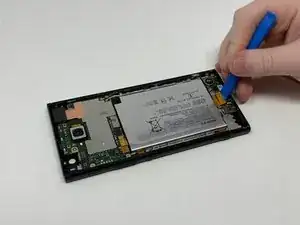
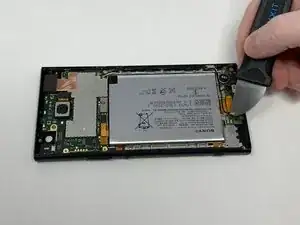
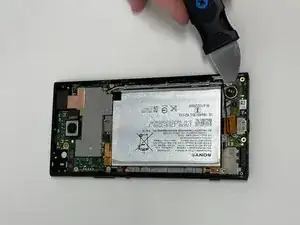
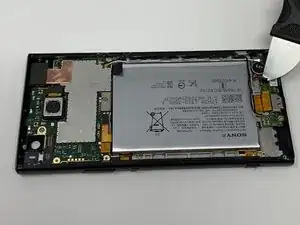
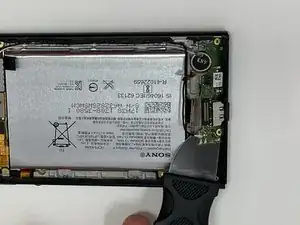
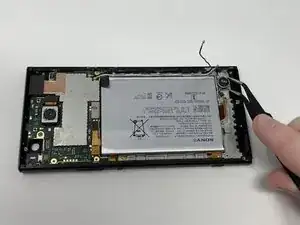
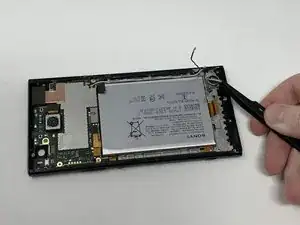
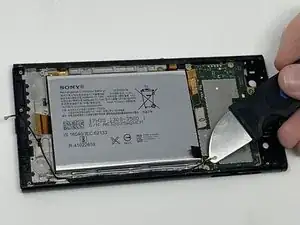
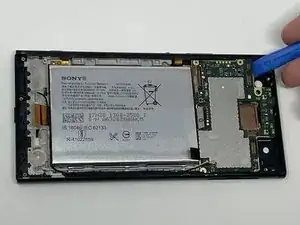
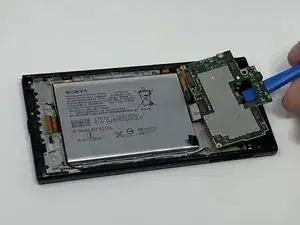
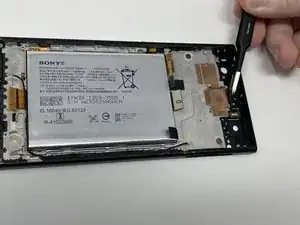
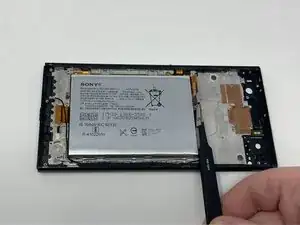
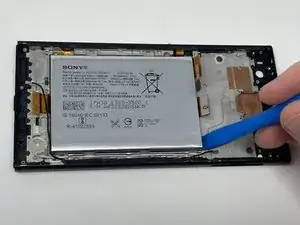
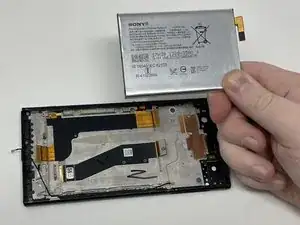
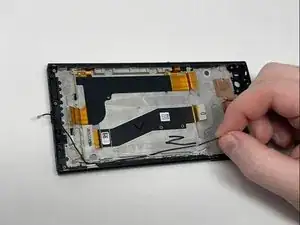
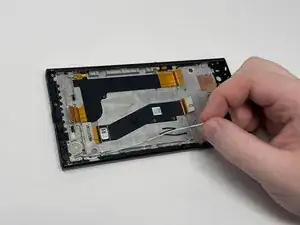
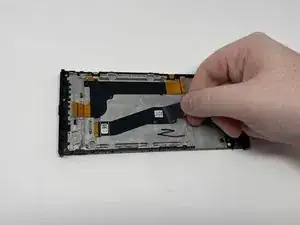
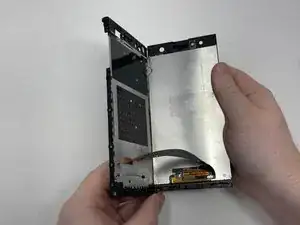
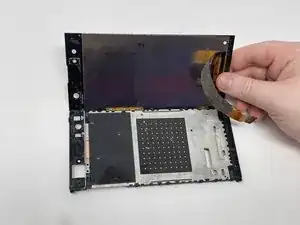
This is a guide to help you remove the LCD Screen on the Sony Xperia XA2 Ultra. Review the troubleshooting page to make sure the screen is broken.

Warning: The removal of the screen could permanently damage it. Only take these steps if your current screen is broken.

Follow all available guides to make sure that the following parts have been removed:

  • Sim Card Tray
  • Back Cover
  • Motherboard Bracket
  • Rear Camera
  • Front Camera
  • Headphone Jack
  • Motherboard
  • Speaker
  • Charging Port
  • Vibration Motor
  • Battery

Before taking any steps to open the phone, make sure that it is turned completely.

Be aware that the device will heat up when using a heat gun (or something similar). Continue with caution.

  1. ThfMGLRciTuvQw1T
    ThfMGLRciTuvQw1T
    bcSJNGaVS1MxDqyt
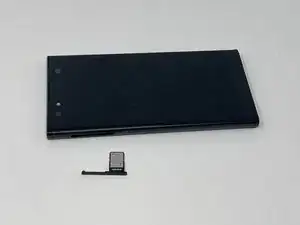
    • Turn off your phone before continuing.

    • Remove the SIM card tray on the left side of the phone using a SIM card eject tool.

  2. SVUVxQroQLfroEQF
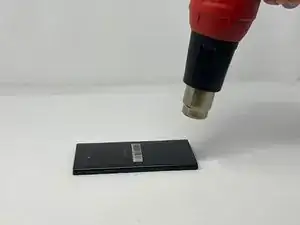
    • Heat the edge of the phone with the heat gun (recommended) for 30 seconds.

    • If you don't have a heat gun, a hair dryer can be used.

    • Use the hair dryer on the highest setting, constantly going around the phone to heat all of the edges.

    • The phone will become hot to the touch. Use gloves or a towel to touch the phone.

  3. OemycEx4qEQgNYcZ
    OemycEx4qEQgNYcZ
    QGVhkcCcYeyHrGhX
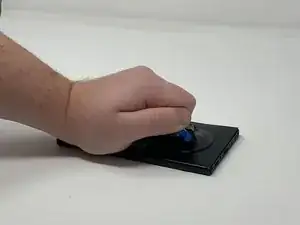
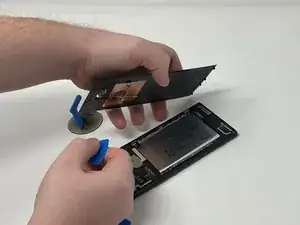
    • Apply the suction handle near an edge of the phone and pull upwards while trying to get an opening large enough for an iFixit opening pick.

  4. mJBSoioDvsKaSLMe
    mJBSoioDvsKaSLMe
    ns6lmMXqTrvwMkDt
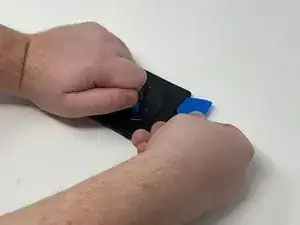
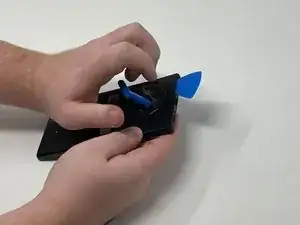
    • Pry upwards with the pick to start pulling the rear cover off the adhesive it’s attached to.

    • Insert a second pick once there is enough room.

  5. wYydXKM1sgRDTlfx
    wYydXKM1sgRDTlfx
    NNg2oZV5LJRsqXmR
    • Take one of the picks and try to slide it down the side of the phone, pulling more of the cover off the adhesive.

    • The iFixit opening tool may also be used to gain better leverage.

    • The rear cover will pop off.

  6. LOi43chLTPsAIRIf
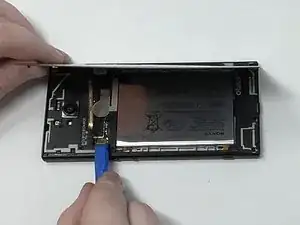
    • Once the rear cover is off, use the iFixit opening tool to detach the flex cable.

  7. hEL154n3GbA2RjVN
    hEL154n3GbA2RjVN
    dfnlLyxh4GjLBScH
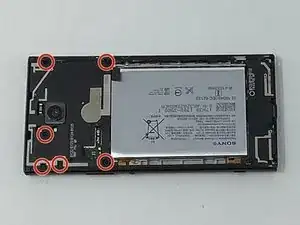
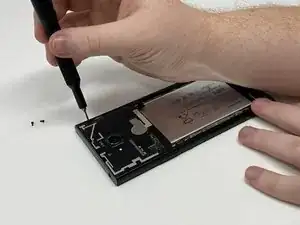
    • Remove the six 3 mm Phillips #000 screws.

  8. aS6EmHDiHIJ4eQkX
    • Remove the motherboard bracket with an iFixit opening tool.

  9. ckiXMZRJPleNxtSl
    • Remove the single 3 mm screw using a Phillips #000 screwdriver.

  10. 1jISIqPo3lgHmkij
    • Use the Jimmy to pry and remove the headphone jack.

  11. Y4wJUMV2GS1Vg5te
    Y4wJUMV2GS1Vg5te
    BiPrVakmIMcmdptB
    • Remove the four 3 mm screws using a Phillips #000 screwdriver.

  12. 5UTRXBDMscZpbDGF
    5UTRXBDMscZpbDGF
    2MBJy5pMDafaPwP5
    • Using an iFixit opening tool, pry and remove the speaker.

  13. kYcFIPwYeBIoRoBw
    • Using the iFixit opening tool, disconnect the flex cable.

  14. 3vtlVlkvgNQ3kk5d
    3vtlVlkvgNQ3kk5d
    bdm6f2NNZAg5hjYx
    • Remove both the black and white antenna cables using the Jimmy.

  15. cPRupLtUrMAqLhrY
    • Remove the vibration flex cable with the Jimmy.

  16. edWZQphZb3eIUAdl
    • Using the Jimmy and the iFixit opening tool, remove the charging port.

  17. UVnSKcFSt16XGvlw
    UVnSKcFSt16XGvlw
    2a6PdwvnaBKn52ZE
    • Using the tweezers, pry underneath the vibration motor and pull from its place.

    • There is an adhesive underneath it so removing it may take a bit of work.

  18. GHCQZ4J1Xuvm1cqJ
    • Using the Jimmy, remove the two antenna flex cables.

  19. UXm5wjfSdqoafrGm
    UXm5wjfSdqoafrGm
    CSXGYZNN1BUxVnSP
    • Using the iFixit opening tool, pry and remove the motherboard.

  20. BvadKXUiS2Bkts1j
    • Use a pair of tweezers to remove the rear-facing camera.

    • Use a pair of tweezers to remove the magnetic tape covering the front-facing camera.

    • Use a pair of tweezers to remove the front-facing camera.

  21. LoRrrhAwBnRsuAtE
    • Grab and twist the black battery tab with a pair of precision tweezers.

    • This will remove the adhesive that is attached to the battery.

    • Do this again with the black tab under the power button flex cable.

  22. tf6u4EE1bhMV3FUD
    tf6u4EE1bhMV3FUD
    uxoPcFgIkdRORQPU
    • With the iFixit opening tool, remove the battery.

  23. DnOW1Gjhtc5XXQQp
    DnOW1Gjhtc5XXQQp
    YD21axBjRTuH4HXR
    • Remove the black and white flex antenna cables by hand.

  24. ac2wZyTrBOgt1YcD
    ac2wZyTrBOgt1YcD
    B4stAeHixeyiPEHZ
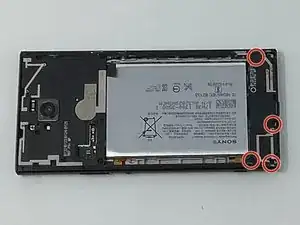
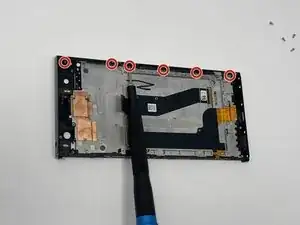
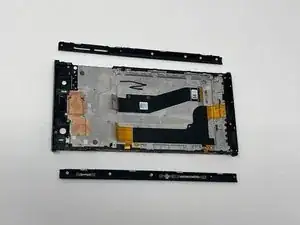
    • Remove the six 3 mm T5 Torx screws.

    • The sides of the phone should fall off once the screws are out.

  25. oe6t64BQqMTFMcR4
    • Pull up the flex tape so it is loose.

  26. A3YCpHbKiitegFgQ
    A3YCpHbKiitegFgQ
    kkox5TjnqVjKeYIa
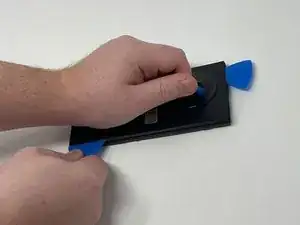
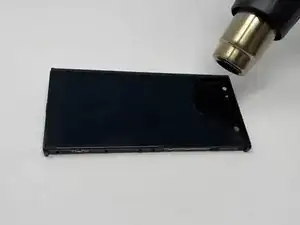
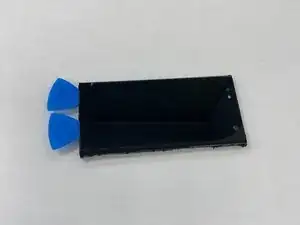
    • With your heat gun, heat the edges of the phone for about a minute. Using the iFixit opening picks, pry underneath the screen.

    • If you are having trouble, the iFixit opening tool may help gain leverage.

    • The phone will become hot to the touch. Use gloves or a towel to touch the phone.

  27. BdvvEBFB14rfYliq
    BdvvEBFB14rfYliq
    HRclCYQLaxKLSWMj
    BkwRlODkxypENCmJ
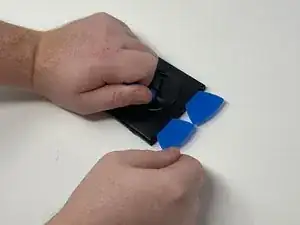
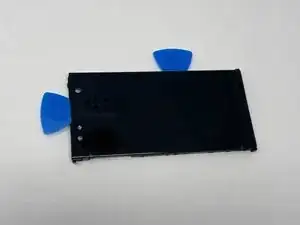
    • Take the picks and run them around the screen, removing the screen from the adhesive.

    • Slowly lift and remove the screen.

Abschluss

To reassemble your device, follow these instructions in reverse order.
Alyssa Bayles

Mitglied seit: 27/09/22

819 Reputation

0 Kommentare