Einleitung

If your phone is running slow or looses charge very quickly, your battery might be the reason and it may be time for a replacement. This guide will instruct you on replacing the battery of your Sony Xperia XZ2.

Before removing the battery, you will have to remove the front screen. You will need a spudger and a Phillips #00 screwdriver head.

  1. 6e4XTTmfPxPyRDJy
    6e4XTTmfPxPyRDJy
    Vag21UAeQmZ6ClrS
    IHiTQTNnTyobWkQO
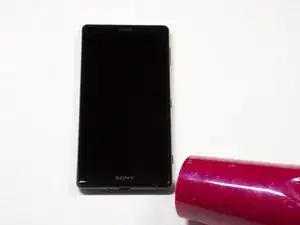
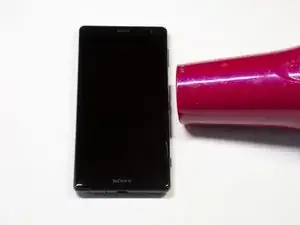
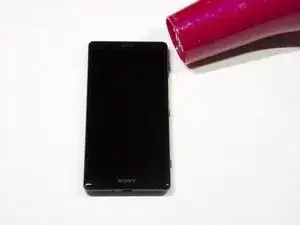
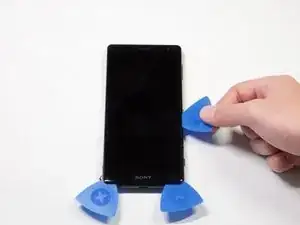
    • Weaken the glue that is keeping the screen in place by heating up the edges of the phone with a hair dryer or heat gun.

    • The phone gets very hot and can hurt the user handling it.

  2. B6jtSOHqw2yKZ2FN
    B6jtSOHqw2yKZ2FN
    VADNxye1RCDWIscu
    4bEfCEtfSFMeQHwi
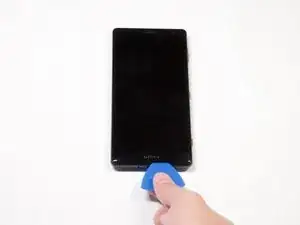
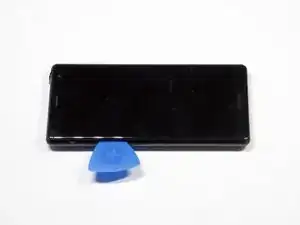
    • Scrape all the glue from the inside edges by inserting opening picks into the bottom edge of the phone and working your way around the edges.

    • If the glue hardens and becomes difficult to move the plastic around the edges, reheat the phone.

    Hi my sony XZ2 NOT HAVE light lcd i need to ic light lcd

    Sayed Latif -

  3. UVF5ZnIEQEXYfBvb
    UVF5ZnIEQEXYfBvb
    mqIiB5BwQDkecm4j
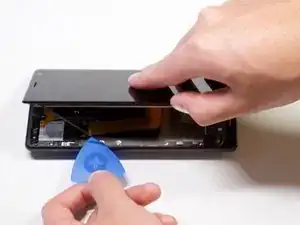
    • Pry open the phone by inserting an opening pick under one of the edges and removing the screen.

    • The screen is still attached by a connector, so do not pull the pieces apart.

  4. wGYFQBI4OcLrIyiT
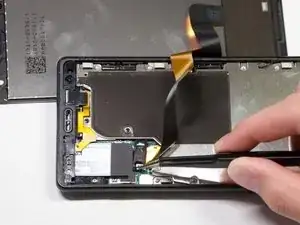
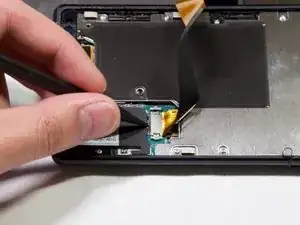
    • Remove the bracket covering the connector by grabbing one side of the bracket with angled tweezers and gently pulling it off.

    It doesn't look like it, but this is a tricky step. The bracket is a small and fragile part, easily broken (happened to me), even when using the right tool, and almost impossible to repair. Make sure to go easy when grabbing it!

    Célestin Taramarcaz -

  5. PXllfPPpQRgndZjw
    • Gently remove the connector by using a spudger to pop it off.

  6. uUIXrAV4sns6N4UD
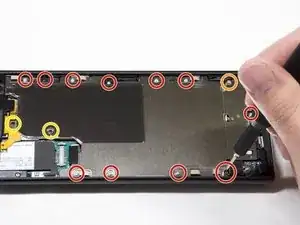
    • Take out the twelve 3.5mm screws using the Phillips #00 screwdriver.

    • Remove the one 3 mm Phillips #00 screws.

    • Remove the two 1mm Phillips #00 screws.

    • Fifteen screws should be removed in total in this step. (Not all the screws are visible in the picture.)

  7. 3mrHqTXHEBvMWC2n
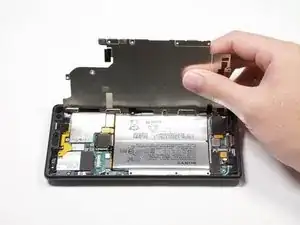
    • Lift the metal screen shield out of the phone.

  8. g6VNHShZeMZ5mERq
    g6VNHShZeMZ5mERq
    pOOcrbBxkThv5Khd
    SxpHDIA24AC1hnbp
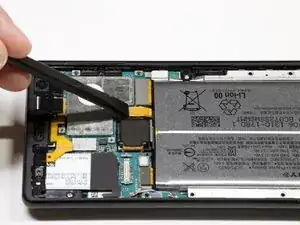
    • Use the spudger to pry up the battery flex connector to pop the battery out.

  9. dJw3vnRFPOOCCbQL
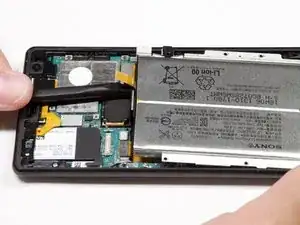
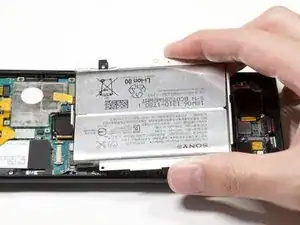
    • Lift the battery out of the phone.

Abschluss

To reassemble your device, follow these instructions in reverse order.
Arti Jain

Mitglied seit: 24/01/19

189 Reputation

0 Kommentare