Einleitung

If the front camera on your Sony Xperia XZ2 is no longer working, it may need to be replaced. To replace the front camera use this guide. For this guide you will need a hair dryer, opening picks, angled tweezers, a spudger, and a Phillips #00 screwdriver.

Replacing the front camera requires removal of the LCD screen.

  1. 6e4XTTmfPxPyRDJy
    6e4XTTmfPxPyRDJy
    Vag21UAeQmZ6ClrS
    IHiTQTNnTyobWkQO
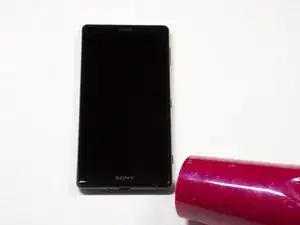
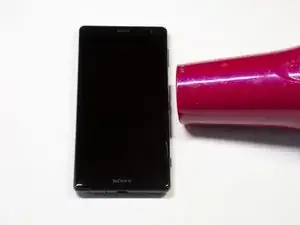
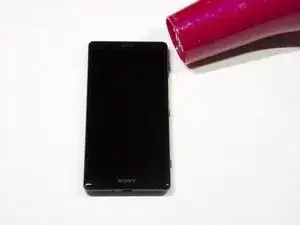
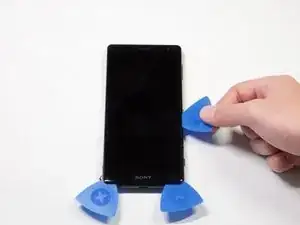
    • Weaken the glue that is keeping the screen in place by heating up the edges of the phone with a hair dryer or heat gun.

    • The phone gets very hot and can hurt the user handling it.

  2. B6jtSOHqw2yKZ2FN
    B6jtSOHqw2yKZ2FN
    VADNxye1RCDWIscu
    4bEfCEtfSFMeQHwi
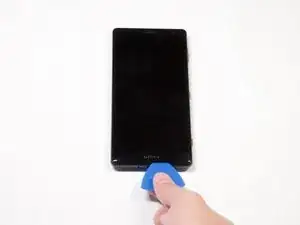
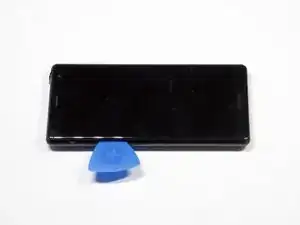
    • Scrape all the glue from the inside edges by inserting opening picks into the bottom edge of the phone and working your way around the edges.

    • If the glue hardens and becomes difficult to move the plastic around the edges, reheat the phone.

    Hi my sony XZ2 NOT HAVE light lcd i need to ic light lcd

    Sayed Latif -

  3. UVF5ZnIEQEXYfBvb
    UVF5ZnIEQEXYfBvb
    mqIiB5BwQDkecm4j
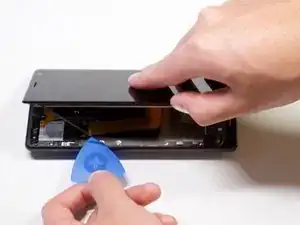
    • Pry open the phone by inserting an opening pick under one of the edges and removing the screen.

    • The screen is still attached by a connector, so do not pull the pieces apart.

  4. wGYFQBI4OcLrIyiT
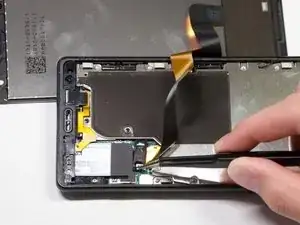
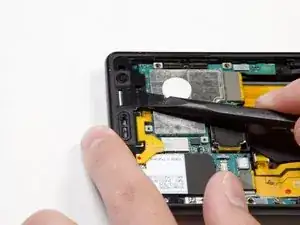
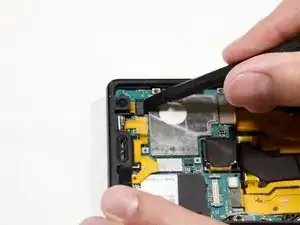
    • Remove the bracket covering the connector by grabbing one side of the bracket with angled tweezers and gently pulling it off.

    It doesn't look like it, but this is a tricky step. The bracket is a small and fragile part, easily broken (happened to me), even when using the right tool, and almost impossible to repair. Make sure to go easy when grabbing it!

    Célestin Taramarcaz -

  5. PXllfPPpQRgndZjw
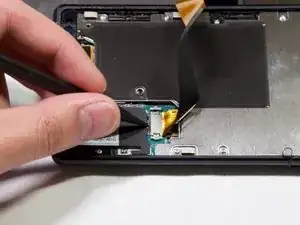
    • Gently remove the connector by using a spudger to pop it off.

  6. cJMKLmeaEDfDDs1j
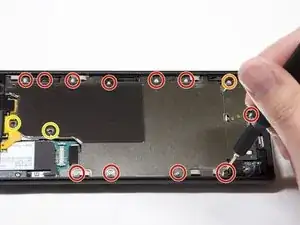
    • Take out the twelve 3.5mm screws using the Phillips #00 screwdriver.

    • Remove the one 3 mm Phillips #00 screws.

    • Remove the two 1mm Phillips #00 screws.

    • Fifteen screws should be removed in total in this step. (Not all the screws are visible in the picture.)

  7. AkHfddLwQwL5ZL1M
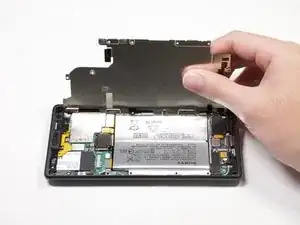
    • Lift the metal screen shield out of the phone.

  8. PXFBmXDMeaFHwGYp
    PXFBmXDMeaFHwGYp
    QjAsTwFP3W6sUHhh
    ymWlwJNLB2lEvvqZ
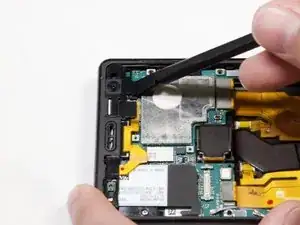
    • Use the spudger to pop off the plastic protector.

  9. nAauNSsYorlVmruf
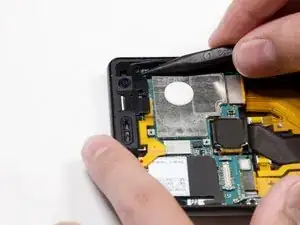
    • Gently pry up the battery flex connector using the spudger.

Abschluss

To reassemble your device, follow these instructions in reverse order.
Chloe

Mitglied seit: 24/01/19

214 Reputation

0 Kommentare