Einleitung
This guide will lead you through the necessary steps required to replace the headphone jack in your phone.
Werkzeuge
Ersatzteile
-
-
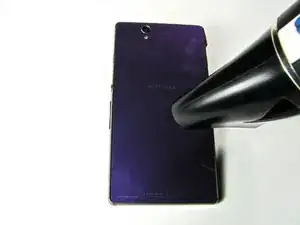
Turn hair dryer to medium heat.
-
Slowly move the hair dryer along the seams on the back of the phone. Keep the dryer a few inches away from the case.
-
Circulate the dryer for a full minute to soften the adhesive binding the phone together.
-
-
-
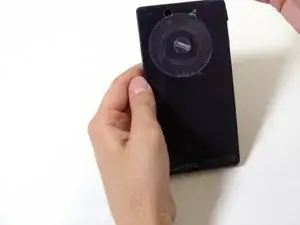
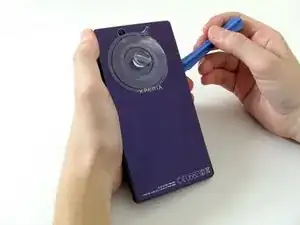
Once the adhesive is loosened, stick the suction cup to the top-center of the back of your phone and gently pull back.
-
-
-
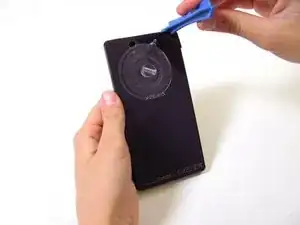
Once you've opened a small space with the back cover, stick the plastic opening tool into the seam of the phone.
-
Move the tool along the seam to loosen the adhesive.
-
-
-
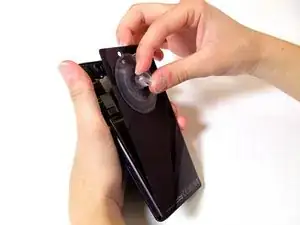
Once the adhesive has been adequately loosened, pull back slowly on the suction cup to remove the back panel of the phone.
-
-
-
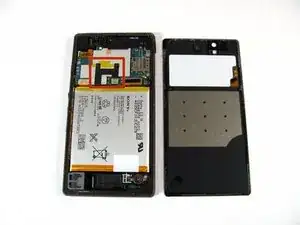
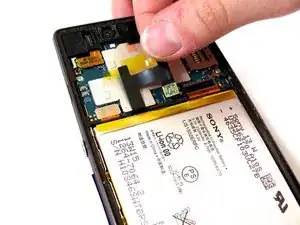
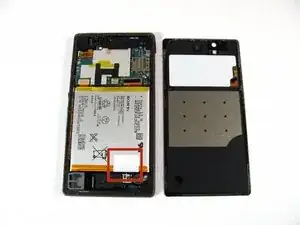
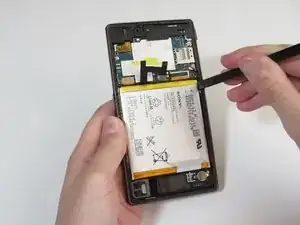
Now that the back is removed, the battery is visible. You now have access to the battery and its connecting components.
-
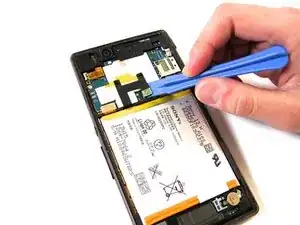
With the plastic opening tool, gently remove the connector from the motherboard.
-
Use your fingers to peel the rest of the adhesive away from the phone.
-
-
-
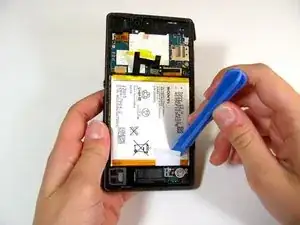
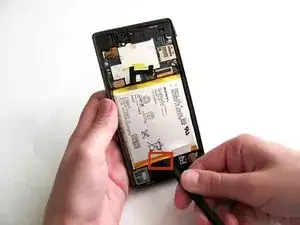
With the plastic opening tool, carefully peel the white adhesive tape up from the bottom of the battery.
-
Use your fingers to peel back the rest of the adhesive tape away from the battery.
-
-
-
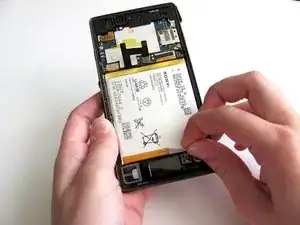
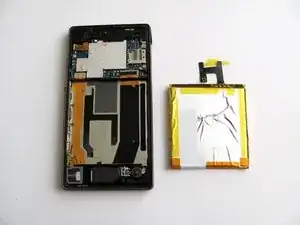
Slide the spudger firmly along the right side of the battery, loosening the adhesive between the casing and battery.
-
Insert the spudger in the bottom-center to further loosen the adhesive. Carefully separate the battery from the phone by sliding the spudger vertically underneath the battery and prying up. This may take some time and work as the adhesive is very strong.
-
-
-
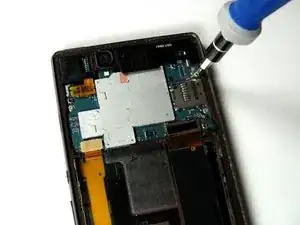
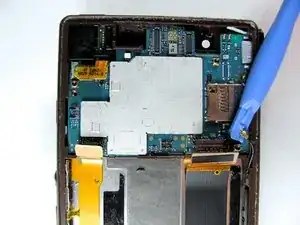
Remove the one 3 mm screw with the Phillips #000 screwdriver. The screw is located at the top right corner of the motherboard. The motherboard is the green/silver circuit board at the top of the phone.
-
-
-
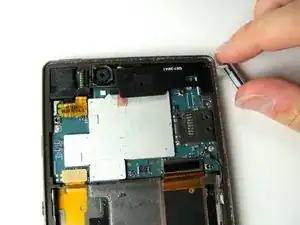
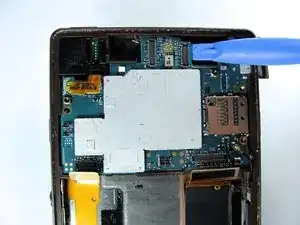
Using with the plastic opening tool, pry up firmly from the bottom and top of the plastic housing. The housing is black and located at the top right corner of the phone.
-
Release the charging cover, located on the right side of the phone at the top. This should cause the housing piece to pop out effortlessly.
-
-
-
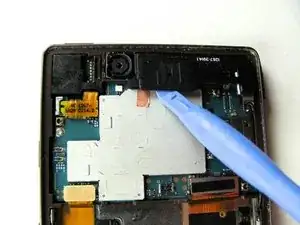
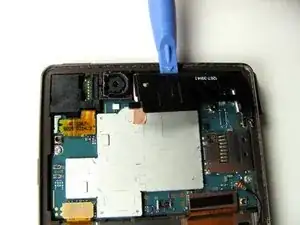
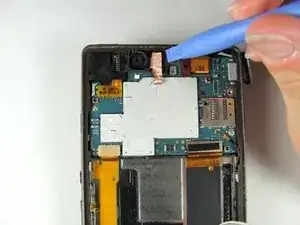
Release the copper tape located at the top middle of the phone with a plastic opening tool. This will take some force since the adhesive is rather strong.
-
With the plastic opening tool, release the pop connector, by lifting up to release it. The pop connector should still be attached to the copper tape.
-
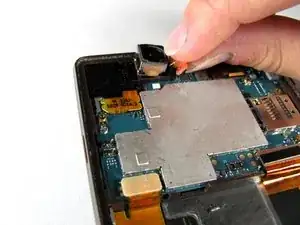
Pull up gently on the copper tape and pop connector to remove the back camera. It should pop out easily.
-
-
-
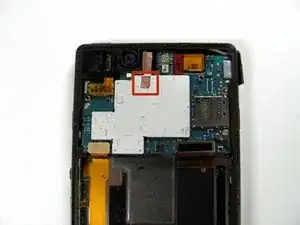
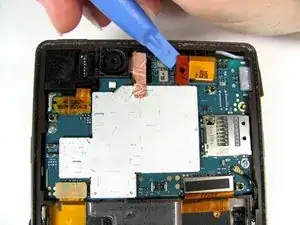
With the plastic opening tool, gently pry the red tape away from motherboard. This pop connector is located at the top right corner of the phone.
-
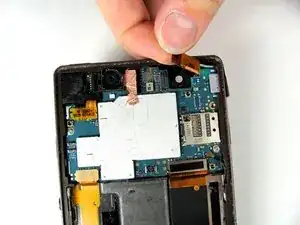
Using your fingers, gently pull up on the pop connector to remove the front camera. The front camera piece should lift out effortlessly.
-
-
-
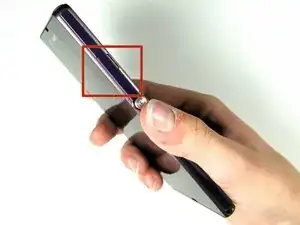
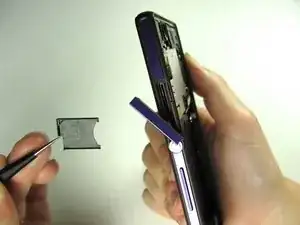
The SIM card of the Xperia Z is located in the unlabeled slot above the power button.
-
Gently open the cover by pushing it to the left.
-
-
-
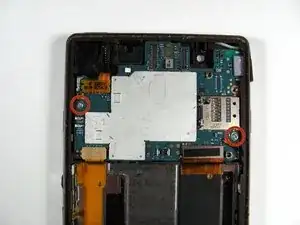
Remove the two 3mm Phillips #000 screws located at the middle left and lower right of motherboard.
-
-
-
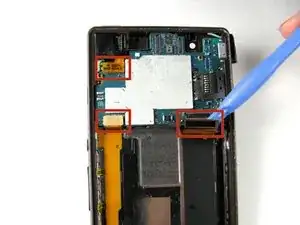
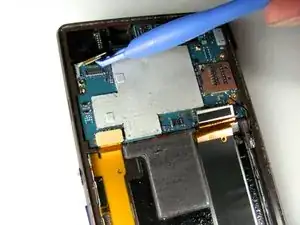
Gently pry the three flex cables away from the motherboard. They are located on the bottom right, bottom left, and top left corners of the motherboard.
-
-
-
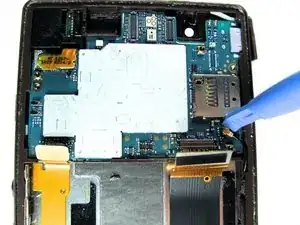
With the plastic opening tool pry up the antenna located at the bottom right of the motherboard.
-
-
-
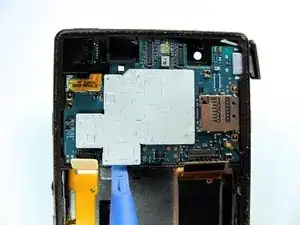
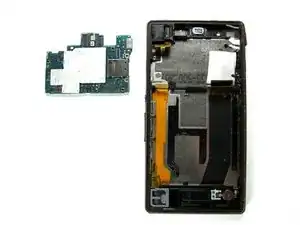
With the plastic opening tool, firmly pry the motherboard up out of the phone case. Pry from the right side of the motherboard where the back camera was previously located.
-
Firmly lift the section up where the silver part of the motherboard comes to the edge of the green base board.
-
-
-
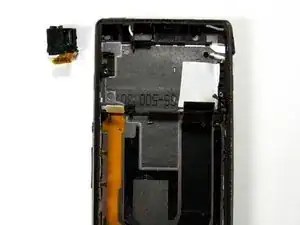
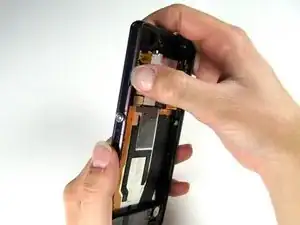
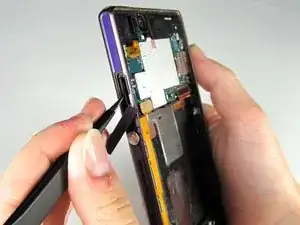
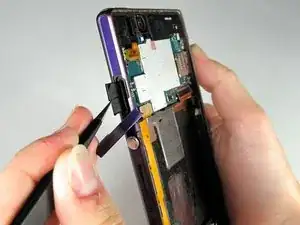
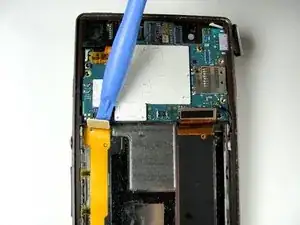
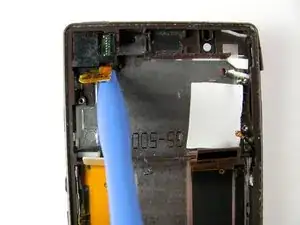
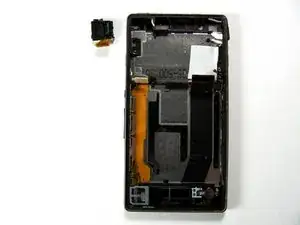
Place the plastic opening tool under the bottom side of the orange pop connector, and lift up towards the center of the headphone jack. The pop connector is located at the top left of the phone.
-
Carefully lift the tool upwards to release the headphone jack. You may grab the sensor cable to lift the part out of its position.
-
To reassemble your device, follow these instructions in reverse order.
2 Kommentare
How many pins are on the ribbon cable that conects the screen to the motherboard?
Email me at xenoffline@gmail.com
Excellent guide Mollie. Superb and very detailed, including the tools and warnings needed. Will this guide help with my Sony Xperia Z5 Premium? It has a defective earphones jack that needs to be replaced. Thanks for your reply.
