Einleitung

If your device is not recognizing any headset you plug in, and performing a software repair did not fix this problem, replacing the headphone jack may solve this problem.

  1. p1jhWoRaWESj1Tpc
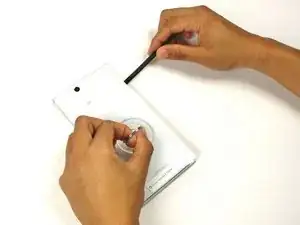
    • Use the small suction cup to lift the back panel:

    • Press the small suction cup on to the middle of the back panel.

  2. TEXgtb1nkGAMOXK1
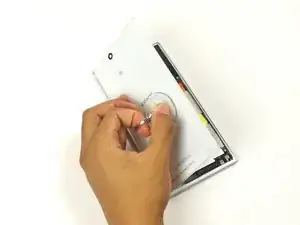
    • While holding the Sony Xperia Z ultra down with your left hand, slightly pull the small suction cup upwards to create a small opening between the back panel and the front panel.

    • While continuing to pull the small suction cup upwards, insert the spudger in the small opening.

    • Pry the front panel downwards with the spudger while continuing to pull the small suction cup upwards.

  3. bCXynAuFcEaaEuGc
    • Remove the back panel by pulling the small suction cup upwards.

  4. KtavORgTluWFJFnN
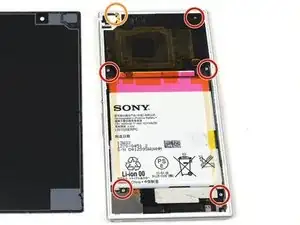
    • Remove the following six screws with a Phillips #000 screwdriver:

    • five silver 2.1 mm screws

    • one gold 3.1 mm screw

  5. 24TUJwtqu41LEVZH
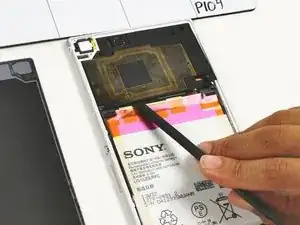
    • Pry the plastic motherboard shield open by placing the spudger under the shield and running it along the edges.

  6. fZ1E3wEKZk2LTYIB
    • Use care to remove the motherboard shield, as it may break. The motherboard shield is made of a very thin plastic.

    • Remove the motherboard shield by lifting the lower end upwards first.

  7. ELZiRiMmBynQslGb
    ELZiRiMmBynQslGb
    3nY2LnJGVABcHMn4
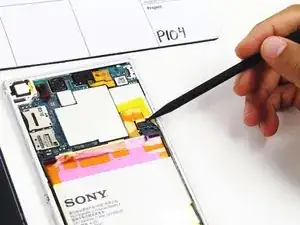
    • Detach the battery connection cable by prying it upward with the spudger.

  8. LknXp5vVlFDR4fqA
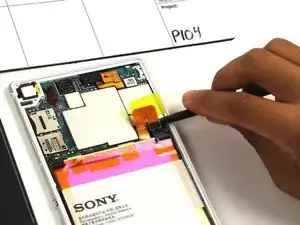
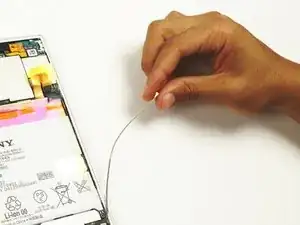
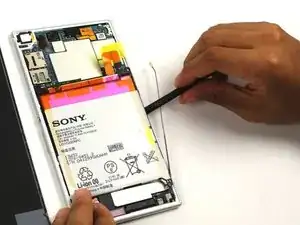
    • Pry the upper end of the antenna upwards with the spudger.

  9. ZuHUs4BOQ6sP1IIL
    • Detach the antenna by pulling the upper end upwards and outwards.

  10. iEGFqThaIQZ153yL
    • Insert the spudger underneath the battery and run it back and forth to remove any adhesive.

  11. AMZJwETeBdhsLPIV
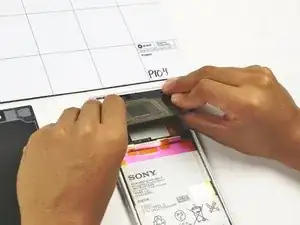
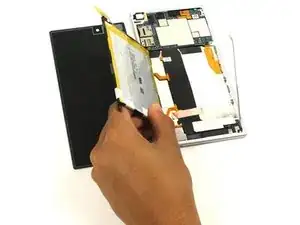
    • Remove the battery from the phone.

  12. LQW5MUhQHOrTU3lA
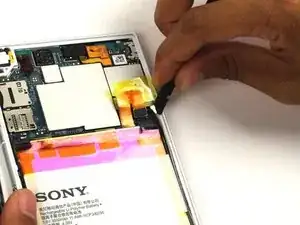
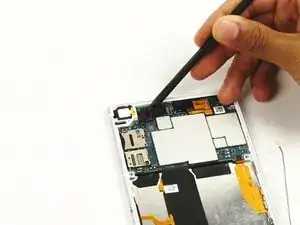
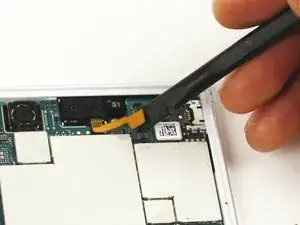
    • Use care to remove the headphone jack connection, as it may snap if excessive force is used. The headphone jack connection is extremely thin.

    • Detach the headphone jack connection by prying it upwards with the spudger.

    The front camera remove step seems missing

    kaworu_ray -

    I also think you missed the bit about detaching the connector at the bottom right of the mother board. Also you forgot to mention not to pry the motherboard up and away by going anywhere near the ribbon. The area near the ribbon needs to be avoided at all costs - I have just destroyed my Z Ultra by detaching the glued ribbon. You need a microscope and special glue and tape if you do what I have done.

    Noel Crossley -

  13. d2yrIfLomwGBICkV
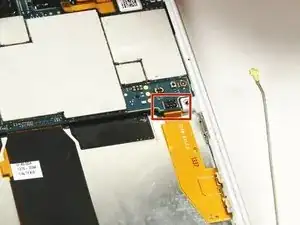
    • Use care to remove the earphone jack connection, as it may snap if excessive force is used. The earphone jack connection is extremely thin.

    • Detach the earphone jack connection by prying it upwards with the spudger.

  14. ydoPn15LZZ5LA6Ni
    ydoPn15LZZ5LA6Ni
    dtqjeyECxGPGjTxW
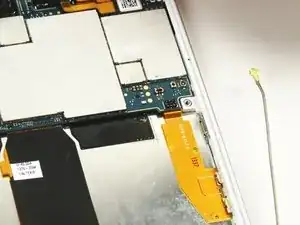
    • Disconnect the ribbon cable at the bottom right of the motherboard. (It's shown tucked under the motherboard in this photo, which is incorrect—don't do this!)

  15. wgZF2mgpfBmcpJWJ
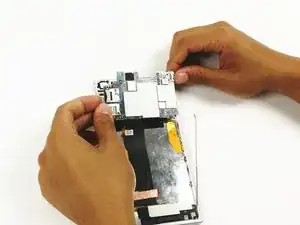
    • Detach the upper end of the motherboard by pulling the top end upwards.

    Don’t go anywhere near the ribbon when trying to pry the motherboard off. I have just detached the glued on ribbon and destroyed my phone.

    Noel Crossley -

  16. gaJEYc2LLnMFhMLZ
    gaJEYc2LLnMFhMLZ
    HSAIRNWWeLWAAObe
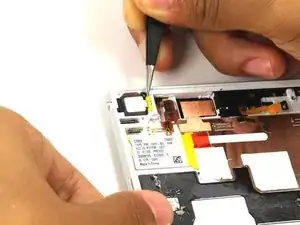
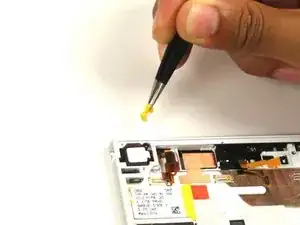
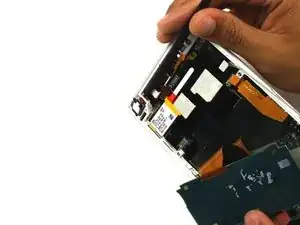
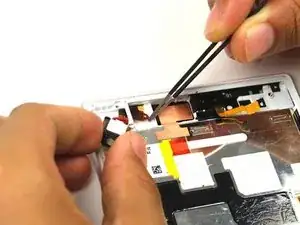
    • Remove the yellow clip that secures the headphone jack slot with a pair of tweezers.

    • The motherboard is still attached but moved outside of the image in order for the components being worked on to be more visible.

  17. pO4pwlEDWDhulglx
    pO4pwlEDWDhulglx
    WHLExWVDIpOceTZg
    AGpSEZkKUPNEVWOp
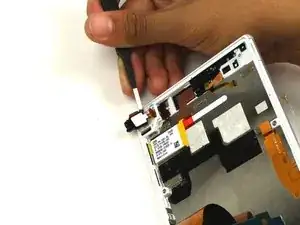
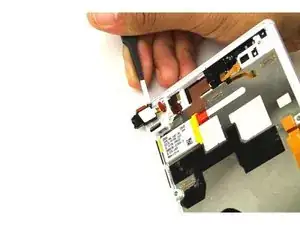
    • Push the red stopper of the headphone jack connection through the plastic tunnel with the spudger.

    • Use care to guide the head phone jack connection through the plastic tunnel, as it may deform and break if forceful or sudden movements is used. The headphone jack is made of a very thin plastic.

    • While holding the back end of the headphone jack connection, grasp the headphone jack connection with the pair of tweezers and guide it through the plastic tunnel.

    • Remove the headphone jack connection from the device.

Abschluss

To reassemble your device, follow these instructions in reverse order.
Aaron Quinn

Mitglied seit: 01/10/15

908 Reputation

0 Kommentare