Einleitung
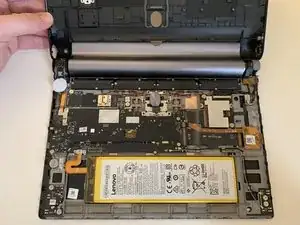
To complete this guide you'll need a Philips #0 screwdriver, a spudger and some tweezers.
Werkzeuge
-
-
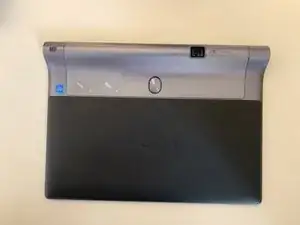
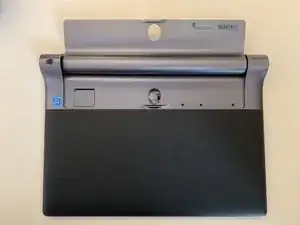
Flip the tablet with the rear panel facing up.
-
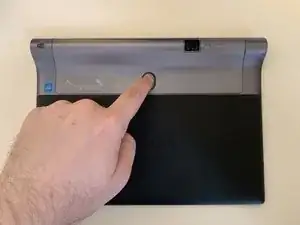
Push the central button to lift the support.
-
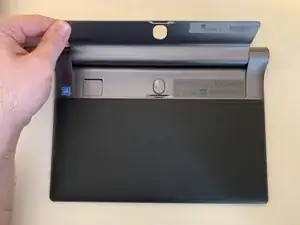
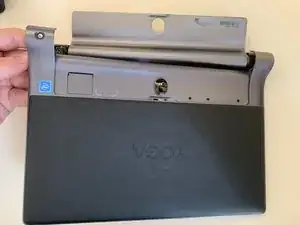
Open the support entirely, using your hands.
-
-
-
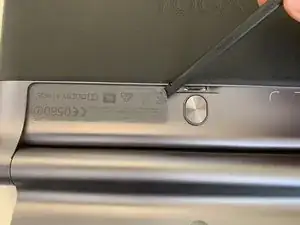
Remove the sticker using the plastic spudger by lifting it up from one side, then you can remove it entirely by using your fingers.
-
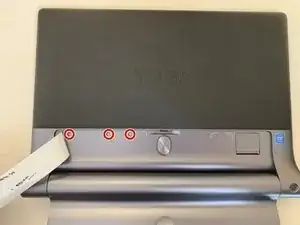
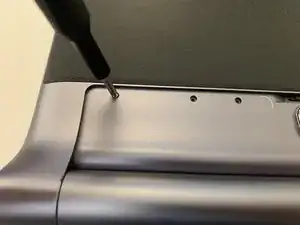
Use the Philips #0 screwriver to remove the three screws.
-
-
-
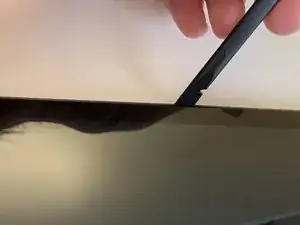
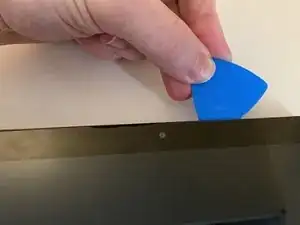
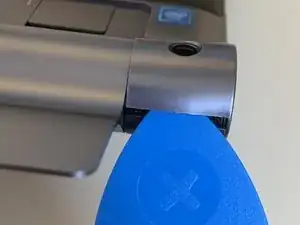
Divide the two halfs by inserting the spudger in the gap between the front shell and the rear one. To help you out with this job you can also use some guitar picks.
-
Do the same procedure on all three visible sides, including the two round side parts.
-
-
-
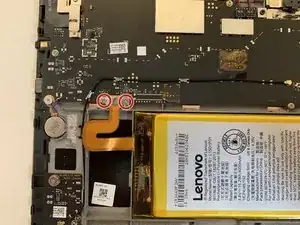
Remove the two screws that hold the plate for the battery connector, by using a Philips #00 screwdriver.
-
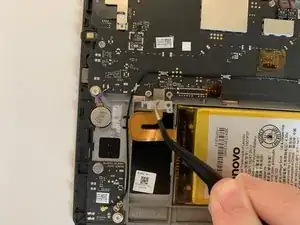
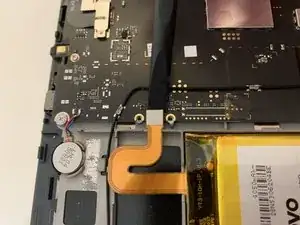
Remove the plate by using tweezers.
-
-
-
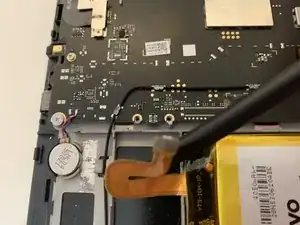
Use the flat portion of a spudger to unplug the battery from the motherboard.
-
Pull the connector away from the motherboard.
-
-
-
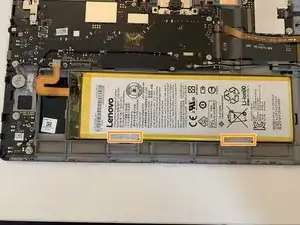
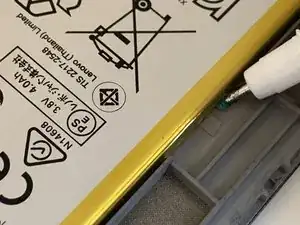
Use the tweezers to lift up the adhesive pull tabs.
-
Use your fingers to lift up the adhesive pull tabs to
-
-
-
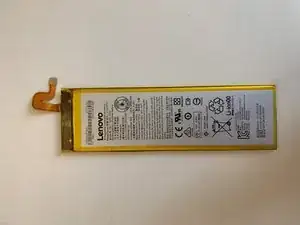
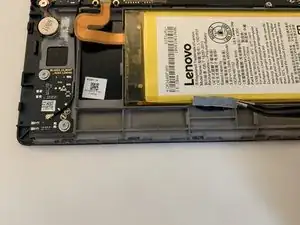
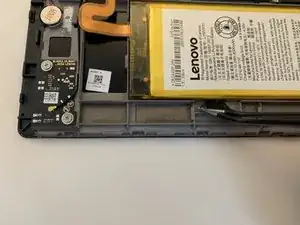
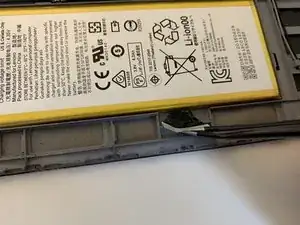
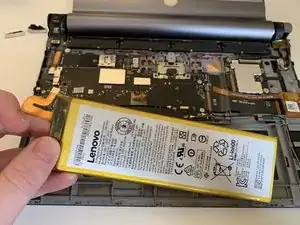
Now that you've completely removed the double-sided tape, you can remove the battery very easily.
-
To reassemble the device, folllow these instruction in reverse order.
