Einleitung
Werkzeuge
-
-
Power off your iPhone before beginning disassembly.
-
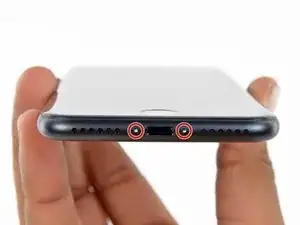
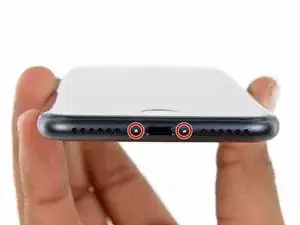
Remove the two 3.4 mm pentalobe screws on the bottom edge of the iPhone.
-
-
-
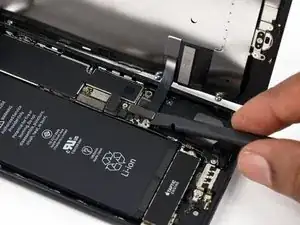
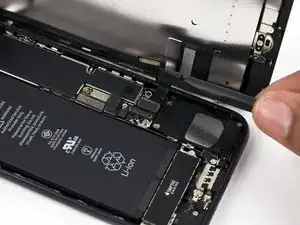
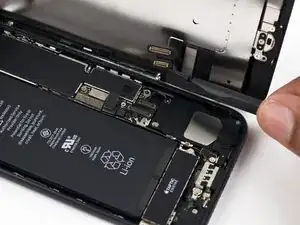
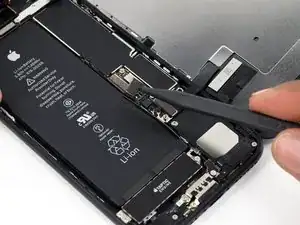
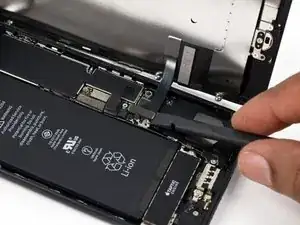
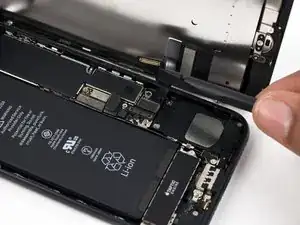
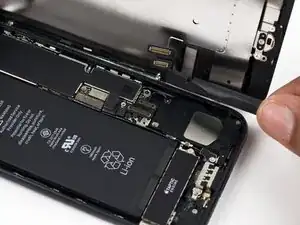
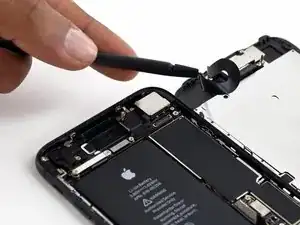
Use a spudger or a fingernail to disconnect the two lower display connectors by prying them straight up from their sockets on the logic board.
-
-
-
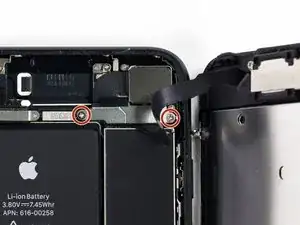
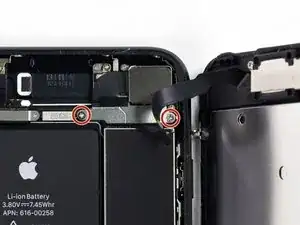
Remove the two 1.3 mm Phillips #000 screws securing the bracket over the front panel sensor assembly connector.
-
-
-
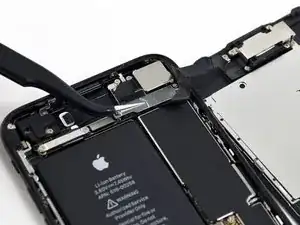
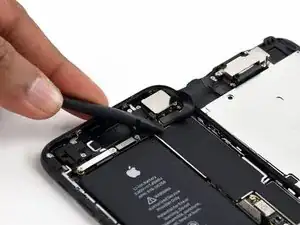
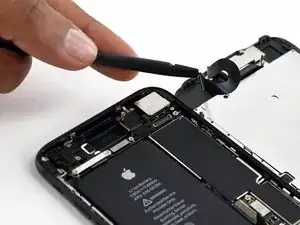
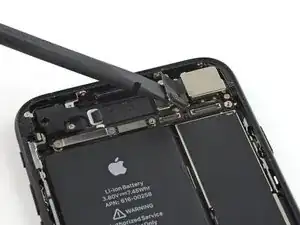
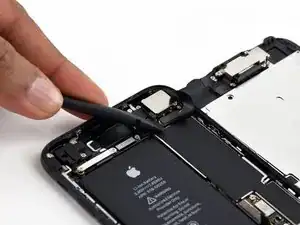
Use the flat end of a spudger to disconnect the rear-facing camera's press connector from its socket on the logic board.
-
-
-
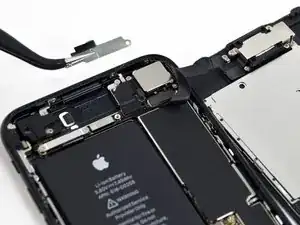
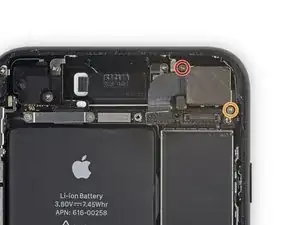
Remove the following Phillips screws securing the rear camera bracket over the camera module:
-
One 1.3 mm screw
-
One 2.5 mm screw
-
-
-
Turn off your iPhone before starting to take it apart.
-
Remove the two 3.4 mm pentalobe screws at the bottom of your iPhone
-
-
-
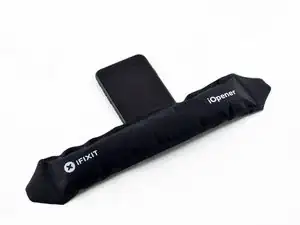
Put the hot iOpener over the bottom of the phone to soften the adhesive that holds the display.
-
-
-
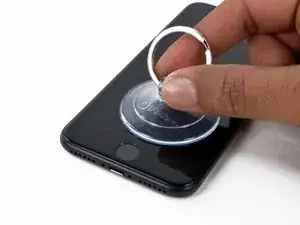
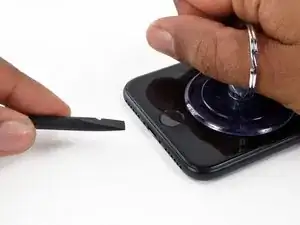
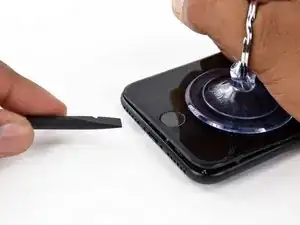
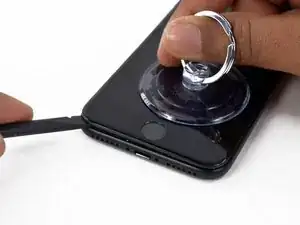
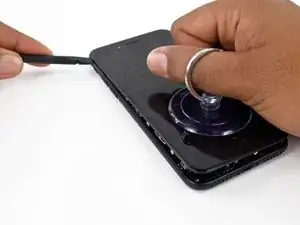
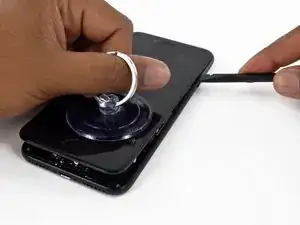
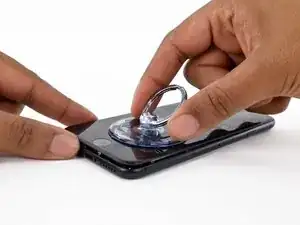
Apply a suction cup to the bottom half of the display assembly, just above the home button.
-
-
-
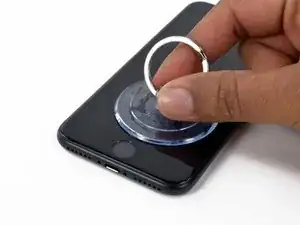
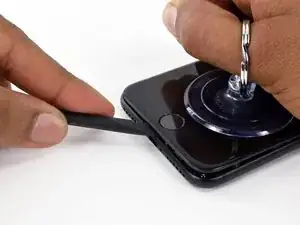
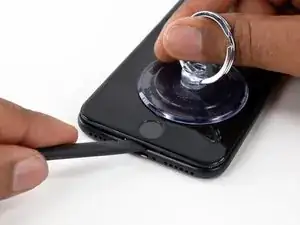
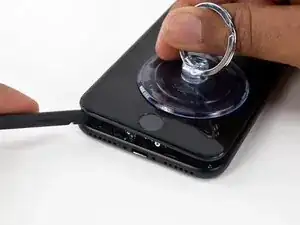
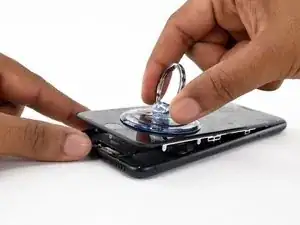
Pull the suction cup to create a small gap between the display assembly and the back case.
-
-
-
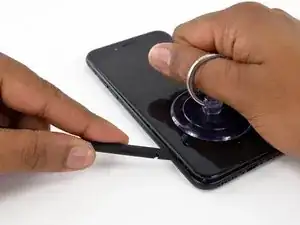
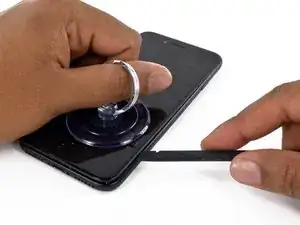
Slide the spudger to the left along the bottom side of the iPhone.
-
Twist the spudger to widen the gap between the display and the back case.
-
-
-
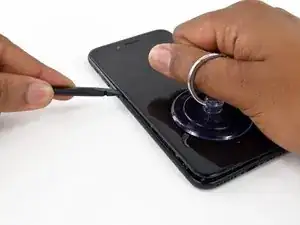
Slide the spudger along the left side of the iPhone, starting at the bottom and moving to the volume control buttons and the silent mode switch.
-
-
-
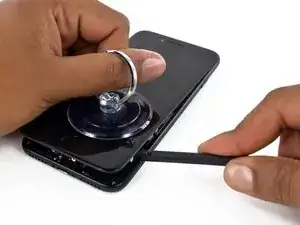
Remove the spudger from the left side of the iPhone and insert the flat end into the lower right corner of the device.
-
Rotate the spudger to widen the gap between the display assembly and the rear case.
-
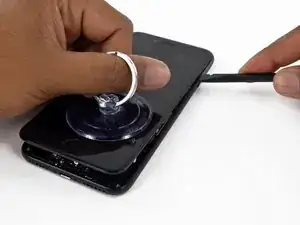
Slide the flat end of the spudger to the right side of the phone to break the adhesive that holds the display in place.
-
-
-
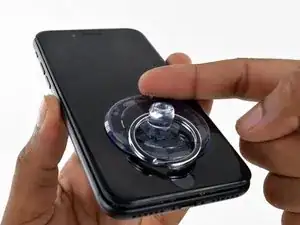
Lift the small appendage of the suction cup to remove the instrument from the front panel.
-
-
-
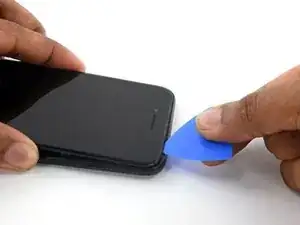
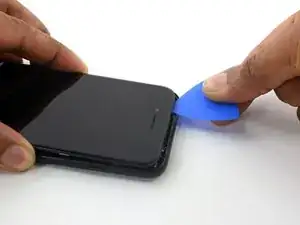
Slide an opening tool along the top side of the iPhone, between the back case and the front panel, to break the rest of the sticker that holds the screen in place.
-
-
-
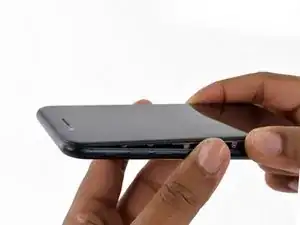
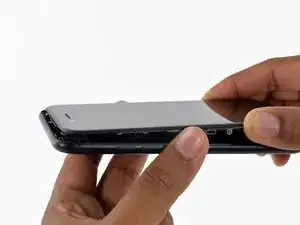
Carefully pull the display assembly horizontally to move it away from the top of the phone to disconnect the clips that lock the screen to the back case.
-
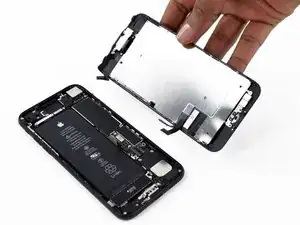
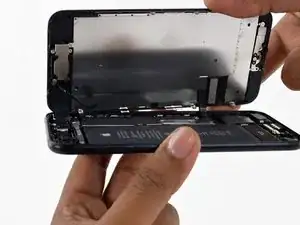
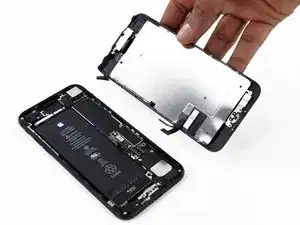
Open the iPhone lifting the display from the right side, like the back cover of a book.
-
-
-
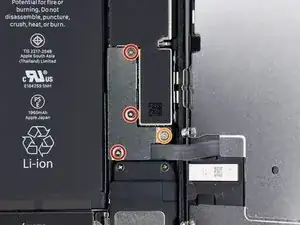
Remove the following Y000 tri-wing screws from the connector lower bracket:
-
Three 1.2 mm screws
-
One 2.4 mm screw
-
Remove the connector lower bracket.
-
-
-
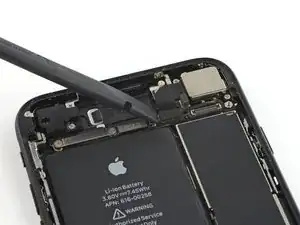
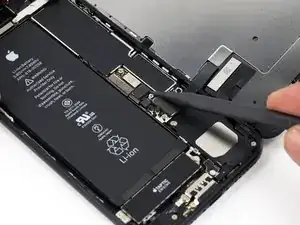
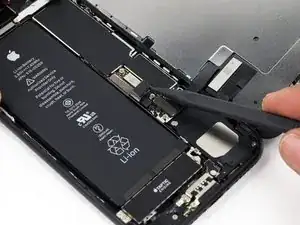
Use the pointed end of a spudger to lift the battery connector from its socket on the logic board.
-
-
-
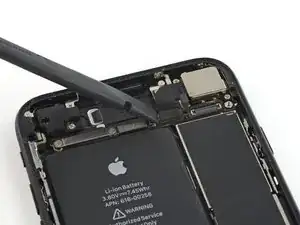
Use the flat end of a spudger or a fingernail to disconnect the two lower display connectors lifting them straight from their socket on the logic board.
-
-
-
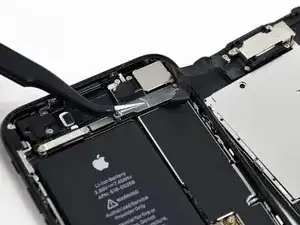
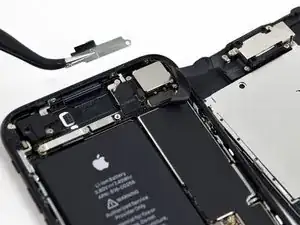
Remove the two 1.3 mm Phillips screws securing the bracket to the front panel sensor assembly connector.
-
Remove the bracket.
-
-
-
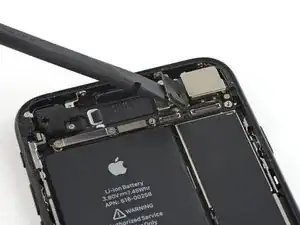
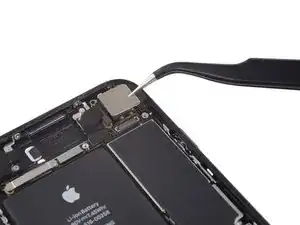
Use the flat end of a spudger to detach the rear camera's pressure connector from its seat on the logic board.
-
-
-
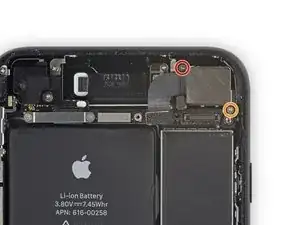
Remove the following Phillips screws that secure the rear camera bracket to the camera module:
-
A 1.3 mm screw
-
A 2.5 mm screw
-
-
-
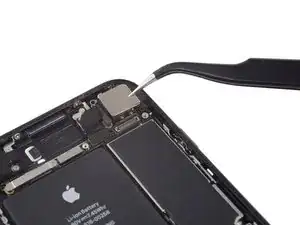
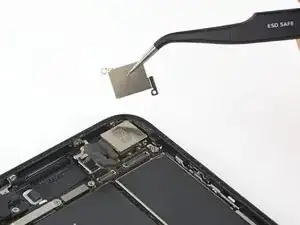
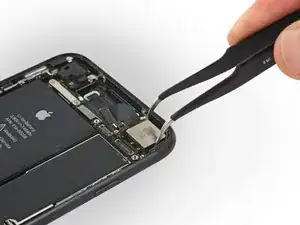
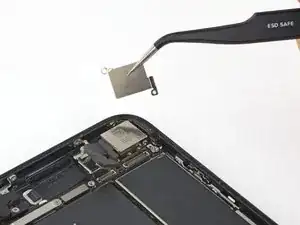
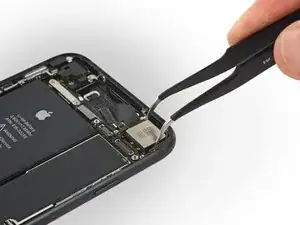
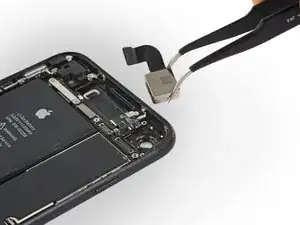
Remove the bracket. The inner edge of the bracket seems welded to the lens ring of the camera.
-
-
-
As a last step you will have to eject the broken lens.
-
First of all, look for an instrument that you prefer and that you can use strongly. Then he points the chosen instrument towards the lens to be replaced and press strongly until it is detached.
-
To reassemble your device, Follow these instructions in reverse order.



Can anyone confirm 7/7P's pentalobe screws have a ring of seal near the screw head?
Cooper Chase -
Confirmed, the screws have a black ring seal around the head.
rcheing -
Can’t get the display front
Bernadette Pfeifer -
From personal experience, I highly recommend before doing this procedure or any other, that you do a backup of your phone (preferably local) in case your procedure goes south.
ballina5ny -
I purchased the repair tools with the replacement battery from iFixit. The tools include a screw driver and three heads none were labeled 3.4 mm. I think the one that fit the pentalobe screws was labeled Y000. The guide should identify the screw driver head supplied by the kit not 3.4mm.
Mark Lieberman -
in the iphone 7 replacement battery kit from iFixit, the screwdriver that fits the 3.4 mm pentalobe screws is labeled P2 (and not Y000)
Jan-Tijn Oppermann -
3.4 mm is the height of the screw and is not related to the screw driver code.
Ahmad Vaziri -
the screwdriver PH000 does not work i wasted two screws and now they dont have the 4 cross mark they are now a circle, i buyed it all from Paraguay and it doesnt work, had to assembly back the parts because i got stuck like i mention with some screws, well im just going to send to a professional to install, thanks
Martin Frutos, Nuñez -
The bottom screws are Pentalobe, not Phillips.
Bram Driesen -
Before starting, I would recommend backing up your Iphone’s data just in case.
Jon Moylan -
If you managed to make it to this section, just send the phone into apple for 50 + 6 dollars shipping. The ribbon cables on the screen are designed to break. I can literally twist on the rest of the cable and it won’t fall apart but there is a diagonal section where it snaps. This is the fault of apple and the fault of ifixit for misrepresenting the fragility of the cables.
Ryan Huebert -
Had to reheat it a few times for a minute each with a hairdryer to get the seal to break after pulling and rocking the suction
Cynthia Lamb -
I’m technically challenged. Is there a premier national service who can professionally install a replacement battery got my 7 +?
Richard -
Do the screws come out in total?
YVES THEUGELS -
Is it the P2 you should use for the bottom??
YVES THEUGELS -
I heated the bottom of the phone with a hairdryer and then used a syringe to put a couple of drops of acetone directly into the bottom two screw holes. I GENTLY pulled on the screen with the suction cup and used the pry tool to GENTLY separate the screen. The sealant is applied around the entire display so be very careful pulling it off so you don’t break the fragile display cables.
Anthony Scaminaci -
At first it was very difficult to open, per instructions. I used a heat/ice pack and nuked it for 1 minute. The pry tool wasn’t working so I carefully used my pocket knife to wedge the cover open. The rest of the procedure went well until I cracked the glass while trying to get the top right corner to pop off. Other than that mistake, all went well. Tip: before setting the new battery, attach the battery connector first and leave enough room for the taptic engine, or better yet, place the taptic engine before adhering the replacement battery. This way you’ll have a small gap between the two, whereas mine barely fit. Good job on hosting the video, Gwendyl.
Klaus Preiss -
I love the fact that the screw bit and shaft are magnetic! I almost lost a screw and found it attached to the magnet.
I used a heat/ice pack and nuked it for 1 minute. At first the display cover was very difficult to open with the pry tool, per instructions. The pry tool wasn’t working so I carefully used the blade of my pocket knife to wedge the cover open. The rest of the procedure went well until I cracked the glass while trying to get the top right corner to pop off. Other than that mistake, all went well. Tip: before setting the new battery, attach the battery connector first and leave enough room for the taptic engine, or better yet, see the taptic engine in place before adhering the replacement battery. This way you’ll have a small gap between the two, whereas mine barely fit because I placed it almost too low.
Good job on hosting the video, Gwendyl.
Klaus Preiss -