Einleitung

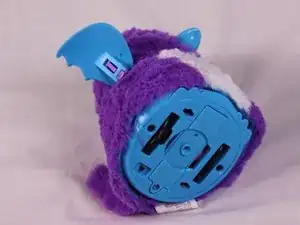
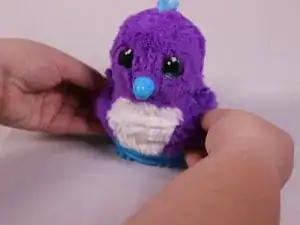
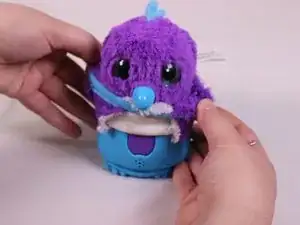
This guide will demonstrate how to properly replace the nose spring for the Hatchimal Draggle. The nose spring can be accessed by first removing the wings and fur .

  1. syhix2Zo3Pq3sqvh
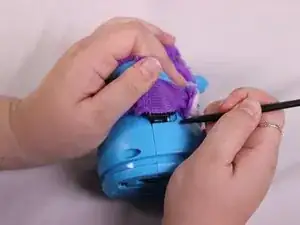
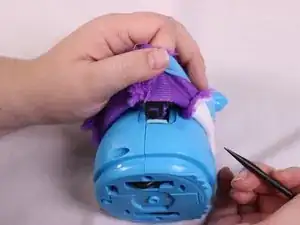
    • lay the Hatchimal on its side.

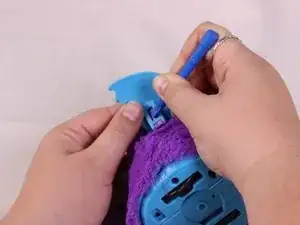
  2. MpvlLrwT3BHlvRVi
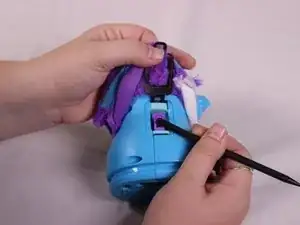
    • Using the plastic opening tool, push in on the purple clip.

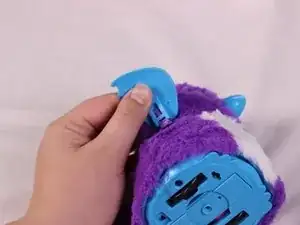
  3. cyhUAGO1ncbUpVNk
    • Pull the wing off of the hatchimal.

    • The wing should come off with little resistance.

  4. uKkDjd2StgIMlLYv
    uKkDjd2StgIMlLYv
    5VTPcs6Dx6JmuosV
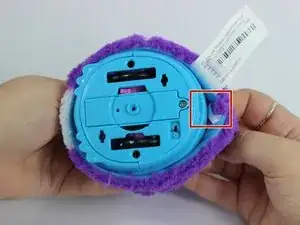
    • Cut the fur retaining zip-tie with a pair of scissors.

  5. bLIWPOOYErNqqwS2
    bLIWPOOYErNqqwS2
    yYInOrgPeKJmUOTs
    • Lift the fur up until it can't go further.

  6. lCytN5AMqPLTRpFn
    lCytN5AMqPLTRpFn
    ERKtBQsqfdmNvEf3
    4aktqfOjaKKDCJ1f
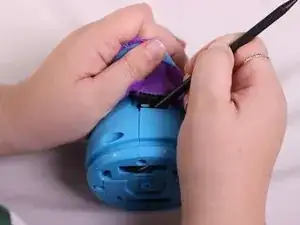
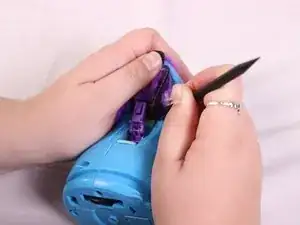
    • Use the spudger tool to push up on the black clip to free it.

    • Pull the clip out.

  7. exBCJICwo66SxMOO
    exBCJICwo66SxMOO
    HXxu2vZxTB6ZNrsf
    MHRtIOnJNPSWjN1Q
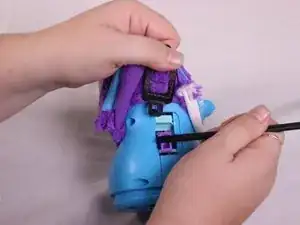
    • Lift fur up to reveal the next set of clips.

    • Insert a spudger to push up on the black clip to free it.

    • Pull out the clip.

  8. xAKevoEekWtOFAWr
    xAKevoEekWtOFAWr
    cJNp55FaVoxXKwHS
    • Lift the fur up and over the Hatchimals Head.

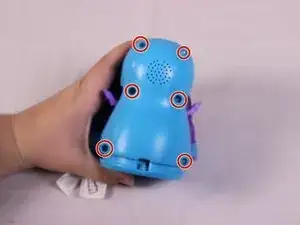
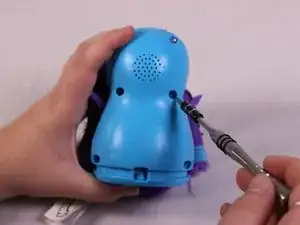
    • Remove the six 12mm Phillips #00 screws from then body.

  9. o15RYIAXhHZr2mIJ
    o15RYIAXhHZr2mIJ
    ZlWYSPGvRThYBpik
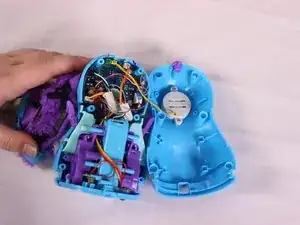
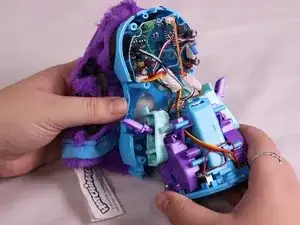
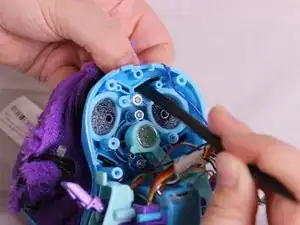
    • Pull the casing apart.

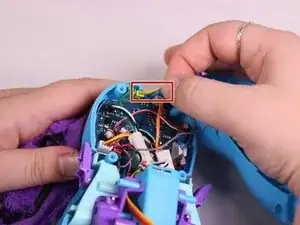
    • Remove the yellow speaker cable.

  10. TdYOmJRChEADo2sL
    TdYOmJRChEADo2sL
    pJaLpMWFGdJ5MIrp
    53g1yZV4IybeVktD
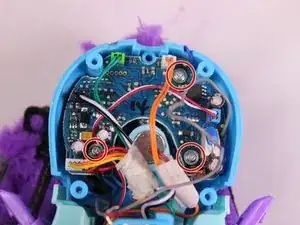
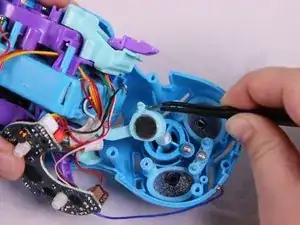
    • Remove the three 7mm Phillips #00 screws from the head.

    • Remove the wheel base and the circuit board carefully not to damage the spring.

  11. tbeixCmB1ia4P5Ob
    tbeixCmB1ia4P5Ob
    kNh6Scb3G3nCbOqH
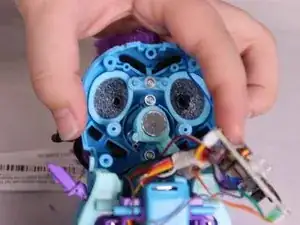
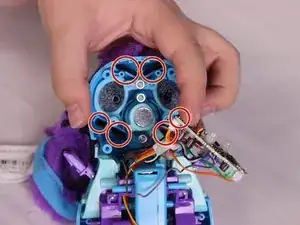
    • Push the six black fur clips out using the spudger.

    • Remove the fur completely.

  12. JhdnNj3xgNGAomGW
    JhdnNj3xgNGAomGW
    FTbaxSKkaCinP1T4
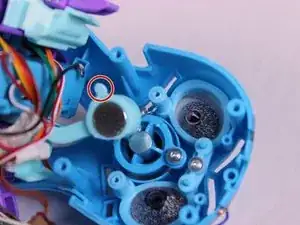
    • Using the angled tweezers tool, disconnect the spring that is attached to the nose from the lever.

  13. UC64ZusODkYm3csp
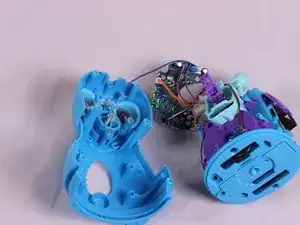
    • Separate the body casing from the core and circuit board.

    • Don't damage the small wire connected from the top of the head to the circuit board.

  14. LUo1hJMGJ3XdiEXF
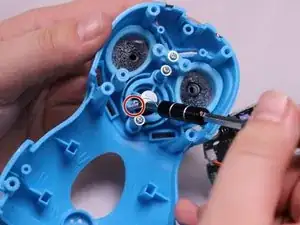
    • Remove a single 7mm Phillips #00 screw from the break.

    • Remove the spring.

Abschluss

To reassemble your device, follow these instructions in reverse order.
Hector Lopez

Mitglied seit: 14/02/18

251 Reputation

0 Kommentare