Einleitung
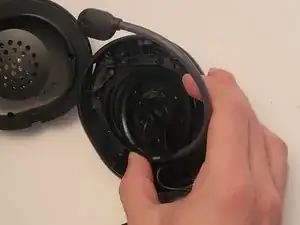
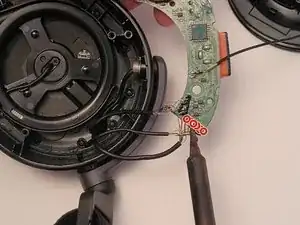
Caution: Ensure hands are dry. Moisture could mess up the wiring. Be gentle and careful pulling the wires out of the microphone as they could easily break.
Werkzeuge
-
-
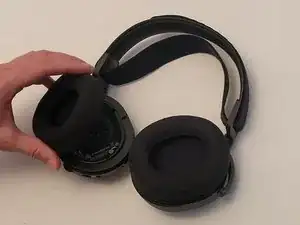
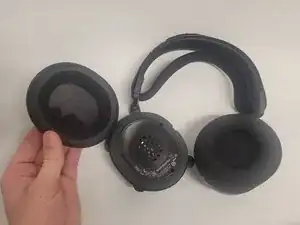
Remove ear cushion by pulling the cushion up and towards yourself.
-
Repeat this motion around the cushion until it comes free.
-
-
-
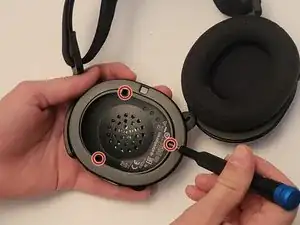
Use a Phillips #0 screwdriver to remove the 3 case screws.
-
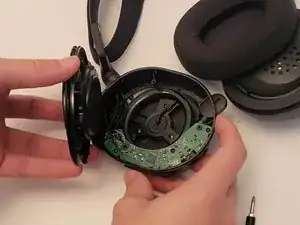
Lift the driver assembly away from the rest of the housing.
-
-
-
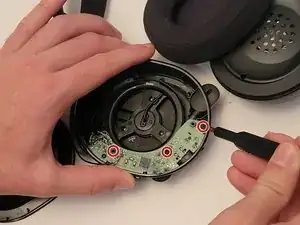
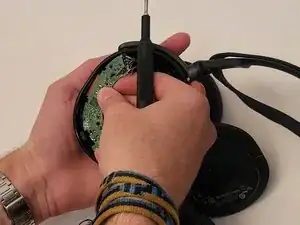
Use a Phillips #0 screwdriver to remove the three 5 mm screws.
-
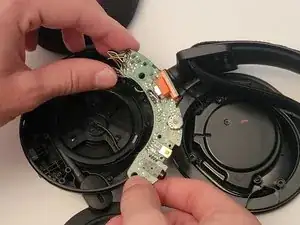
Push the headset volume dial in-words towards the housing while simultaneously pulling the board towards yourself.
-
-
-
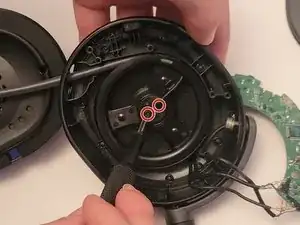
Use a Phillips #0 screwdriver to remove the two 5 mm screws that secure the microphone holder.
-
-
-
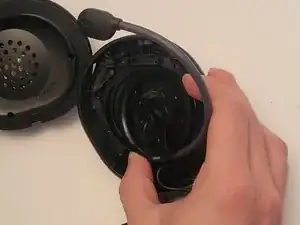
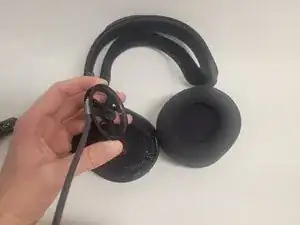
Pull the microphone assembly and cable out of the housing and out towards you until it comes free.
-
To reassemble your device, follow these instructions in reverse order.
