Einleitung
This guide will show the steps involved in replacing the screen.
Werkzeuge
-
-
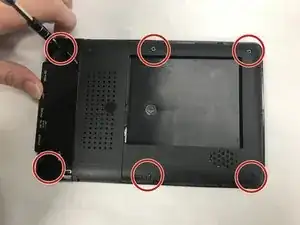
Press firmly on lower portion of the back cover and slide the cover towards the bottom to remove cover.
-
-
-
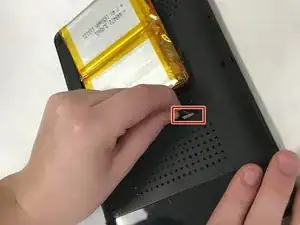
Pull on the plug carefully until it releases from the port and simply pull the battery out after.
-
-
-
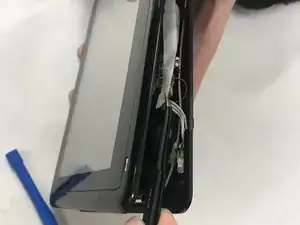
Pry open the casing with a plastic opening tool. You will want to use a thin blue plastic opening tool to get in between the creases of the casing.
-
-
-
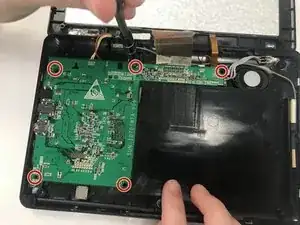
Unscrew the five 4.47mm Phillips one screws that must be taken out to detach the motherboard from the casing.
-
-
-
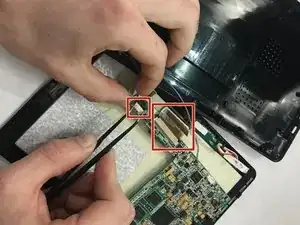
Detach the motherboard from the screen by taking out the input on the left marked in red as well as carefully detaching the ribbon from the screen which is also marked in red in the middle.
-
-
-
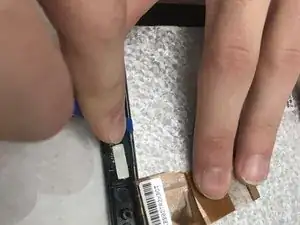
Separate the touch screen (the grey and white specs) from the metal casing it is enclosed in by bending the casing outward.
-
Again this can be done with the plastic opening tool. You will want to do this around the entire casing before trying to pry it out which is the next step.
-
-
-
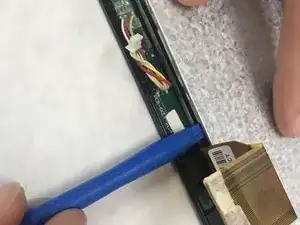
Pry the screen open with the blue plastic opening tools while using another plastic opening tool as a jack to remain in place while you pry around the entire screen.
-
-
-
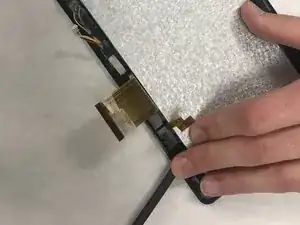
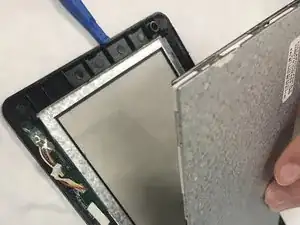
Lift the screen away from the case. Be careful, the screen shown lifted here is actually put together in multiple layers so you'll want to be careful not to separate them.
-
To reassemble your device, follow these instructions in reverse order.
