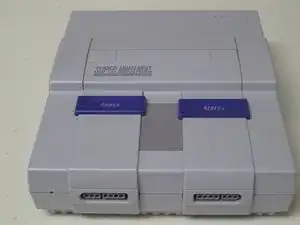
Einleitung
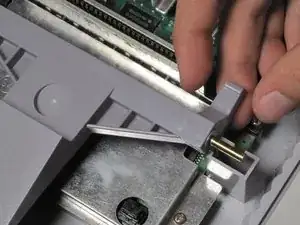
Hier wird der Austausch der Auswurftaste gezeigt. Du benötigst zu Öffnen ein Gamebit, damit wird das Gehäuseoberteil abgenommen. Dann löst du die Metallhalterung der Auswurftaste.
Werkzeuge
-
-
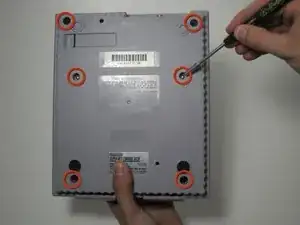
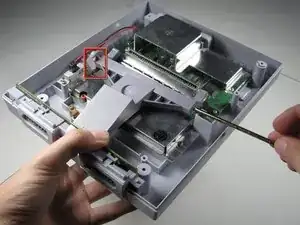
Drehe das Gerät vorsichtig wieder um.
-
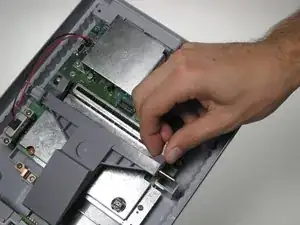
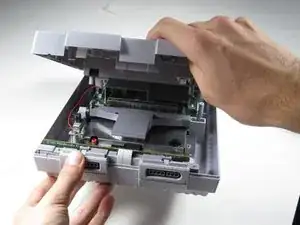
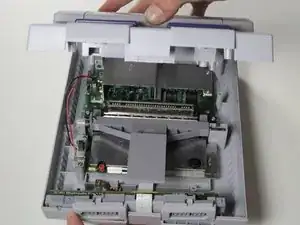
Finde die Nahtstelle und trenne das Gehäuseoberteil vom Unterteil.
-

Abschluss
Um dein Gerät wieder zusammen zu setzen folge den Schritten in umgekehrter Reihenfolge.
In order to prevent damage to the fuse, make sure that you always cycle the power before doing so with the power supply disconnected.
Raucedine -
There is a step missing from these instructions. There are two philips head screws where the AV/Power ports are on the back of the motherboard that need to be removed before you can remove the motherboard itself.
phoenixknight8082 -
I replaced my controller port, thinking that it was the culprit, but my SNES is still having issues. Nothing works for controller port 1 and only a few buttons work for controller port 2. I tried switching out the controllers and the issue seems to be isolated to the SNES itself. Does anyone have any other suggestions for fixing my issue?
Thanks in advance.
Mike Watts -
For those facing a black screen on startup (after having cleaned pins on cartridges and cartridge slot) WITH power light coming on, turn off console, remove power, and try shorting out the capacitor leads. My SNES stopped working suddenly after a single power cycle, and shorting out the leads (while UNPOWERED) revived it.
Austin Barnett -
Could you further explain how to short the capacitor leads?
Will Pulman -