Einleitung
Werkzeuge
-
-
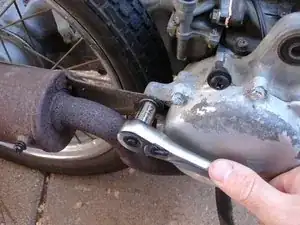
Use a 12 mm socket wrench to unscrew the third and final hex nut that holds the muffler in place.
-
-
-
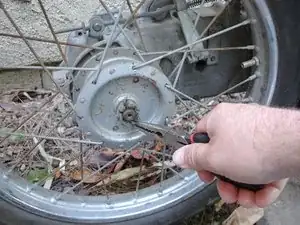
Use a pair of needle-nose pliers to straighten the rear wheel retaining pin.
-
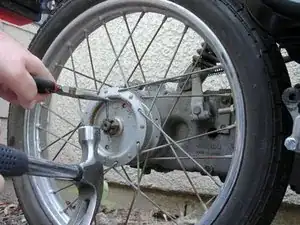
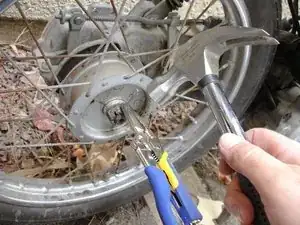
Pull the fat end of the pin out with needle-nose pliers as you hit the other end through with a hammer.
-
-
-
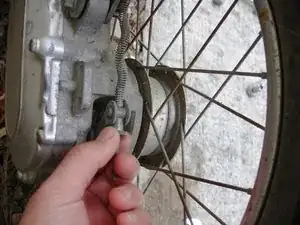
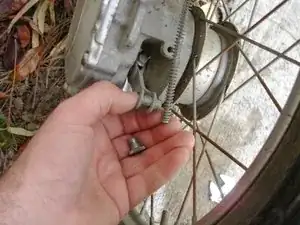
Use your fingers to unscrew and remove the brake cable adjustment nut.
-
Slide the brake cable retaining bracket out of the brake arm.
-
-
-
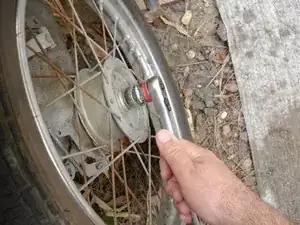
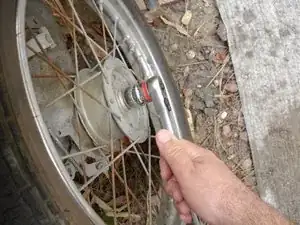
Use a 22 mm ratcheting socket wrench to remove the lug nut.
-
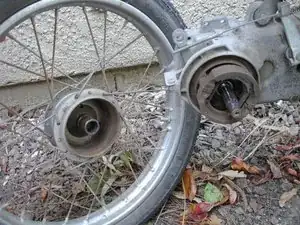
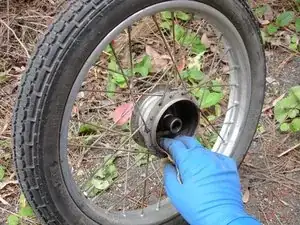
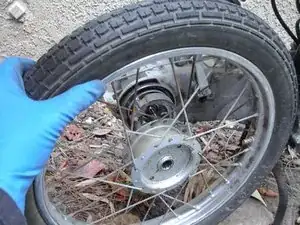
Pull the rear wheel off of the axle.
-
-
-
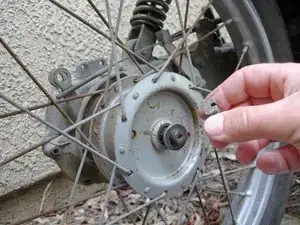
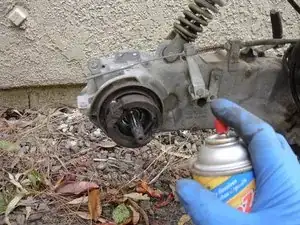
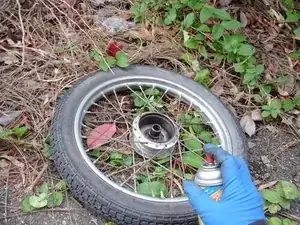
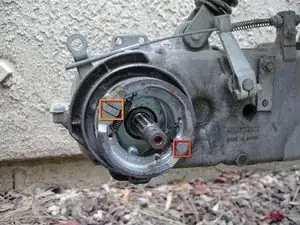
Thoroughly spray the the brake shoe assembly and inside of the brake drum with a brake cleaning solvent.
-
-
-
Once the solvent has had a chance to work its magic (10 minutes or so), use a rough-grit sandpaper (100 grit or so) to clean the inner diameter of the drum. Rinse and repeat until you are satisfied with the cleanliness of the drum.
-
-
-
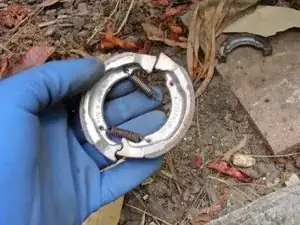
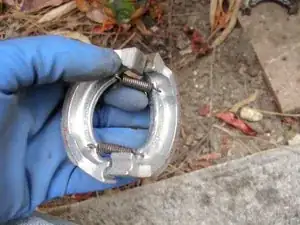
Attach the two brake shoes and springs together. First put both springs through one of the shoes, then loosely attach the other side of the springs to the other shoe.
-
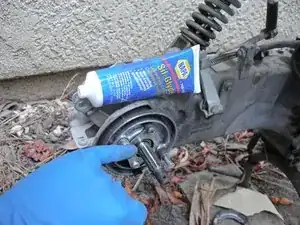
Apply silicone grease to the round and flat bolts on the brake drum assembly.
-
-
-
Carefully spread apart the round side of the brake shoes and place them through the round bolt on the brake drum assembly.
-
Then, spread apart the flat side of the brake shoes and place them through the flat bolt on the brake drum assembly.
-
The shoes should now be sitting as shown.
-
-
-
Place the wheel back on the axle. Make sure that the thread of the axle matches up to the thread of the wheel.
-
-
-
Replace and tighten the 22 mm lug nut with a ratcheting socket wrench.
-
Use a hammer and pair of vise grips to slide the wheel retaining pin back into place.
-
Follow the directions in step 2 in reverse order to reattach the brake cable.
-
Adjust the brake cable adjustment nut as necessary. The rear brake lever should be about 0.8" to 1.0" away from the handlebar when fully engaged.
-
3 Kommentare
I have 1985 version that has been stored for 20 years. Am attempting to clean up and restore so that 14 year old may ride to and from work this summer. Currently unable to extract rear wheel from it's axle. Expect rust/corrosion. Any thoughts??
roy winn -
I Used a product called HONEY GOO bought it at NAPA auto parts. it lubricates and dissolves rust fast. worked excellent on my FA50 in august 2015 up here northern Ontario Canada. try it I very pleased dissolves rust from anything and less than $ 10 a spray can. good luck. Tom
hogger23 -
My 1983 Suzuki FA50 has a 19mm, or 3/4 lug nut (castle nut), on the rear wheel. That rear brake cable and kick start engagement lever set-up is something else. Thanks for the tutorial.
D4Tay -
