Einleitung
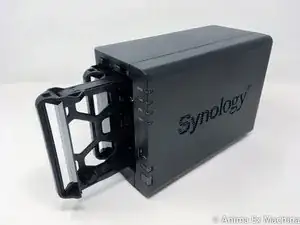
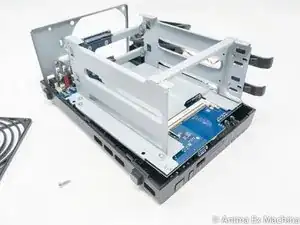
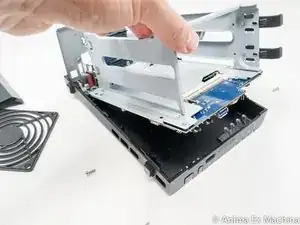
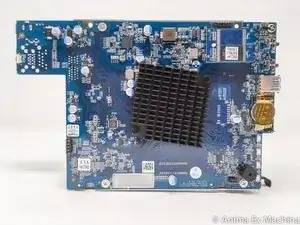
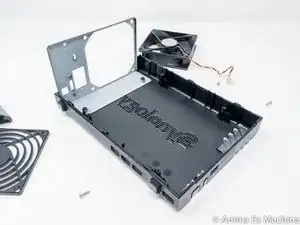
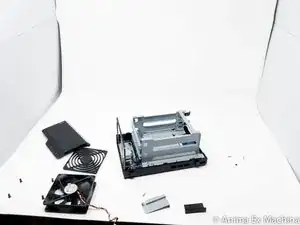
Here's a step-by-step tutorial to dismount each piece of the NAS until you reach the motherboard.
'Note: the interest of this tutorial is however limited.'
Indeed, most of the components that a user can be brought to add or change are now accessible directly, without disassembly (storage disks, memory expansion).
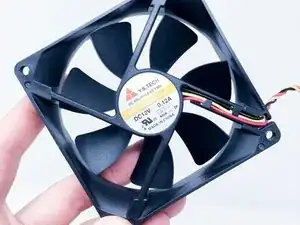
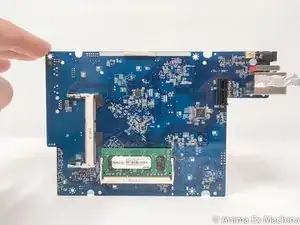
Only one of the memory slot on the motherboard, BIOS battery, and the fan remain inaccessible directly and require the disassembly of the NAS described in this tutorial to be changed (whether they are HS or replace them not the best).
The dismantling time is estimated at one hour (a single experiment on the meter). That said, it is certainly achievable in 20/30 minutes.
The photographs were taken with an iPhone SE, using a portable LED studio.
A LEATHERMAN multi function clamp have been used for fun …
Werkzeuge
-
-
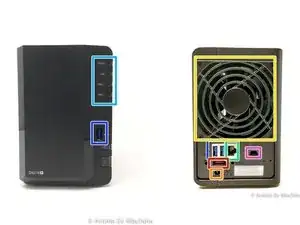
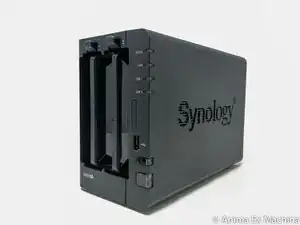
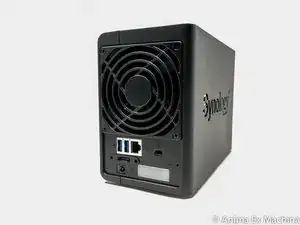
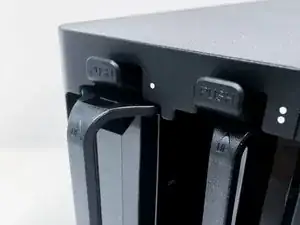
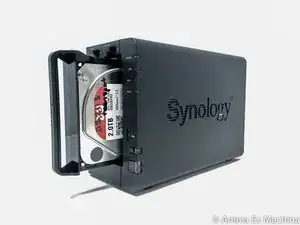
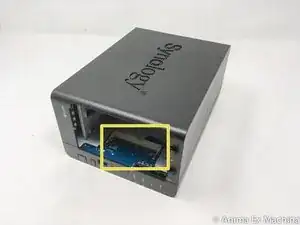
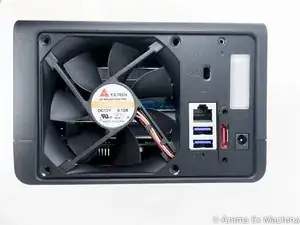
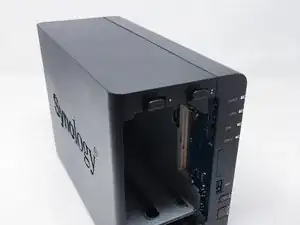
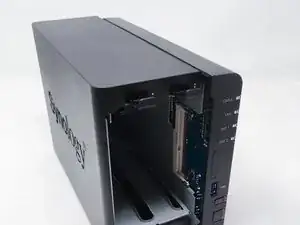
Here are the different interesting faces of the case: front (bay disks), rear (connectors and fan).
-
1 x RJ45 Gb port.
-
Kensington security incision (K-lock)
-
1 x port for power supply
-
3 x USB 3 ports (1 in front and 2 behind)
-
1 x eSATA port
-
-
-
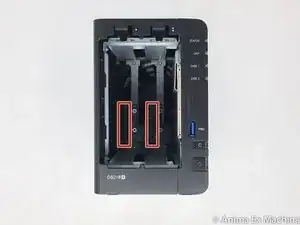
2 x SATA port
-
Only the empty memory slot is reachable.
-
The one used (memory slot) is not reachable. The case must be unmounted integraly to access to this memory slot (see step 13).
-
-
-
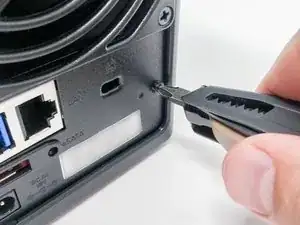
Once rear screws removed …
-
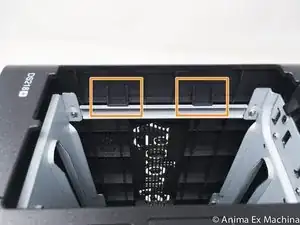
there are two lock lugs (front panel left side) to unlock.
-
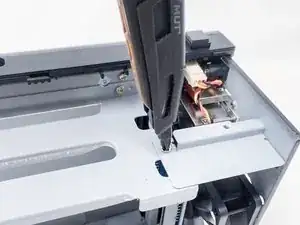
Use a flat screwdriver to pry. Be careful not to twist the metal bar.
-
Then slide the NAS in the direction of the length as in the photos.
-
-
-
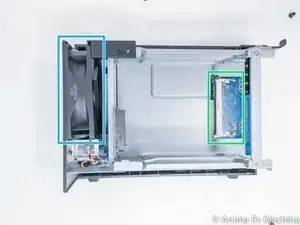
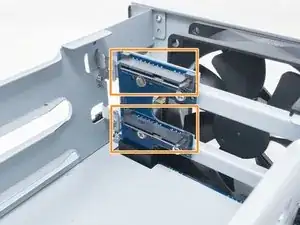
in orange: internal SATA ports
-
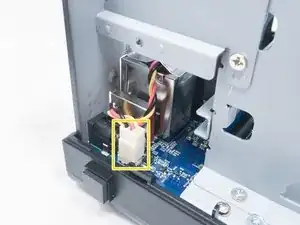
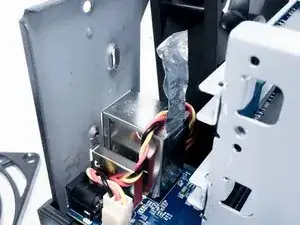
in yellow: fan connector
-
in blu: fan
-
in green: free (empty) memory slot
-
-
-
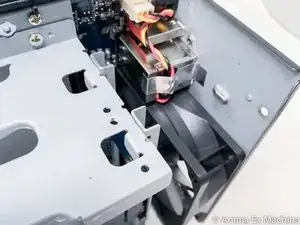
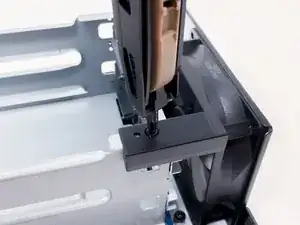
the fan has been removed for the tutorial. This is not mandatory ... but better to have a little more room!
-
-
-
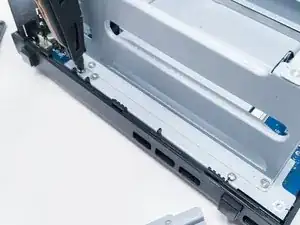
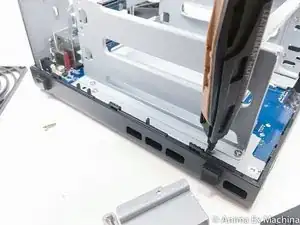
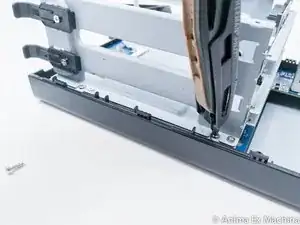
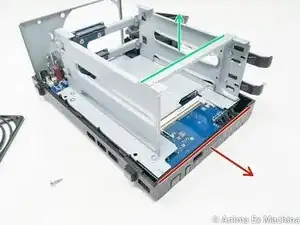
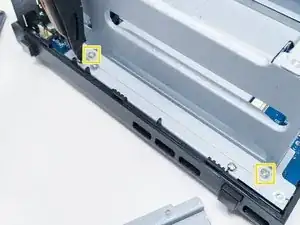
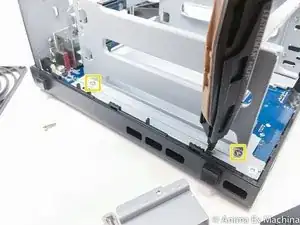
once the screws are removed, pull the front slightly outwards ...
-
… then lift up the motherboard by holding the disk cage.
-
To reassemble your device, follow the instructions in reverse order.
4 Kommentare
Merci, c’est super sympa. Au top tes photos. Ca m’a permis de voir qu’il n’y a pas de ventilateur sur la carte mère.
Je viens d’en acheter un et j’hésite à changer le ventilateur car il est trop bruyant à mon goût, j’ai deux ssd dedans, donc pas de risque de ventilation trop faible. A voir la compatibilité des ventilos maintenant.
Avec ton tuto, je serai bien guidé pour le démontage !
super tuto qui me serra très utile car je dois changer mon ventilateur ! Merci !
Muchas gracias. Es igualmente valido para el modelo DS220+. El motivo fue acceder a la pila de la BIOS que había quedado suelta, se encuentra en la parte inferior de la placa, junto a los conectores traseros.
En el paso 4, si recomendaría retirar los tornillos del ventilador.
