Einleitung
Are you having problems with the digitizer on your Huawei Prism? Here is a guide on how to replace it. This requires a full disassembly of the phone
Werkzeuge
-
-
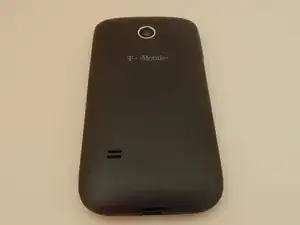
Place the phone face down.
-
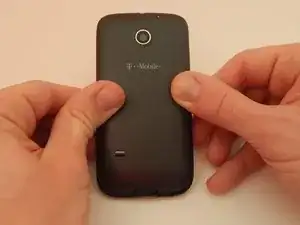
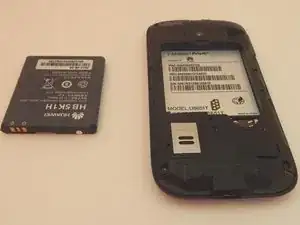
Slide the back cover panel away from you, until you hear a click.
-
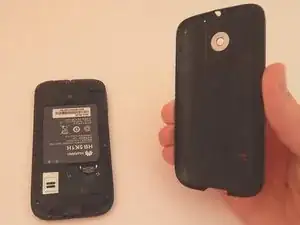
Lift the back cover panel off.
-
-
-
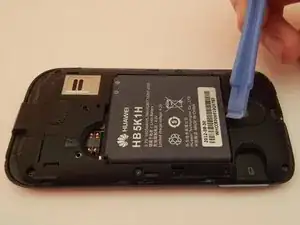
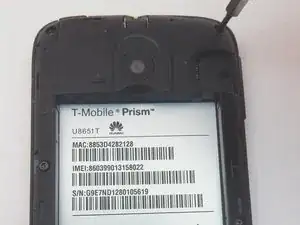
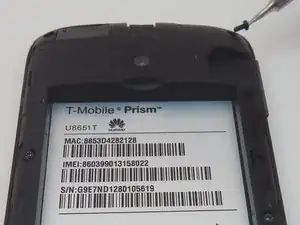
Place the plastic opening tool in the gap between the camera and battery.
-
Pry the battery up.
-
Remove the battery.
-
-
-
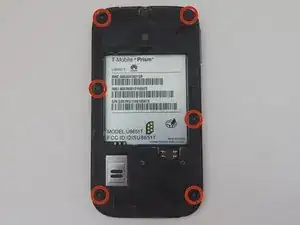
Locate the six 3mm torx screws holding the plastic mid frame in place.
-
Remove the six torx screws with the T4 torx screwdriver.
-
-
-
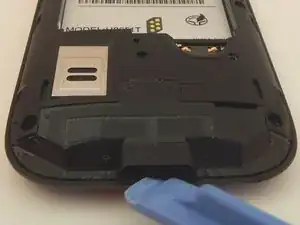
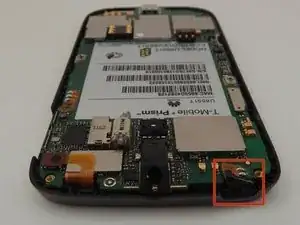
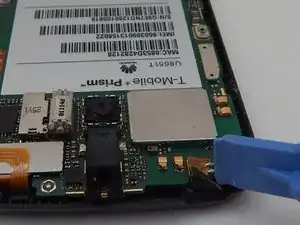
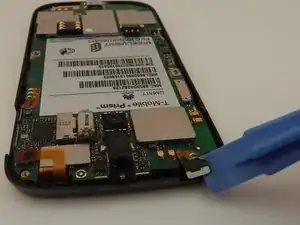
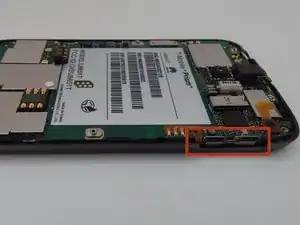
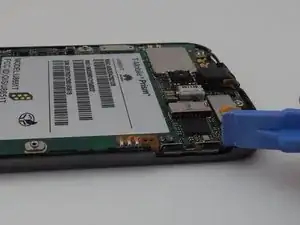
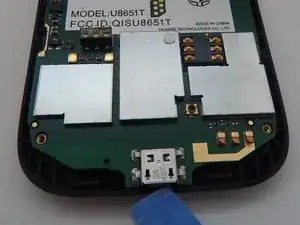
Place the plastic opening tool in the charging port.
-
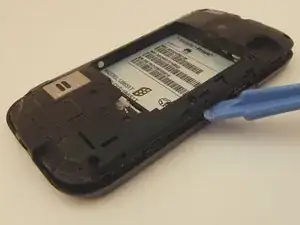
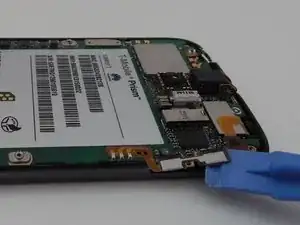
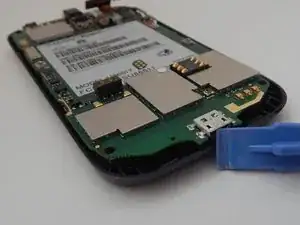
Pry up to loosen the bottom edge of the plastic mid frame.
-
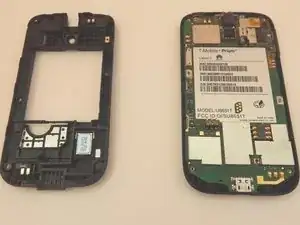
Work the plastic opening tool along the seam, until the the plastic mid frame is detached.
-
Remove the plastic mid frame.
-
-
-
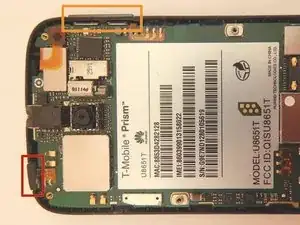
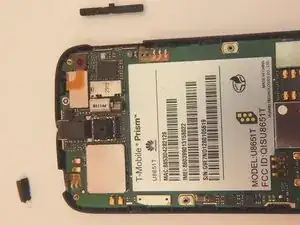
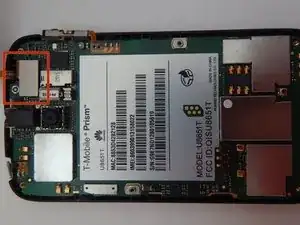
Locate the power button.
-
Locate the volume botton.
-
Slide the two buttons up and out of the phone.
-
-
-
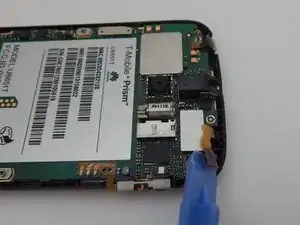
Locate the power button sensor strip.
-
Place the plastic opening tool under the sensor strip.
-
Pry the sensor strip up.
-
-
-
Locate the volume button sensor strip.
-
Place the plastic opening tool under the sensor strip.
-
Pry the sensor strip up.
-
-
-
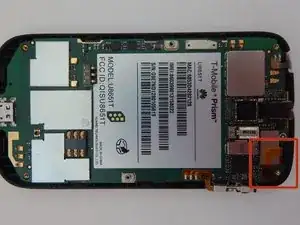
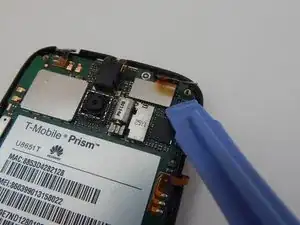
Locate the outer screen connector.
-
Place the plastic opening tool under the screen connector.
-
Pry the screen connector up.
-
-
-
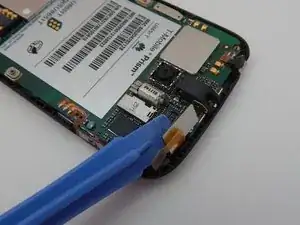
Locate the inner screen connector.
-
Place the plastic opening tool under the screen connector.
-
Pry the screen connector up.
-
-
-
Place the plastic opening tool in the charger port.
-
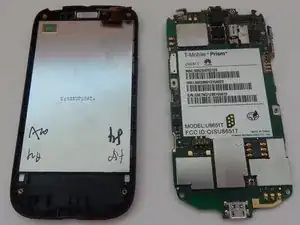
Pry the motherboard up.
-
Remove the motherboard.
-
-
-
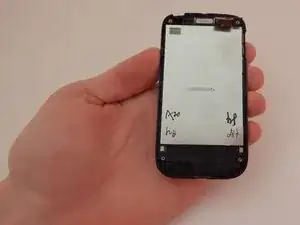
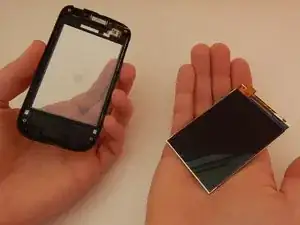
Pick up the front half of your phone with your left hand.
-
Slowly rotate the phone so the screen falls into your right hand.
-
To reassemble your device, follow these instructions in reverse order.
