Einleitung
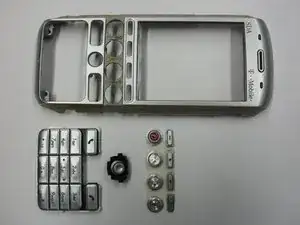
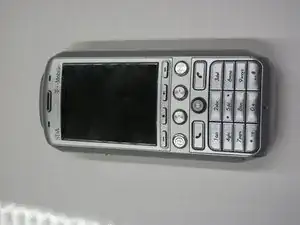
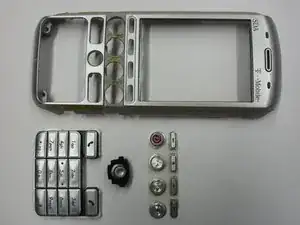
This guide is useful when the front plate of the device is damaged or broken.
Werkzeuge
-
-
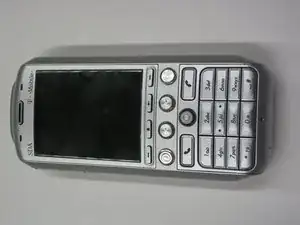
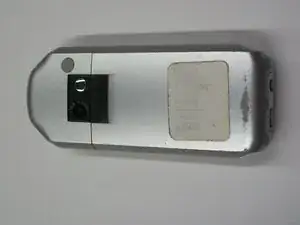
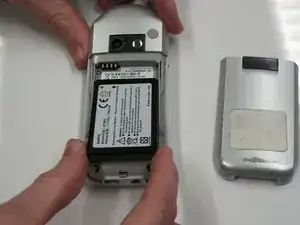
To remove the battery cover, first turn the phone so that the keypad is face down.
-
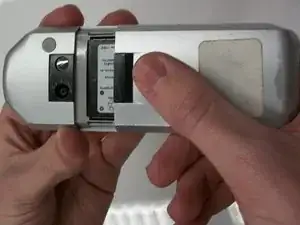
While holding the phone with one hand, place the thumb of the other hand at the top of the battery cover.
-
Slide the battery cover toward the bottom of the phone to remove.
-
-
-
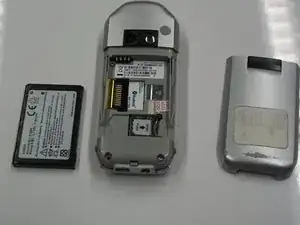
To remove the battery, first grab it using a finger on either side.
-
Pull the battery upward, while securing the phone with your other hand.
-
Gently remove the battery and place it to the side of the phone.
-
-
-
Move the battery and battery cover to the side and pick up the phone.
-
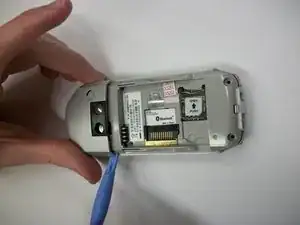
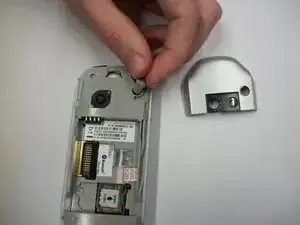
Use the plastic opening tool to remove the camera casing located at the top of the phone.
-
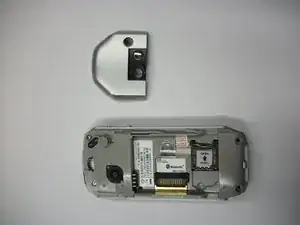
Use your fingers to pull out the gray antenna casing.
-
-
-
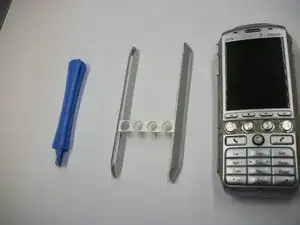
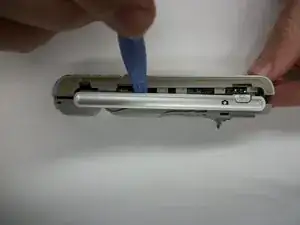
Hold the phone with one hand and the plastic opening tool with the other.
-
Pry the outer casing off of the phone by wedging the plastic opening tool between the casing and the phone, thus dislocating the tabs.
-
Place the outer casing to the side.
-
-
-
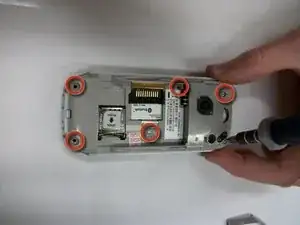
Using the T5 or T6 screwdriver, remove the six screws from the back of the phone, as shown in the first image.
-
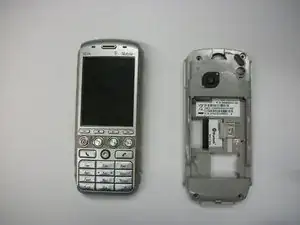
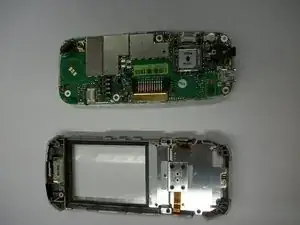
Remove the back half of the phone by using the plastic opening tool to pry apart the top half from the bottom half. Wedge the plastic opening tool tool around the edge of the phone to dislocate the tabs.
-
Once the tabs are dislocated, pull the back of the phone apart from the front half.
-
-
-
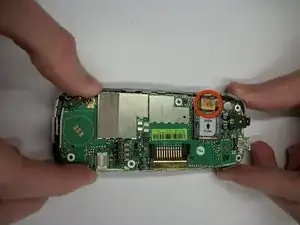
On the rear phone casing, locate the ribbon cable tab and connector next to the SIM card port.
-
Gently pull up on the tab to disconnect it from the connector.
-
-
-
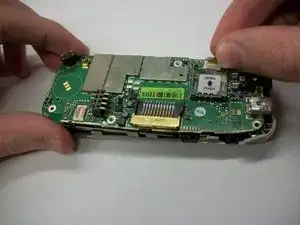
Hold the front of the phone face down.
-
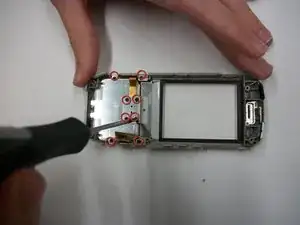
Using a T6 screwdriver bit, loosen the eight screws holding the keypad protector in place.
-
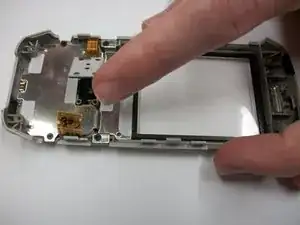
Loosen the keypad connector by lifting the rectangular plate up with one finger.
-
-
-
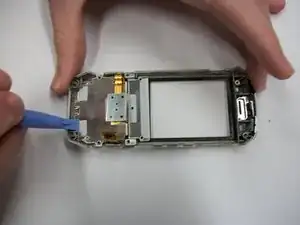
Use the plastic opening tool to loosen the keypad protector from the faceplate.
-
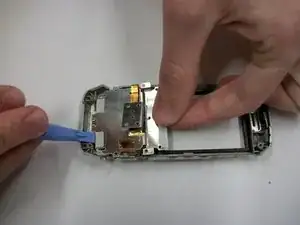
Once the protector is loosened, use the plastic opening tool to slide the keypad protector towards the screen while pulling on it with two fingers.
-
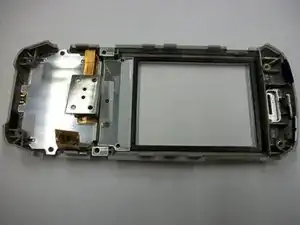
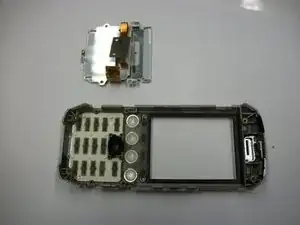
Remove the keypad protector and connector from the faceplate.
-
-
-
Hold the phone with the keypad facing up and gently push on the keypad with one finger to dislodge it from phone.
-
Place the keypad to the side.
-
-
-
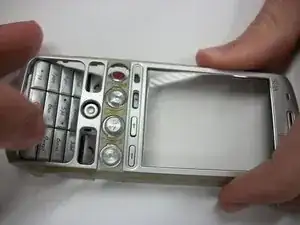
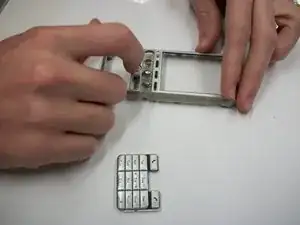
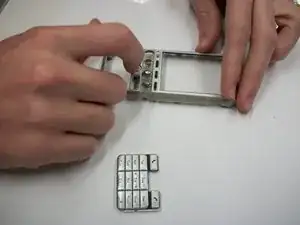
Using your finger, gently push each of the navigation buttons out of the faceplate.
-
Place all buttons and the faceplate to the side. The faceplate is now separated from the rest of the phone.
-
To reassemble your device, follow these instructions in reverse order.
