Einleitung

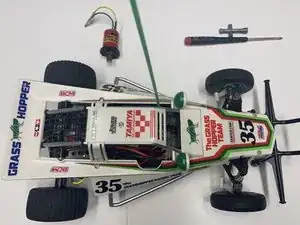
This step-by-step guide will help you replace your 380/540 motor in your 1/10 scale Tamiya Grasshopper.

If your buggy begins running slower than usual, or your motor is old and harming other components of your remote control buggy, it may be time for a motor replacement.

In Step 4, do not worry about connecting the wrong wires. They only control the direction of motion that the buggy can travel. You may need to test out the buggy once you are done with this guide to warm up your new motor and double check its performance.

Make sure your buggy is disconnected from the battery before starting.

  1. MRFmCjsSHMDpOQe2
    MRFmCjsSHMDpOQe2
    wbdCWATsPOtttLIA
    5aw4nDwXUDX62uZL
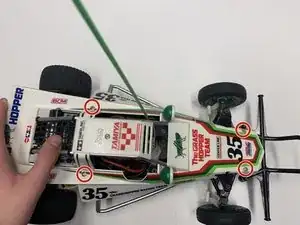
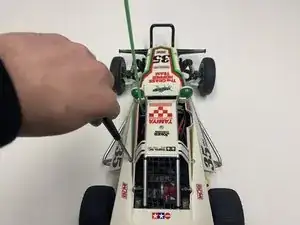
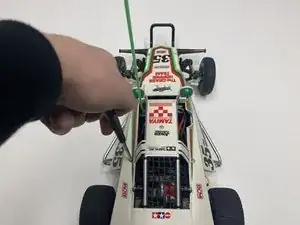
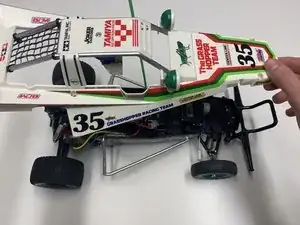
    • Remove the four screws with a Phillips #00 screwdriver.

  2. jZrQ54RrJJgyi2WN
    jZrQ54RrJJgyi2WN
    dUWJhvTUEIR1FFjN
    HTFlkuuVSy3Ylfnv
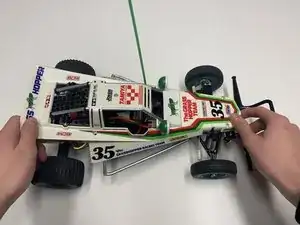
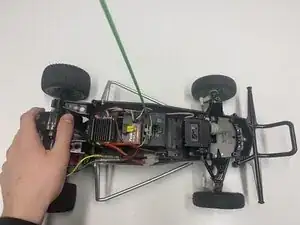
    • Slowly remove the body, lifting it upward from the chassis.

    • Hold the front and back of the body with both hands when removing it.

    • Lift the body past the antenna to avoid damaging it.

  3. 1MHlaxWEGiSOSIcS
    1MHlaxWEGiSOSIcS
    owIZhYYLjGBZVpmd
    Jq41mAgSOlb2kebm
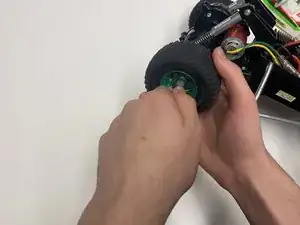
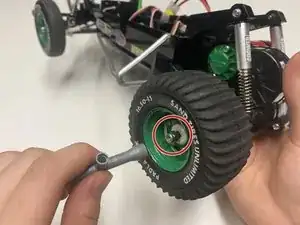
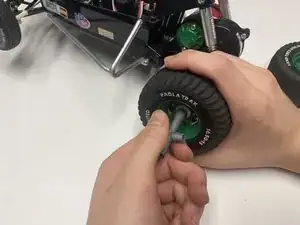
    • Attach your box wrench with the 7mm side facing into the rim onto the hex-nut.

    • Twist the box wrench left (counter-clockwise) and unscrew the hex-nut until it comes off.

    • Hold the tire in place to prevent the tire from spinning with your box wrench.

  4. NPyvZkwxX4NjMvYo
    NPyvZkwxX4NjMvYo
    WPQLFe1fYmM6gUrw
    RXWCDTniDHgVPrHI
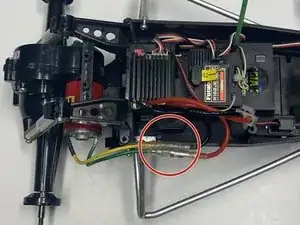
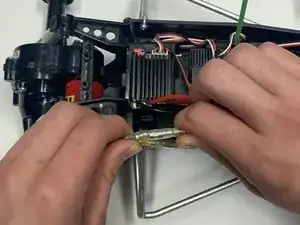
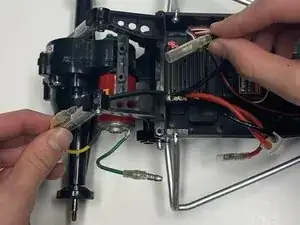
    • Grab both the yellow and black wire as well as the green and orange wire and pull them apart.

    • The wire connectors may be difficult to remove. Do not hesitate to use more force to remove them from each other, if necessary.

    • It does not matter which wires you disconnect or connect first.

  5. Vwl64iYba1WMjxML
    Vwl64iYba1WMjxML
    21wnZh2wmYwkZuTS
    4d3oPGHMEtKS2ZpP
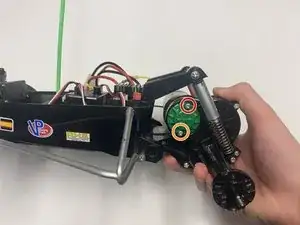
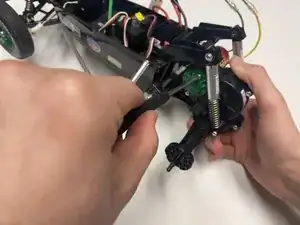
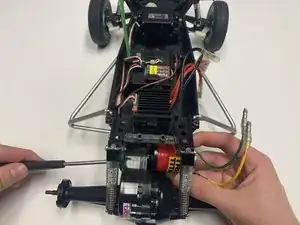
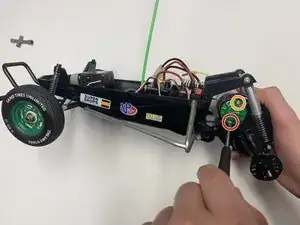
    • Loosen the first screw on the motor cover using a Phillips #00 screwdriver.

    • Loosen the bottom screw next, and you will feel the motor come loose.

    • The bottom screw has more leverage on the motor, so reverse these steps when re-assembling.

    • The motor cover is black, mine is spray-painted green.

  6. j1OCrnfXCVS1q2PS
    j1OCrnfXCVS1q2PS
    eYxasIb4UKVdOkNr
    XBRQRMvgN4tCfLyQ
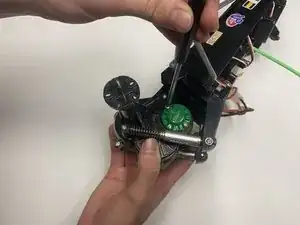
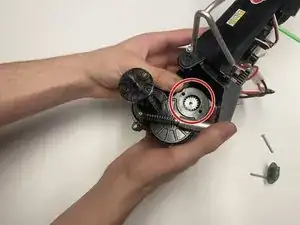
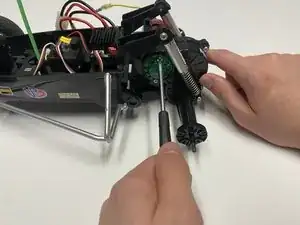
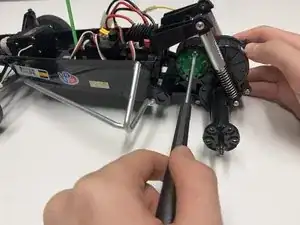
    • Finish loosening the long screws with your Phillips #00 screwdriver.

    • Slowly pull the motor cover away from the gearbox, with the two long Phillips screws still inside the motor cover.

    • Pull the motor away from the gearbox.

    • Do not force the motor out. Let it slide into your hand if necessary to avoid damaging components or gears inside the gearbox.

  7. XHh3EbBCdMn4J6Kf
    XHh3EbBCdMn4J6Kf
    fXWgKSBaAwF41VqP
    uQg2sAqLJaKx1hAT
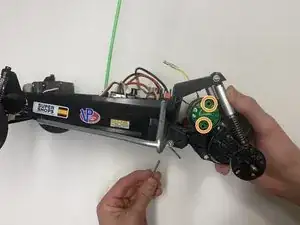
    • Gently slide your 540 motor into the gearbox. Make sure it is correctly inline with the pinion (the middle gear segment).

    • Slide the motor cover, then the long screws into the left side of the gearbox to align the motor with the gearbox.

    • Make sure all the holes to the motor cover, motor, and gearbox line up with the two long screws that hold the motor cover on.

  8. U2sXEkW4oHu23FKU
    U2sXEkW4oHu23FKU
    JrEAb24EQkqwSl6h
    jcmyNKuFyjS1wdS1
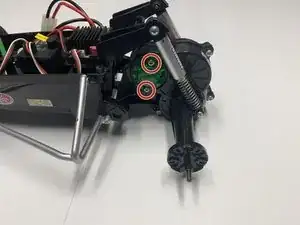
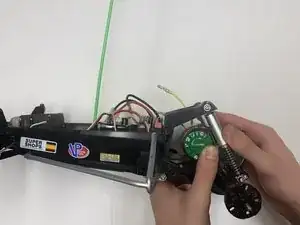
    • Tighten the bottom screw with your Phillips #00 screwdriver.

    • Lay the buggy down and tighten the top screw next, to help ensure the motor is properly in place.

    • If you tighten the motor to the gearbox, but your pinion misaligned with the main gear, your motor will NOT move the car, which may cause damage to the motor.

Abschluss

To reassemble your device, follow these instructions in reverse order.
Eric Traccitto

Mitglied seit: 21/09/22

157 Reputation

0 Kommentare