Einleitung
If the device will not charge when plugged into an outlet, you will have to replace the charging port on the device. This is how you will replace it.
Werkzeuge
-
-
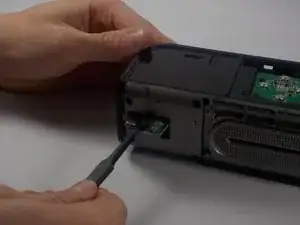
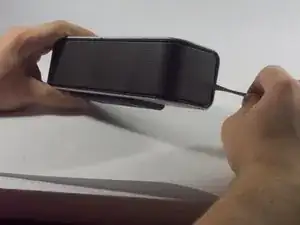
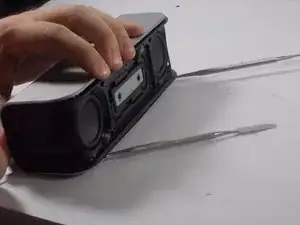
To remove the front grate of the speaker grab a metal spudger and go to the back corner of the device where the front panel curves around the device. Insert the spudger and ply apart the corner until clips release from panel. Repeat for the other side of the grate. When all clips are released pull grate off from the front of device
-
-
-
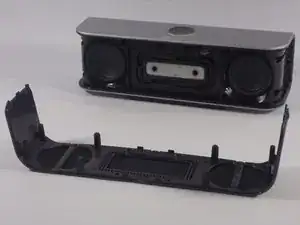
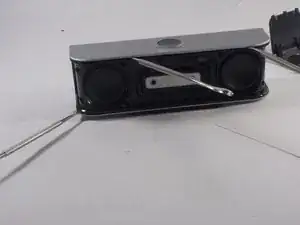
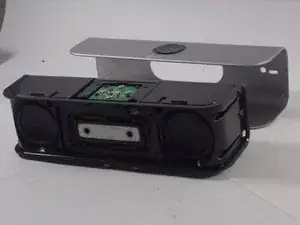
Grab two metal spudgers and insert one into the slit underneath the silver plating on the top of the device. Pry upward with the spudger until you unhook the two locks on the top. Repeat same step for the bottom of the device. When all four tabs are released, slide device out of the casing
-
-
-
Locate the slit on the back of the device and the board will be located there. Remove board from slit by using tweezers.
-
-
-
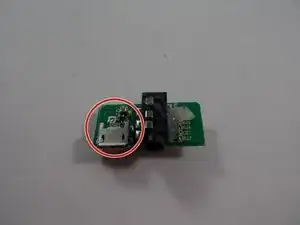
Once board is removed, locate silver component on the board. This is the charging port. Remove the charging port. To put it back on the board you need to solder the component back onto the board.
-
To reassemble your device, follow these instructions in reverse order.
Ein Kommentar
Ich bin bis Schritt 3 gekommen und wollte das Gerät komplett zerlegen nach dem ich die hinteren 8 Schrauben auch heraus gedreht hatte aber beide Gehäuseteile ließen sich nicht trennen. Was kann ich tun ?
Thorsten -
I found removing the faceplate (grill) unnecessary for this repair.
Michael Johnstone -
Hello I called the factory and they refused to even let me know which parts to buy since I successfully disassembled the unit and need to replace the 2x Micro DC connector in the pc board or where can I find a complete little board part to replace? Any support much appreciated
lee Jr. A -