Einleitung

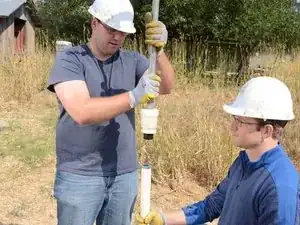
Follow this guide to remove the handle of a Tara pump for replacement or repair.

  1. 5kAayfPjmpe5gkLd
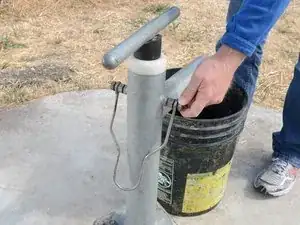
    • Before performing any repairs, perform a water test on the pump by raising and lowering the handle a full 40 strokes. A properly performing pump will yield greater than 10 liters.

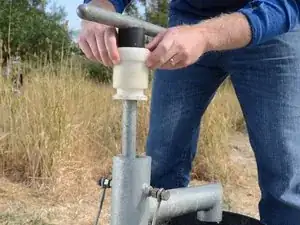
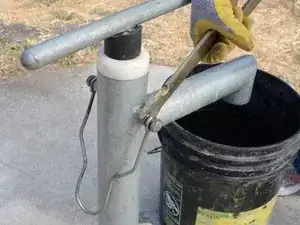
    • Use a Tara tool to loosen the jam nuts on either side of the pump.

    • The bolts do not need to be loosened or removed, only the nuts need to be loosened.

  2. HTPAg4KRoTjgPkZJ
    HTPAg4KRoTjgPkZJ
    qEGs663snwacaEuI
    g1rFSOtRPcYTWkoQ
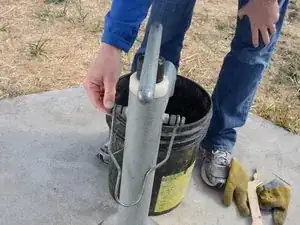
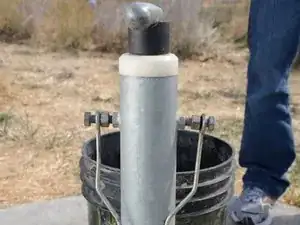
    • Unscrew the lock bolts about half an inch.

    • The bolts do not need to be removed from the base.

  3. Zda3ekaBkcNT2WpM
    Zda3ekaBkcNT2WpM
    ib5uxMA4WeCspUuE
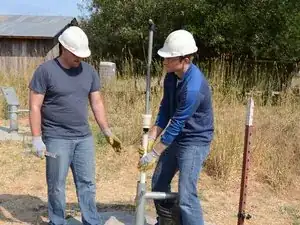
    • Pull the plastic bushing and handle straight up out of the pump.

    • If the bushing doesn't come up, loosen the lock bolts further.

  4. XPZXZQHUfqosHKGP
    XPZXZQHUfqosHKGP
    eE5IH1oItxNut6iX
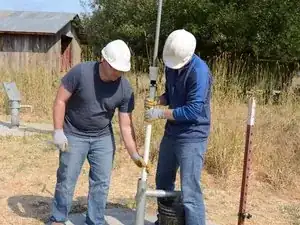
    • Lift up the handle and riser main until the joint between the two is at a comfortable height to work on.

  5. O2fn6k6bbDOVg2J4
    O2fn6k6bbDOVg2J4
    JknVFhIlB1NWWY54
    OLiqGaj6fyM5RpJP
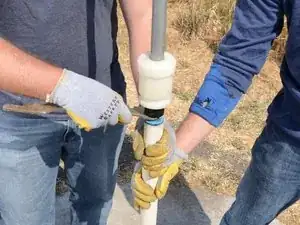
    • Loosen the jam nut beneath the pump handle using the Tara tool.

  6. G34k4lRIMRVR3I45
    G34k4lRIMRVR3I45
    FEOWrfrI1PJOftWR
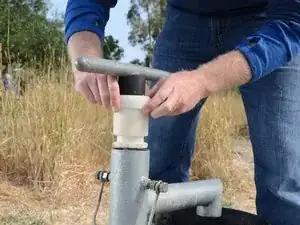
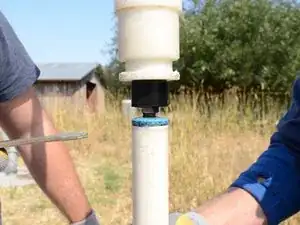
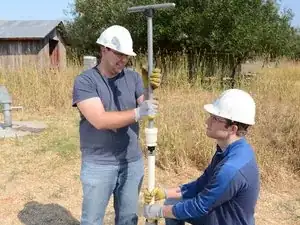
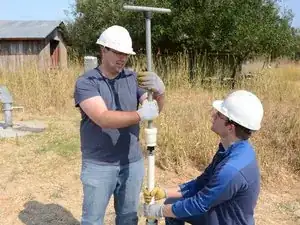
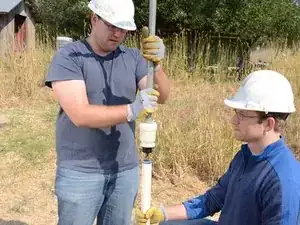
    • Unscrew the pump handle from the top of the riser main.

    • Make sure someone is tightly holding the lower portion of the riser main to prevent losing it down the well.

  7. RlcguRyyy6hcWont
    RlcguRyyy6hcWont
    SlrfgFEZDdHB6Evd
    • Lift and remove the handle from the pump. Store the handle in a sanitary place to prevent contamination.

Abschluss

To reassemble your device, follow these instructions in reverse order.
Sam Goldheart

Mitglied seit: 19/10/12

457712 Reputation

0 Kommentare