Einleitung

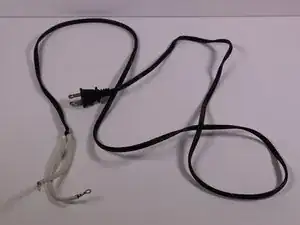
This device's power cord may break, so being able to easily replace it is important. This guide will teach you how to replace the rice cooker's power cord.

  1. ZwsJNWnCEvqnOlUD
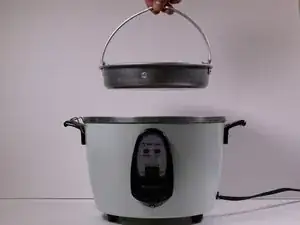
    • Lift the lid and bowl from the top of the device.

    • Be sure device is not plugged in before beginning replacement of power cord.

  2. CneaKVTl5OXX3avg
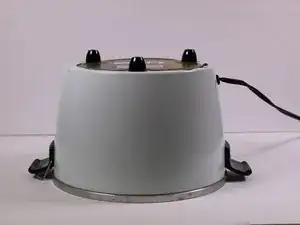
    • Turn device upside-down so that the three legs point upwards.

  3. ldpXtx5BGswUx6Tj
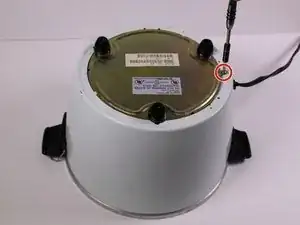
    • Remove the one 7mm Phillips Head #3 spanner screw from the side of the brass panel.

  4. SEVhqZiugfQ3ZBEj
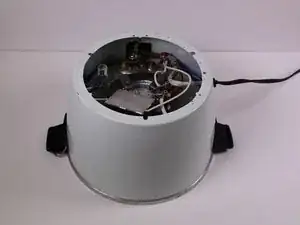
    • Lift the brass plate from the device and set it aside.

  5. FBOOjoZiIiE4vwUV
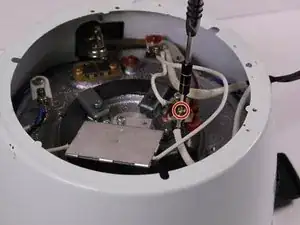
    • Remove the 7mm Phillips #3 brass screw that connects the white power cord wire and blue wire closest to the power cord.

  6. OYaDCnGyJKNxnMfg
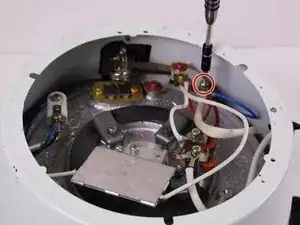
    • Remove the 10mm Phillips #3 brass screw above the heating element that connects the white power cord wire and the maroon wire.

  7. QkZZlurvKsT2DjuN
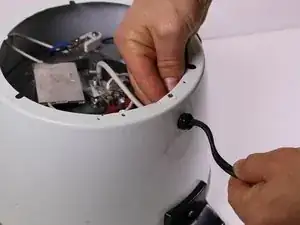
    • Using your hands, from the inside of the device, push the black plastic wire holder to release cords.

  8. qITAxUFRTXDqi4fq
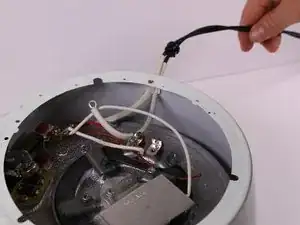
    • Pull the power cord through the hole, isolating the power cord from the device.

  9. 16jn3wsqOGOJK6ni
    • Thread the new power cord wires into the hole.

    • To ensure the power cord is compatible with the device, make sure that the replacement cord you are using has a proper insulating coating and uses a NEMA 1 plug. NEMA 1 plugs are the common type of plug that have two parallel "|" shaped metal beams.

    Where can J get this power code? Thanks!

    Paul Lee -

    Where can I get this power code?

    Paul Lee -

    Looking for the power cord as well. Where can I buy this power cord?

    Calvin -

Abschluss

To reassemble your device, follow these instructions in reverse order.

Katy Weber

Mitglied seit: 28/01/16

134 Reputation

Ein Kommentar

Thanks! Ours wore out at the crimped part where the cable exits the rice cooker. After opening it up, we cut the cable ~6" from the loose end (not the plug end!), separated the two wire bundles, stripped part of the black plastic off (~1/5") slid the fiberglass sheaths over to the new bundles and attached w/o the circle metal ends by screwing it into the original place.

carole -