Einleitung
Benutze die Anleitung um die Festplatte einer Apple Time Capsule Modell A1302 zu wechseln.
Werkzeuge
Ersatzteile
-
-
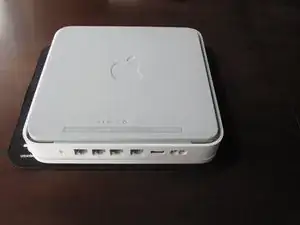
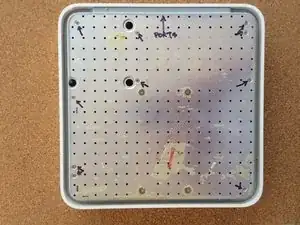
Um die Time Capsule zu öffnen, muss als erstes die Gummifläche entfernt werden, unter der sich die Schrauben verbergen.
-
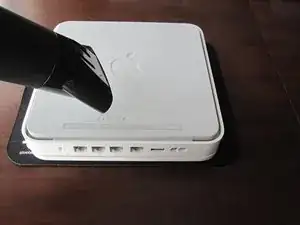
Benutze eine Heißluftpistole oder einen Haartrockner, um den Boden zu erwärmen; dies weicht den Klebstoff unter der Gummiabdeckung etwas an.
-
Beginne an einer Ecke vorsichtig den Boden anzuheben. Benutze einen Plastikheber oder Ähnliches, um das Gummi vom Metall zu trennen.
-
-
-
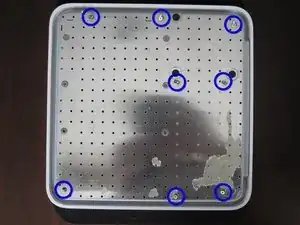
Sobald der Gummiboden entfernt ist, können die acht PH0 Schrauben ausgedreht werden, die den Metallboden festhalten.
-
-
-
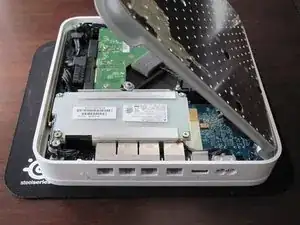
Hebe die linke Seite der Metallplatte an und kippe sie über die rechte Seite.
-
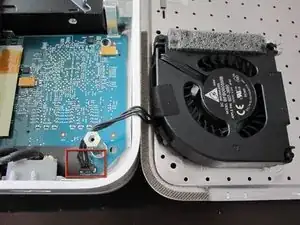
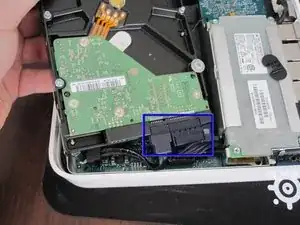
Da vielen Leuten beim Lösen des Steckers der Stecker kaputtgeht, ist es nicht zu empfehlen, ihn zu lösen! Sei sehr vorsichtig mit ihm, er ist sehr empfindlich. Wenn du ihn wirklich lösen musst, löse ihn SEHR vorsichtig mit einem Spudger oder einer Pinzette.
-
-
-
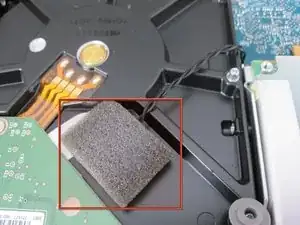
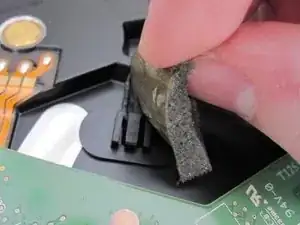
Ziehe Schaumstoff und Klebeband ab. Schone den Schaumstoff, weil du ihn später wieder brauchst.
-
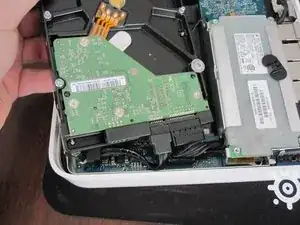
Hebe die HDD heraus und löse die beiden SATA Kabel.
-
-
-
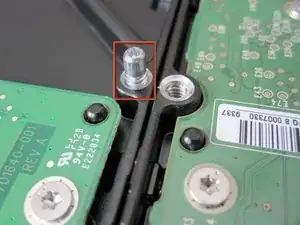
Mit einem PH0 Schraubendreher kannst du die vier metallenen Abstandshalter von der alten HDD abschrauben und an gleicher Stelle auf der neuen eindrehen.
-
Bringe den Temperatursensor etwa an der gleichen Stelle wie bei der alten HDD an. Bedecke sie wieder mit dem Schaumstoff, eventuell brauchst du Klebeband.
-
Um das Gerät wieder zusammenzubauen folge den Schritten umgekehrt.
69 Kommentare
Worked like a charm! Instructions were very thorough. Thank you
jlechuga -
I dislodged the fan connector from the logic board. How can I go about fixing this? Can I just solder the connector back onto the board? Thanks
Jon -
Yes. It says to follow the article bakcward so yes connecting correctly sshould work…
Success! I would get a flash of a green light after a factory reset then the flashing amber followed by a solid amber. No wifi signal or HD. Put my ear to the unit and heard the click of death. New hard drive per above and I was back up and running in 20 minutes.
Stuart -

Slowly start peeling at one corner... worked better than shown on the pictures.
Markus -
Slow down particularly near the bottom label where it is stiffer. Either that or I needed to give it more heat. Going too fast can risk tearing the rubber base if the adhesive is strong.
ElvinC -
If you are wondering if the Time Capsule will still work as a router if you remove the HDD and leave it out, the answer (according to another webpage I read) is YES, it will still work. Apparently, you get a warning with the AIrPort Utility about a missing HDD, but it still works. I wanted to keep and reuse the 1TB Hitachi HDD for offsite data backup.
CraigH -
Use an iron instead of a heating gun or hairdryer!
Gradually raise the temperature while checking for separation, while moving over the rubber. I first cleaned the rubber with some soap, to avoid scorching dust or grease. The setting for synthetic fabrics seemed to do the job with my Tefal iron; probably a little over 100 degrees centigrade. No steam off course!
Worked like a charm without leaving almost any residual glue.
Sticking the rubber sole back after the repair was also successful.
Frits de Bruijn -
Thanks for sharing this.
kenatkenichikato -
Adhesive tape used is Nitto No. 5015. I found a piece of a back-paper left underneath the rubber…
vesa -
Is there a possibility to change an already changed 2TB SATA to a bigger one? Mine is full. because I added another MacBook Pro, but I’d rather not buy a newer TimeCapsule
Bette Rose -