Einleitung
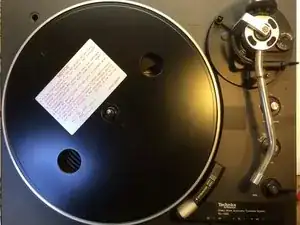
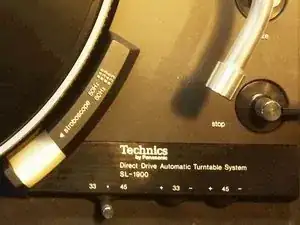
After many years of storage in the garage, the tone arm of my Technics SL-1900 turntable would no longer rise and fall when I worked the tone arm control lever. It stubbornly stayed in the full “up” position.
I decided to disassemble the device to check the condition of the grease in the tone arm lift mechanism. If the grease was hard, I would clean it off and apply new grease Fortunately for me, the grease was still fine.
Therefore, to fix the problem I simply shot some WD-40 into two key moving points, and that was sufficient to get the lift mechanism working again. This lubrication did not require any disassembly at all; however, since I went through all of the disassembly I figured, why not turn it into a guide?
Werkzeuge
Ersatzteile
-
-
Remove the transparent cover from the turntable. It lifts straight up.
-
Remove the phono cartridge assembly from the tone arm. Unscrew the retaining collar to release the assembly and then pull the assembly off.
-
Remove the rubber platter cover from the turntable.
-
Remove the metal platter from the turntable. Insert a finger into each of the large holes, and pull straight up.
-
-
-
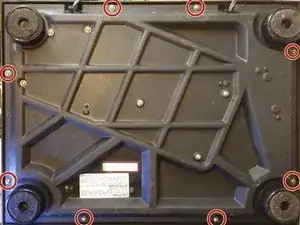
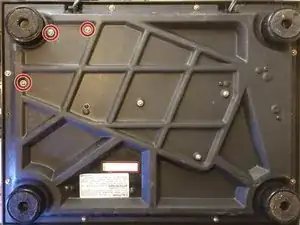
Remove 8 Phillips screws from the bottom of the turntable. This releases the plastic top of the turntable. You have to move the tone arm toward the center of the unit in order to remove the plastic case top. Set the case top aside.
-
-
-
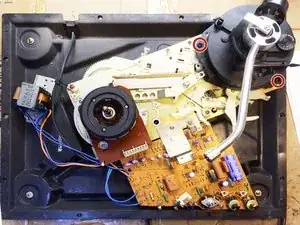
The tone arm assembly is held in place by three screws on top, and three long screws on the bottom.
-
Beginning on the bottom, remove the three long screws that secure the assembly from the bottom.
-
Remove the two marked screws at the base of the tone arm assembly.
-
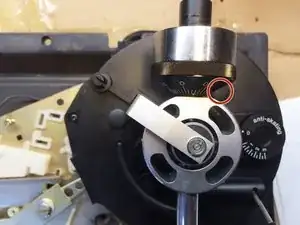
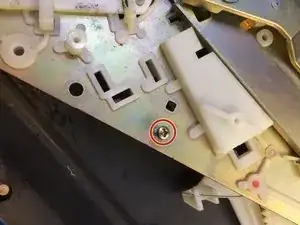
Remove the rubber plug covering the third screw. Remove the hidden screw.
-
-
-
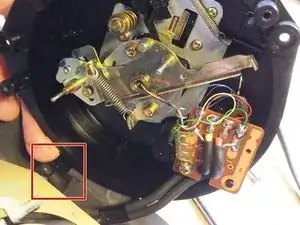
The audio cables from the tone arm pass through a plastic stress relief collar where they exit the case. Pull this stress relief collar out of its slot in the case bottom.
-
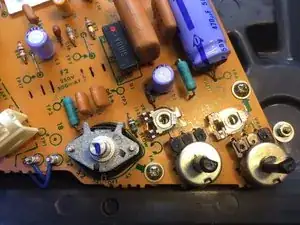
Remove the screw securing the grounding wire to the large circuit board. Put the screw back in the hole in the circuit board, so it doesn't get lost.
-
After detaching these wires, the tone arm assembly comes free from the base of the turntable.
-
-
-
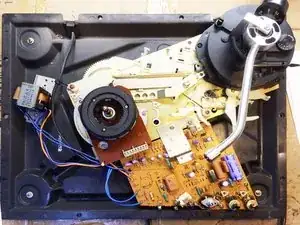
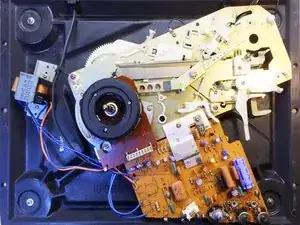
Inspect the internals of the turntable. The unit base still contains the motor, the circuit board, and a bunch of complicated plastic parts.
-
-
-
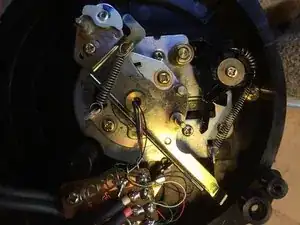
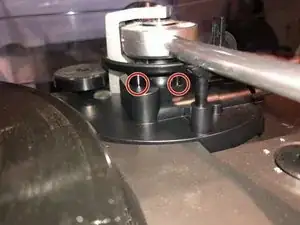
If the grease still feels soft and greasy, but nothing happens when you raise the tone arm lever, shoot some spray lube from the top, into the moving pillars of the bar that raises and lowers the tone arm. I used WD-40.
-
After lubricating, work the mechanism by gently pushing and pulling on the bar that raises and lowers the tone arm, while moving the control lever for the tone arm.
-
If you are successful you should observe that the tone arm lift bar slowly rises and falls as you raise and lower the lift control.
-
-
-
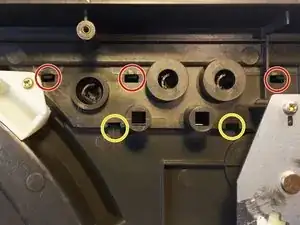
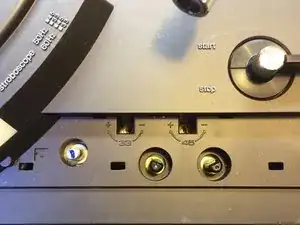
First, remove the small plastic cover holding the control knobs captive. From the bottom, release three plastic tabs indicated in red. Then slide the small plastic cover forward, to release the two plastic tabs indicated in yellow.
-
Reseat the control knobs back onto their metal posts.
-
To reassemble your device, follow the rest of these instructions in reverse order.
