Einleitung
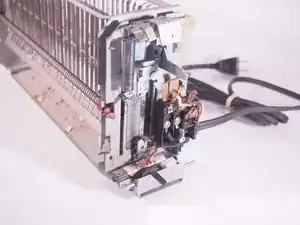
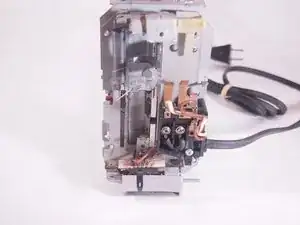
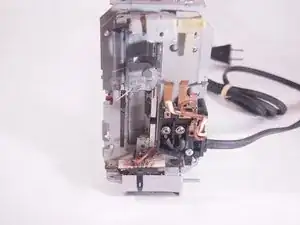
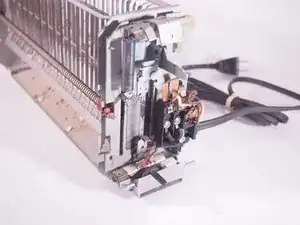
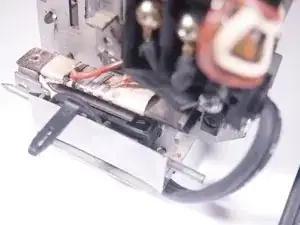
The Tefal Thick N Thin Toaster 815032 is a vintage item, making it hard to find a replacement upon it breaking. With this guide, you will learn how to properly disassemble the toaster, allowing you to examine, identify, and fix any broken parts. The steps to this guide are fairly simple, only requiring you to use a screwdriver and an opening tool. Upon completion of this guide, you will have exposed the circuit of this toaster. We have included a circuit schematic of the toaster to illustrate how this works.
Werkzeuge
-
-
Turn the toaster upside down.
-
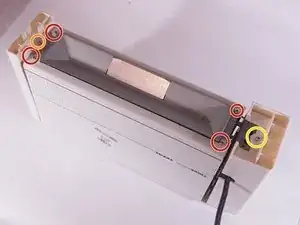
Remove the four 10 mm screws from the bottom of the toaster using a TR9 Torx screwdriver.
-
Remove the 14 mm Torx-slot combination screw on the opposite side of the toaster's lever with a TR9 Torx screwdriver.
-
Remove the 11 mm Torx-slot combination screw near the toaster's lever with a TR9 Torx screwdriver.
-
-
-
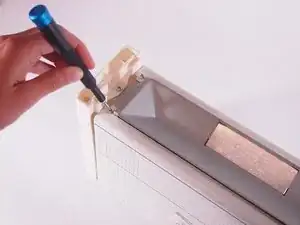
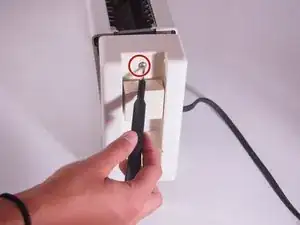
Remove the 10 mm screw from the top of the remaining side of the toaster using a TR9 Torx screwdriver.
-
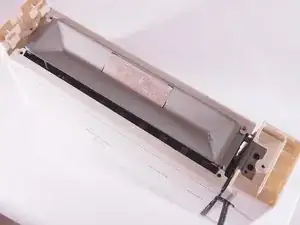
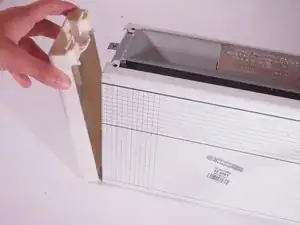
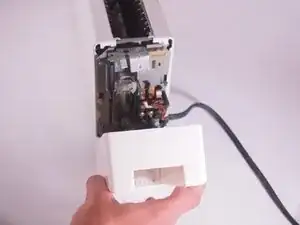
The toaster's lever and heating slide will fall off with a simple pull.
-
-
-
Use an opening tool to pry back the metal tabs on the left and right corners of the toaster's front and back metal panels.
-
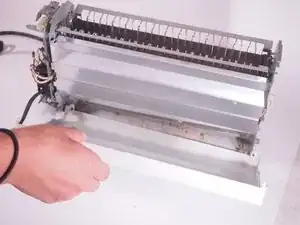
Pull off the front and back panels of the toaster.
-
-
-
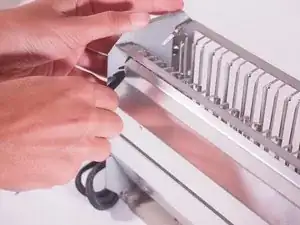
Pry back the metal tabs on the corners of the front and back inner heating panels using an opening tool.
-
Remove both the front and back inner heating panels of the toaster.
-
-
-
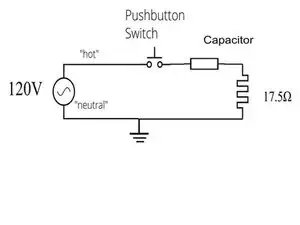
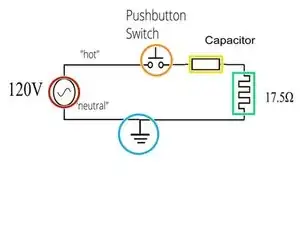
We have included a schematic drawing to illustrate how the circuit inside this toaster works.
-
Voltage Source
-
Pushbutton Switch
-
Capacitor: This will cut off the power in the circuit once it gets to a certain voltage.
-
Resistor (Heating Element): The resistor is what creates heat and allows the bread to be toasted.
-
Ground
-
-
-
How it works: When the lever is pressed, the two copper strips are pushed forward and come into contact with an electromagnet that begins the simple toaster circuit.
-
The current flows through a large resistor that wraps around the toaster and slowly gets hot which is what allows the bread to cook.
-
A capacitor connected to the circuit charges through the resistor, and when it reaches a certain voltage it stops the flowing current.
-
The spring immediately pulls the slices of bread up.
-
In the process, the lever rises and cuts off power to the toaster.
-
The darkness setting (below the lever) uses a bi-metallic strip which heats up when the circuit is on and depending on what setting you have it on, the strip bends for a certain amount of time and eventually trips a switch that kills the power to the electromagnet.
-
To reassemble your device, follow these instructions in reverse order.
