Einleitung
If your screen is damaged or your mother board is not working, you will need to access and replace both.
Werkzeuge
-
-
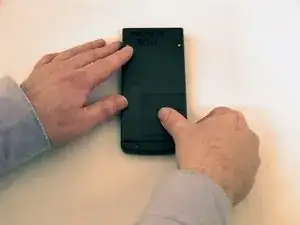
Locate battery cover on the back of the case.
-
Slide battery cover to the right reveal the batteries.
-
-
-
Remove battery cover.
-
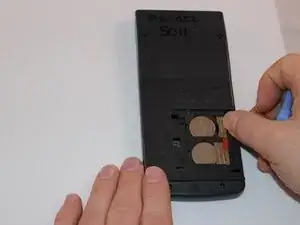
Slide the red lock down.
-
Slide the metal tab to the right of the top battery.
-
Remove the 3-Volt Lithium Coin Cell Battery.
-
Slide the red lock up.
-
Slide the metal tab to the right of the bottom battery.
-
Remove the 3-Volt Lithium Coin Cell Battery.
-
-
-
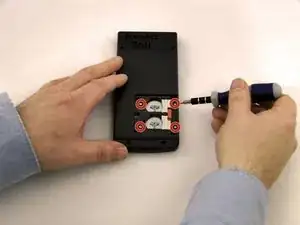
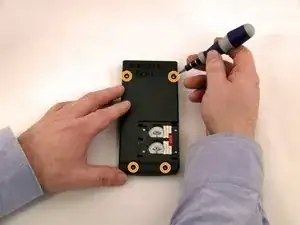
Using a Torx, T-6 star-bit screwdriver, unscrew four 7.38 mm screws from battery housing.
-
Unscrew four 7.15 mm screws from back casing.
-
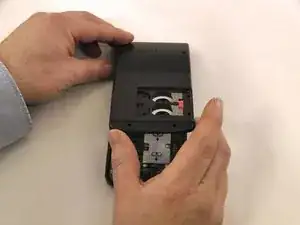
Using the blue plastic opener tool along the seam of the case, pry off front casing.
-
-
-
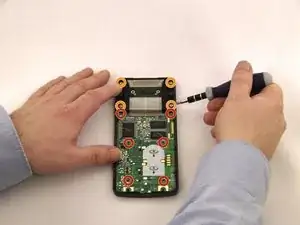
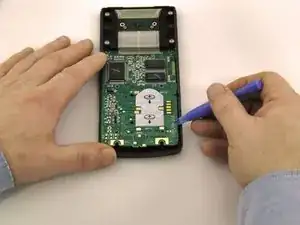
Using a Philips PH0 screwdriver, remove the 6 screws. 2 from the top of the Motherboard, 2 from the middle, and 2 from the bottom of the Motherboard.
-
Using a Phillips Ph0 screwdriver, remove 4 screws from the screen mount.
-
Using the blue plastic opening tool, pry the Motherboard up.
-
Using the blue plastic opening tool, pry up the screen from the screen mount.
-
To reassemble your device, follow these instructions in reverse order.
