Einleitung
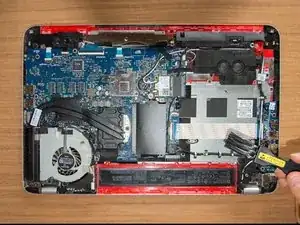
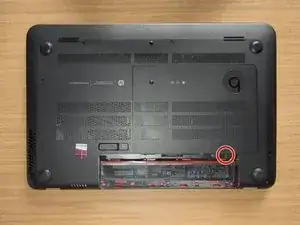
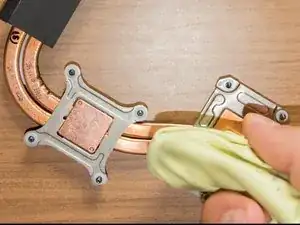
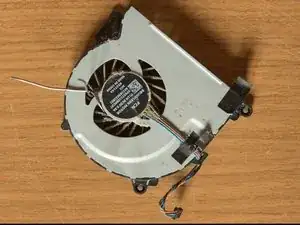
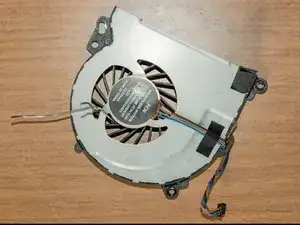
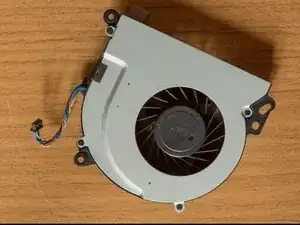
It’s not that difficult. Once you have gathered the stuff you need you should do this job in three hours or in an afternoon at max.
- Inform yourself about thermal paste and choose the one you prefer. GC-Extreme paste is not conductive and so nothing should happen if you drop some of it on the motherboard but it is not the only one and the range is wide.
- An antistatic wrist band is compulsory. It does protect your components.
- A Philips screwdriver #00.
These are the three items that you must gather before you start. All of the other tools are there to do the job at its best and with no risks. My advice is to take them too but if you can’t, those three ─ and a lot of care ─ should be enough. For instance, before that ArctiClean was invented it was common to use isopropyl alcohol 99% with paper towels to remove the old thermal paste and I guess it still is. Then, also soft brushes used to paint canvas could be good substitutes for an antistatic brush, especially if they are made of animal bristles.
And watch a lot of videos about how to apply thermal paste. That’s all. Your laptop would definitely benefit from it in terms of wear and durability. It is worth the money and the time you will spend on it and moreover you will get to know better your device!
Werkzeuge
Ersatzteile
-
-
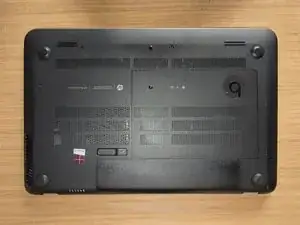
Turn the laptop upside down and gently lay it down on a flat surface.
-
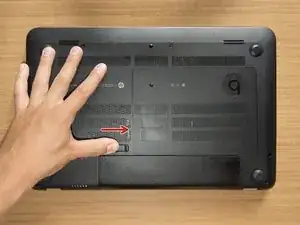
Slide the battery release latch to the right and the battery will pop up slightly.
-
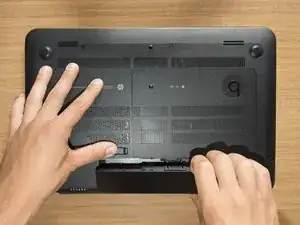
While keeping the latch slid with one hand, grab the battery with the other hand and remove it by pivoting it upward.
-
-
-
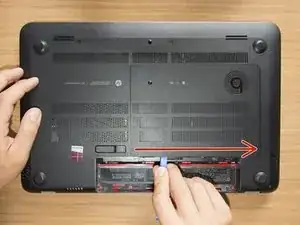
With an opening tool pry off the tabs that secure the service door to the base enclosure. Start with the long edge.
-
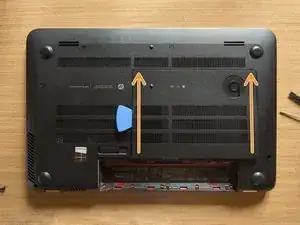
Continue along the short edges.
-
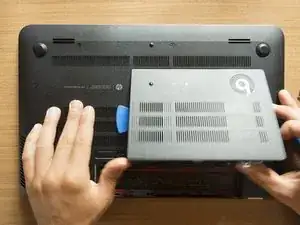
Once you have pried the service door off as it is in pic#3, it will come out of the rear edge very easily.
-
-
-
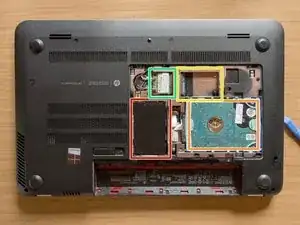
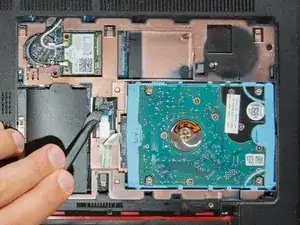
Are you grounded? If yes, using a spudger, flip up the small black locking flap of the hard disk's ZIF connector.
-
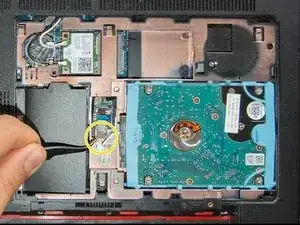
Afterwards, using a pair of tweezers, grab the HDD's SATA cable at the transparent tab and simply lift its end up, out of the connector.
-
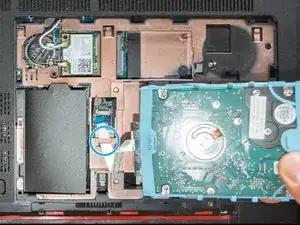
By levering with an opening tool, pry the HDD out of its bay. Once it is on your hand, release its cable from its retaining hole obtained on the base enclosure and finally leave the HDD aside.
-
-
-
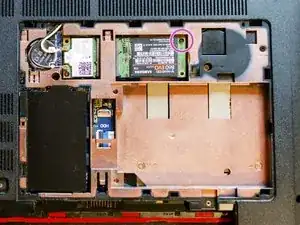
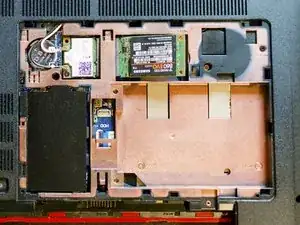
Using a PH#00 screwdriver remove the Phillips PM 2.0x2.5 screw which secures the SSD to the base enclosure: the SSD module will tilt up immediately.
-
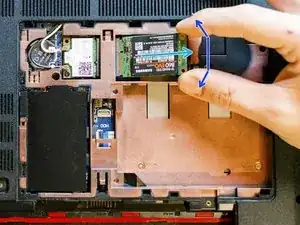
Once the module is standing ─ if you're grounded ─ grab it with your fingers as it is shown in pic#3 and slowly pull it out of its connector maintaining its inclination.
-
On top of the previous movement - and always maintaining the SSD tilted - you have to lightly move the module back and forward as the blue arrow shows: think of a pendulum.
-
-
-
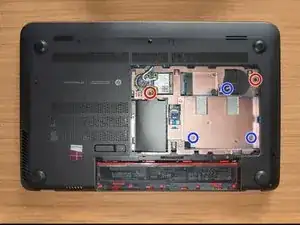
Using a PH#00 screwdriver remove the two Phillips PM2.5x5 screws of the service door area. Group these screws together.
-
Using a PH#00 screwdriver remove the three remaining Phillips PM2.5x3 screws of the service door area. Group these screws together.
-
Using a PH#000 screwdriver remove the seven small Phillips PM1.5x2 screws of the battery bay. Group these screws together.
-
-
-
Pry both of the top rubber pads off with a metal spudger. They are attached to the base enclosure with adhesive.
-
Using a PH#00 screwdriver remove then the eight Phillips PM2.5x5 screws that secure the base enclosure to the laptop. Group these screws together.
-
-
-
By gently levering with opening tools, disengage the tabs that secure the base enclosure to the laptop. Start with the longer edge. Feel free to use your hands and to lift or turn the laptop if you like.
-
Once you have completed the long edge, proceed along the short edges. When also these two sides will be detached, the base enclosure will come out from the bottom edge with ease.
-
-
-
Before dismounting anything it is better to clean all the parts. Are you grounded? If yes, take an antistatic brush and dust off all that you can.
-
-
-
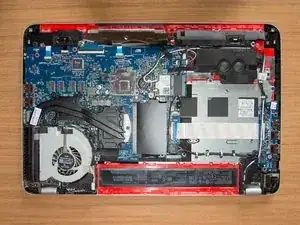
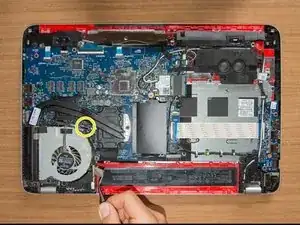
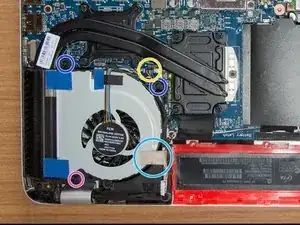
Detach the adhesive stripe that secures the webcam's and the display's cable to the fan.
-
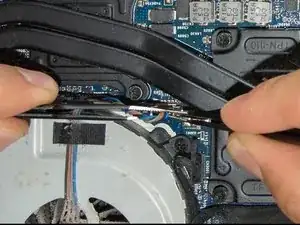
Disconnect the fan's ribbon connector. It would be better if you would follow this method (step#2) but if you do not properly manage to grab the connector with your fingers, take two pairs of tweezers, grab all the wires as close as possible to the connector ─ as it is shown in pic#2 ─ and resolutely pull them straight up.
-
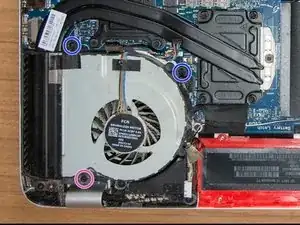
Using a PH#00 screwdriver remove the two Phillips PM2.5×4.5 screws and group them together.
-
Using a PH#00 screwdriver remove the last Phillips PM2.5×6.5 screw that secure the fan to the top cover. Do not group it together with the two previous screws because it is longer than those.
-
-
-
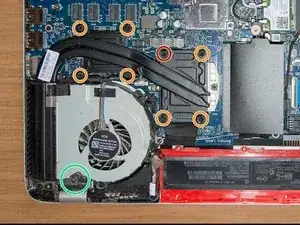
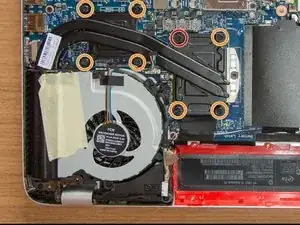
Using a PH#00 screwdriver unfasten the eight not-releasable screws that secure the heatsink to the motherboard. Nearby the screws you will notice that numbers have been impressed: the screw marked in red is the first one that has to be unfastened, follow then the order.
-
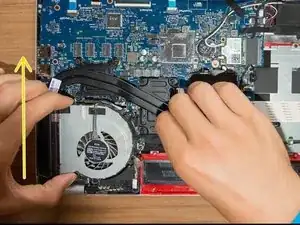
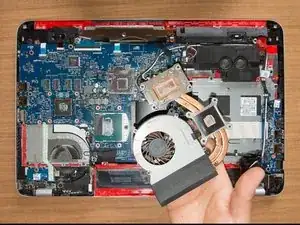
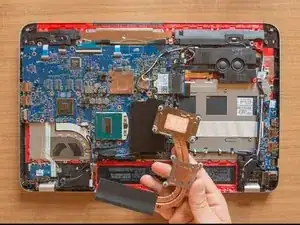
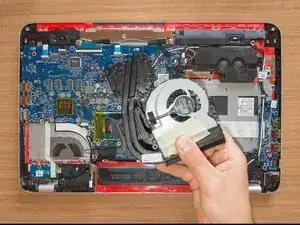
Once you are done with the screws, grab the heatsink and the fan as it is shown in pic#2, tilt them up a bit, and carefully slide them forward a little: until the fan is free of the left display hinge marked in green in pic#1. Finally then, rise them up and put them aside.
-
-
-
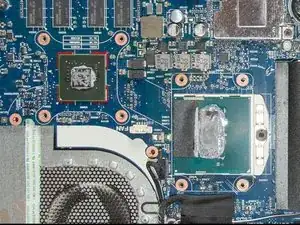
GPU
-
CPU
-
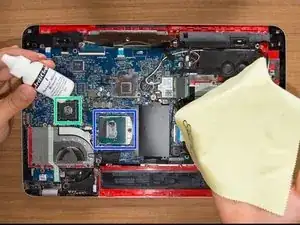
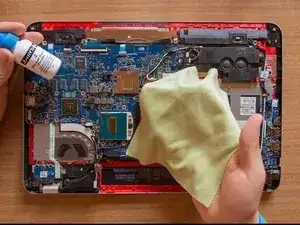
Take the ArctiClean #1 labeled as Thermal Material Remover and a clean microfiber cloth.
-
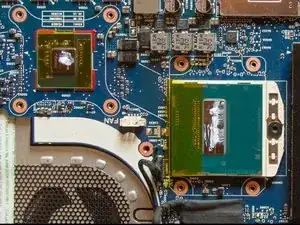
Put drops of the liquid #1 on the CPU's metal surface until it will be covered entirely and then wait 60 seconds. In the meanwhile look out for any leakage that may reach the motherboard and stop it. Once the minute has passed, clean the CPU with the microfiber cloth. Repeat the whole operation until you don't see any gray stain on the cloth.
-
Repeat the same cleaning operation described above on the GPU too.
-
-
-
Remove the square black sticker.
-
Using the tweezers remove the dust which is outside of the heatsink's ventilation box. Then, using an air compressor or a vacuum, dust the box off until you are able to clearly see trough it.
-
Finally, remove the old thermal paste from the heatsink using the ArctiClean #1 and repeating the same 60-seconds operation you carried out on the CPU and GPU. Clean it until you can not see any gray stain on the cloth.
-
-
-
Block the wings of the fan ─ I have used a piece of iron wire but a cotton swab or a pencil would work too ─ and dust it off using an air compressor or a vacuum.
-
Once you have dust the fan off, unblock it and clean each wing using cotton swabs dipped in alcohol 70% in order to remove the residual dirt. If it is afterwards necessary, block the wings and dust the fan off again using an air compressor to remove eventual cotton-fibers leftovers.
-
-
-
Take the base enclosure and dust it off using an air compressor or a vacuum.
-
Then remove any residual dirt using the alcohol 70% and a microfiber cloth. Clean the base enclosure on both sides (do not forget the service door area :).
-
Repeat this operation on the service door also.
-
-
-
Take the ArctiClean #2 labeled as Thermal Surface Purifier and a clean microfiber cloth.
-
Apply the liquid #2 on the whole metal surfaces of the CPU and GPU and then ─ without waiting ─ wipe them gently with the cloth until they are dry. Repeat this operation another time if you see dirt on the cloth.
-
Repeat this process on the copper surfaces of the heatsink also.
-
-
-
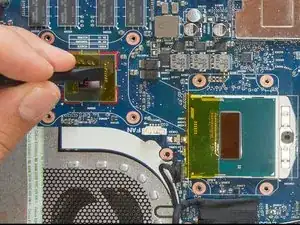
Take the polyimide tape and cut it in pieces that would fit the areas in which the capacitors are. Lay these pieces of tape over the capacitors. Then, using a spudger, gently press the tape down and squeeze out the air which is among the tape, the processor and the capacitors.
-
Finally put the fan and the heatsink together and apply a momentary stripe of tape over the edge they have in common in order to keep them together while you will be mounting them.
-
-
-
Take the thermal paste syringe and remove the cap. Place it over the GPU and lightly press the piston down at a distance of 1 cm from the surface trying to lay down a sphere of thermal compound not bigger than 2 millimeters of diameter!
-
Repeat the operation on the CPU depositing a vertical narrow line instead of a sphere. Then, if you are not satisfied with the first application, you can clean the surfaces again with ArctiClean and repeat the application as many times as you wish.
-
-
-
Take the heatsink-fan block you have prepared with two hands. Tilt it a bit and firstly insert the fan under the metal plate labeled as green.
-
Once you have placed the fan as it is shown in the first picture, carefully lay the heatsink down by simply accompanying its tilting movement. Correct its trajectory in order to center the screws and the holes if it is necessary.
-
Fasten the 8 screws of the heatsink using a PH #00. Start from the screw labeled as red and then follow the numerical order which is impressed on the heatsink.
-
Using a PH #00 mount the two short screws (M2.5×4.5) of the fan.
-
Using a PH #00 mount the last screw (M2.5×6.5) that secure the fan to the top cover. This is the longer one.
-
Reinstall the fan cable. Hold it with your finger near the end and push it straight into the connector. If you don't manage to do it with your fingers, use the tweezers.
-
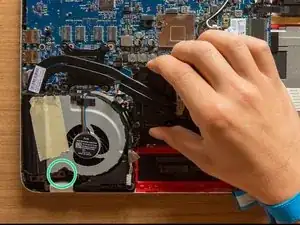
Reinstall the tape labeled as light blue in the third picture. Add electrical tape to the edge in common between the heatsink and the fan if the thin black stripe which was there is not sticky anymore as it was in my case.
-
You dit it! Great ;) Now comes the easy part. You could take a short break, relax and then come back to reassemble your laptop. Start from the step #8 and follow the instructions in reverse order. That's all! Cheers
