Einleitung
This step by step guide will lead you through the process of replacing or upgrading your ThinkPad Edge 13 E31's RAM. Each of the two slots can take up to 4GB of DDR3 RAM.
Werkzeuge
-
-
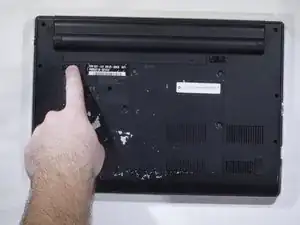
There are two two locks for the battery, one on the left and one on the right.
-
Slide the left lock to the left.
-
-
-
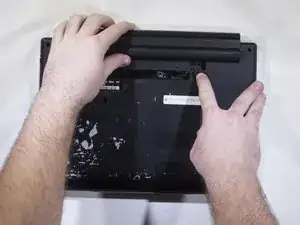
Slide and hold the right battery lock to the right.
-
While holding the right battery lock, slide the battery up to remove it from the laptop.
-
-
-
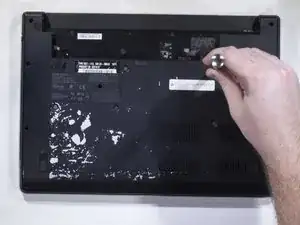
Unscrew the 5 screws holding the back on. These screws will unscrew from the laptop, but will remain secured to the back plate even when fully loosened. Once unscrewed, the plate can be removed.
-
-
-
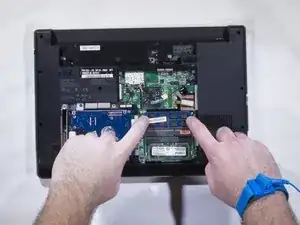
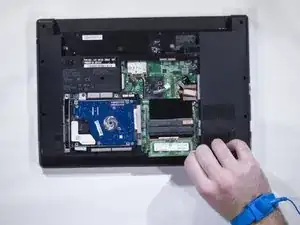
The RAM slots are next to the hard drive to the right of the exposed laptop.
-
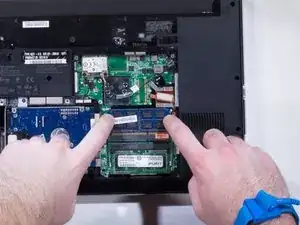
There are 2 flexible brackets holding each RAM chip in place is.
-
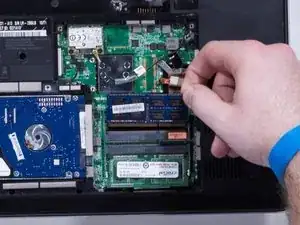
Push these 2 brackets to the sides. This will allow the chips to pop up to a 30° angle.
-
-
-
If your laptop has a second RAM chip in the available slot, repeat the previous 2 steps to remove it.
-
To reassemble your device, follow these instructions in reverse order.
